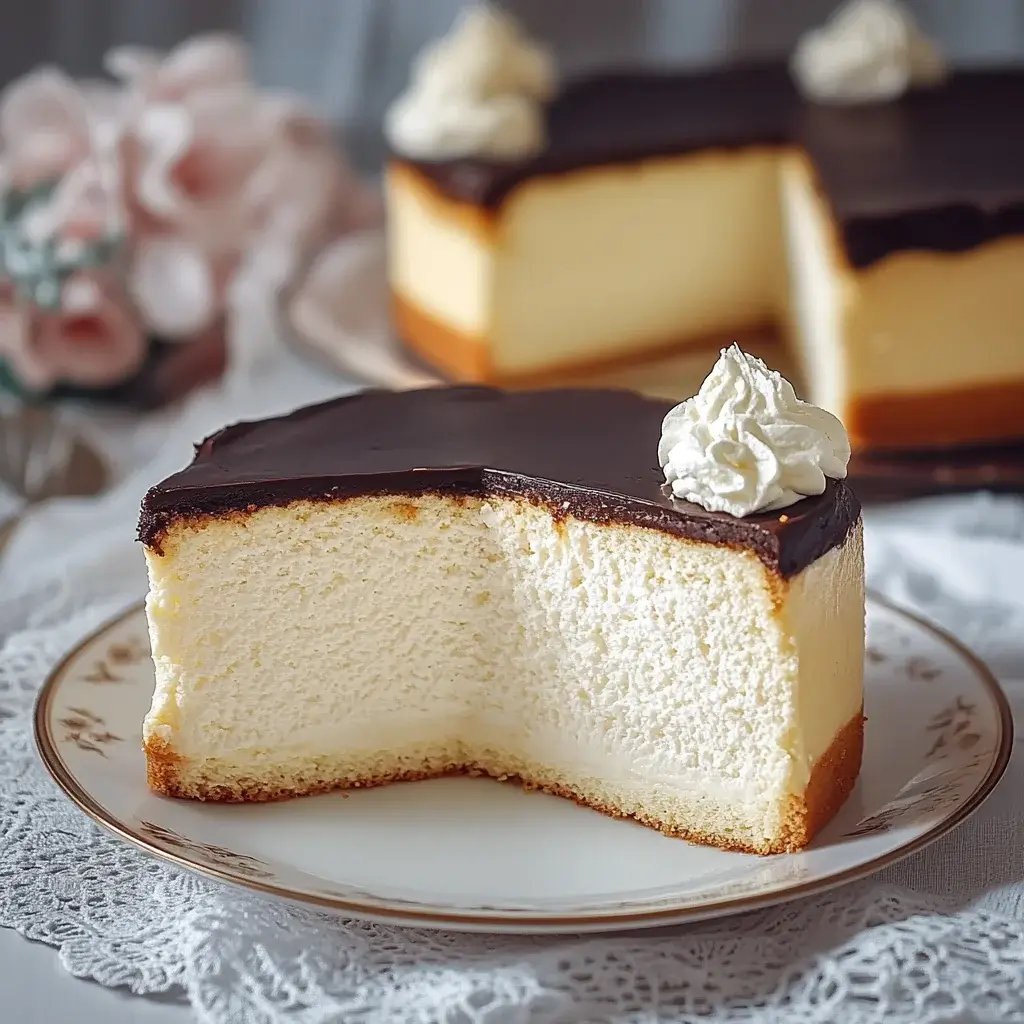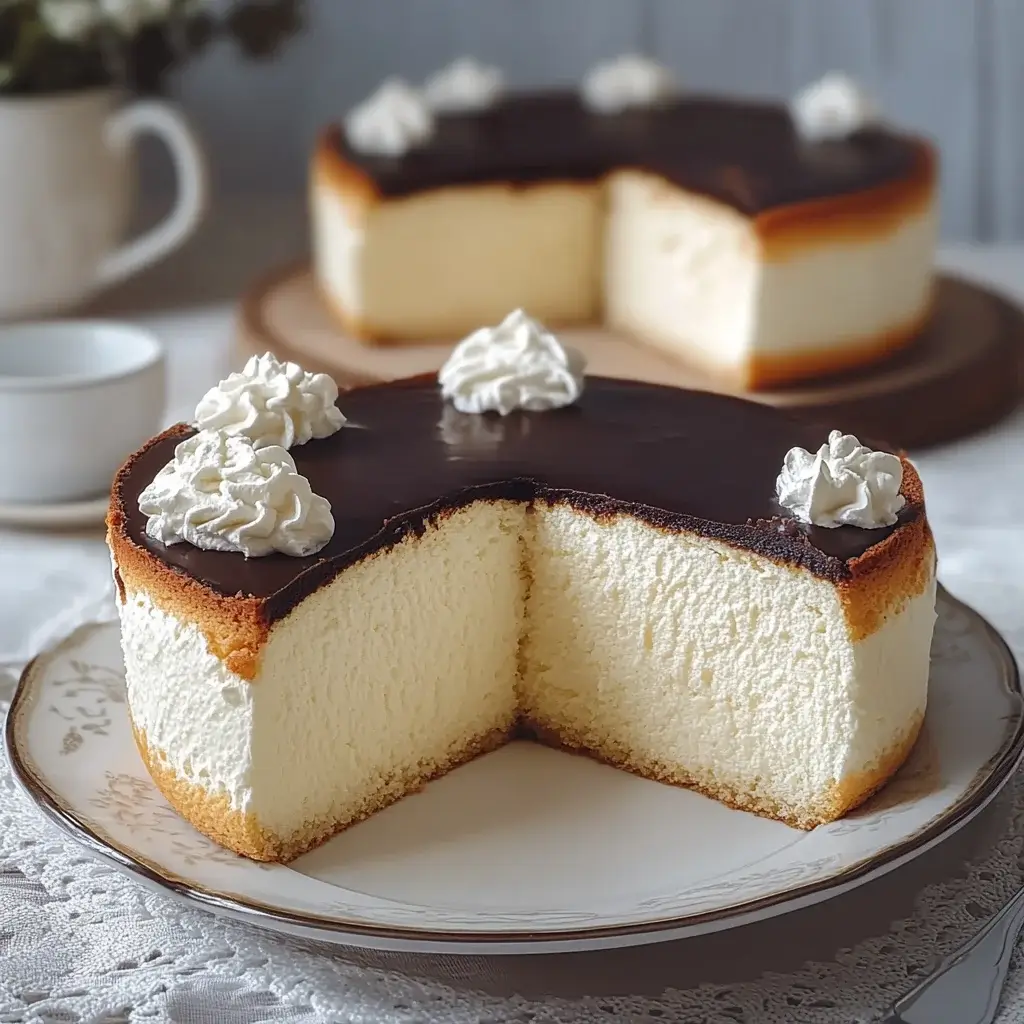
Introduction to Bird’s Milk Cake
There’s something magical about desserts that bring back memories of childhood. Bird’s Milk Cake is one of those delightful treats that can transport you to simpler times. This fluffy dessert combines rich chocolate cake with a light, airy whipped cream topping, making it a perfect indulgence for any occasion. Whether you’re looking to impress your loved ones or simply want a quick solution for a busy day, this cake is sure to please. With its easy preparation and delicious flavor, Bird’s Milk Cake is a sweet escape that everyone will love.
Why You’ll Love This Bird’s Milk Cake
This Bird’s Milk Cake is a game-changer in the dessert world. It’s incredibly easy to whip up, making it perfect for those busy weeknights or last-minute gatherings. The combination of rich chocolate and fluffy cream creates a taste sensation that’s hard to resist. Plus, it’s a crowd-pleaser! Your friends and family will be asking for seconds, and you’ll love how quickly it disappears from the table.
Ingredients for Bird’s Milk Cake
Gathering the right ingredients is the first step to creating your Bird’s Milk Cake masterpiece. Here’s what you’ll need:
- All-purpose flour: The backbone of your cake, providing structure and texture.
- Granulated sugar: Sweetens the cake and helps it rise, giving that perfect fluffy texture.
- Unsweetened cocoa powder: Adds rich chocolate flavor without extra sweetness.
- Baking powder: A leavening agent that helps the cake rise beautifully.
- Baking soda: Works with the acidic buttermilk to create a light, airy cake.
- Salt: Enhances the flavors and balances the sweetness.
- Buttermilk: Adds moisture and a slight tang, making the cake tender.
- Vegetable oil: Keeps the cake moist and adds richness.
- Large eggs: Bind the ingredients together and provide structure.
- Vanilla extract: A must-have for that warm, comforting flavor.
- Heavy cream: The star of the whipped topping, creating a luscious finish.
- Powdered sugar: Sweetens the whipped cream and helps stabilize it.
- Gelatin: Ensures your whipped cream holds its shape and doesn’t collapse.
- Cold water: Used to bloom the gelatin, activating its thickening properties.
- Vanilla extract (for the cream): Adds an extra layer of flavor to the topping.
For those looking to switch things up, consider adding a tablespoon of instant coffee granules to the batter for a deeper flavor. If you’re aiming for a dairy-free version, coconut cream can be a fantastic substitute for the heavy cream. You can find all the exact measurements at the bottom of the article, ready for printing!
How to Make Bird’s Milk Cake
Step 1: Preheat and Prepare
Start by preheating your oven to 350°F (175°C). This ensures your Bird’s Milk Cake bakes evenly. While the oven warms up, grab a 9×13-inch baking pan. Grease it with butter or cooking spray, then dust it with flour. This step is crucial to prevent sticking. A well-prepared pan means a smooth release when it’s time to serve your delicious creation!
Step 2: Mix Dry Ingredients
In a large mixing bowl, whisk together the all-purpose flour, granulated sugar, unsweetened cocoa powder, baking powder, baking soda, and salt. This dry mix is the foundation of your cake. Make sure there are no lumps, as they can affect the texture. The cocoa powder will give your cake that rich chocolate flavor, so don’t skimp on this step!
Step 3: Combine Wet Ingredients
In another bowl, mix the buttermilk, vegetable oil, eggs, and vanilla extract. Whisk them together until well combined. The buttermilk adds moisture and a slight tang, while the oil keeps the cake tender. This mixture is where the magic begins, transforming simple ingredients into a luscious batter. Don’t rush; take your time to blend them well!
Step 4: Combine Mixtures
Now, pour the wet ingredients into the bowl with the dry ingredients. Gently stir until just combined. Be careful not to overmix; a few lumps are perfectly fine. Overmixing can lead to a dense cake, and we want that light, fluffy texture. This is where the excitement builds as you see the batter come together!
Step 5: Bake the Cake
Pour the batter into your prepared baking pan, smoothing the top with a spatula. Place it in the preheated oven and bake for 25-30 minutes. Keep an eye on it! You’ll know it’s done when a toothpick inserted into the center comes out clean. The aroma of chocolate will fill your kitchen, making it hard to wait!
Step 6: Prepare the Cream
While the cake cools, it’s time to prepare the whipped cream. In a small bowl, sprinkle the gelatin over the cold water and let it sit for about 5 minutes to bloom. Meanwhile, in a medium bowl, whip the heavy cream and powdered sugar until soft peaks form. Gently fold in the bloomed gelatin and vanilla extract. This will create a stable, fluffy topping for your cake!
Step 7: Assemble the Cake
Once the cake has cooled completely, spread the whipped cream mixture evenly over the top. Use a spatula to create a smooth layer. Refrigerate the cake for at least 2 hours to let the cream set. This chilling time is essential for the flavors to meld together. When you’re ready to serve, cut it into squares and enjoy the delightful layers of chocolate and cream!

Tips for Success
- Always measure your ingredients accurately for the best results.
- Let the cake cool completely before adding the whipped cream to prevent melting.
- Use a clean bowl and beaters when whipping cream for better volume.
- Chill your mixing bowl for the whipped cream; it helps achieve fluffy peaks.
- Experiment with flavors by adding extracts or spices to the batter.
Equipment Needed
- 9×13-inch baking pan: A standard size for this cake; you can use a round pan if preferred.
- Mixing bowls: A set of various sizes is handy; even a large pot can work in a pinch.
- Whisk: Essential for mixing; a fork can substitute in a hurry.
- Spatula: Great for spreading the cream; a butter knife can do the job too.
- Electric mixer: Ideal for whipping cream; a whisk works if you’re feeling strong!
Variations
- Mocha Delight: Add a tablespoon of instant coffee granules to the batter for a rich mocha flavor.
- Fruit Fusion: Top the whipped cream with fresh berries or sliced bananas for a fruity twist.
- Nutty Crunch: Fold in chopped nuts like walnuts or almonds into the batter for added texture.
- Dairy-Free Option: Substitute heavy cream with coconut cream for a delicious dairy-free version.
- Gluten-Free Version: Use a gluten-free all-purpose flour blend to make this cake gluten-free.
Serving Suggestions
- Pair with a scoop of vanilla ice cream for a delightful contrast in temperature and texture.
- Serve alongside a cup of freshly brewed coffee or a rich espresso to enhance the chocolate flavor.
- Garnish with chocolate shavings or fresh mint leaves for an elegant touch.
- Present on a decorative platter for a stunning centerpiece at gatherings.
FAQs about Bird’s Milk Cake
What is Bird’s Milk Cake?
Bird’s Milk Cake is a delightful dessert that features a rich chocolate cake base topped with a light and airy whipped cream layer. It’s known for its fluffy texture and delicious flavor, making it a favorite among dessert lovers.
Can I make Bird’s Milk Cake ahead of time?
Absolutely! This cake can be made a day in advance. Just be sure to refrigerate it after adding the whipped cream topping. This allows the flavors to meld beautifully and ensures a refreshing treat when you’re ready to serve.
How do I store leftovers?
Store any leftover Bird’s Milk Cake in an airtight container in the refrigerator. It should stay fresh for up to three days. Just be prepared for it to disappear quickly!
Can I use a different flavor for the cake?
Yes! While chocolate is traditional, you can experiment with different flavors. Consider using vanilla or even a citrus-flavored cake for a unique twist. Just adjust the ingredients accordingly to maintain the cake’s texture.
Is Bird’s Milk Cake suitable for special diets?
This cake can be adapted for various dietary needs. For a dairy-free version, substitute heavy cream with coconut cream. You can also use gluten-free flour to make it suitable for those with gluten sensitivities.
Final Thoughts
Creating Bird’s Milk Cake is more than just baking; it’s about crafting a moment of joy. The rich chocolate base paired with the light, fluffy cream topping brings a delightful contrast that dances on your taste buds. Each bite is a reminder of the simple pleasures in life, perfect for sharing with family and friends. Whether it’s a special occasion or a casual weeknight treat, this cake is sure to impress. So roll up your sleeves, embrace the process, and enjoy the sweet satisfaction of serving a dessert that truly delights everyone around the table.
Bird's Milk Cake: Discover This Delicious Recipe!
Ingredients
Method
- Preheat your oven to 350°F (175°C). Grease and flour a 9x13-inch baking pan.
- In a large mixing bowl, whisk together the flour, granulated sugar, cocoa powder, baking powder, baking soda, and salt.
- In another bowl, combine the buttermilk, vegetable oil, eggs, and 1 teaspoon of vanilla extract. Mix well.
- Pour the wet ingredients into the dry ingredients and stir until just combined. Do not overmix.
- Pour the batter into the prepared baking pan and smooth the top. Bake for 25-30 minutes, or until a toothpick inserted into the center comes out clean. Allow the cake to cool completely in the pan.
- While the cake is cooling, prepare the cream. In a small bowl, sprinkle the gelatin over the cold water and let it sit for about 5 minutes to bloom.
- In a medium bowl, whip the heavy cream and powdered sugar until soft peaks form. Gently fold in the bloomed gelatin and 1 teaspoon of vanilla extract until well combined.
- Once the cake has cooled, spread the whipped cream mixture evenly over the top. Refrigerate for at least 2 hours to set.
- Cut into squares and serve chilled.
Nutrition
Notes
- For a richer flavor, try adding a tablespoon of instant coffee granules to the batter.
- You can also substitute the heavy cream with coconut cream for a dairy-free version.

