

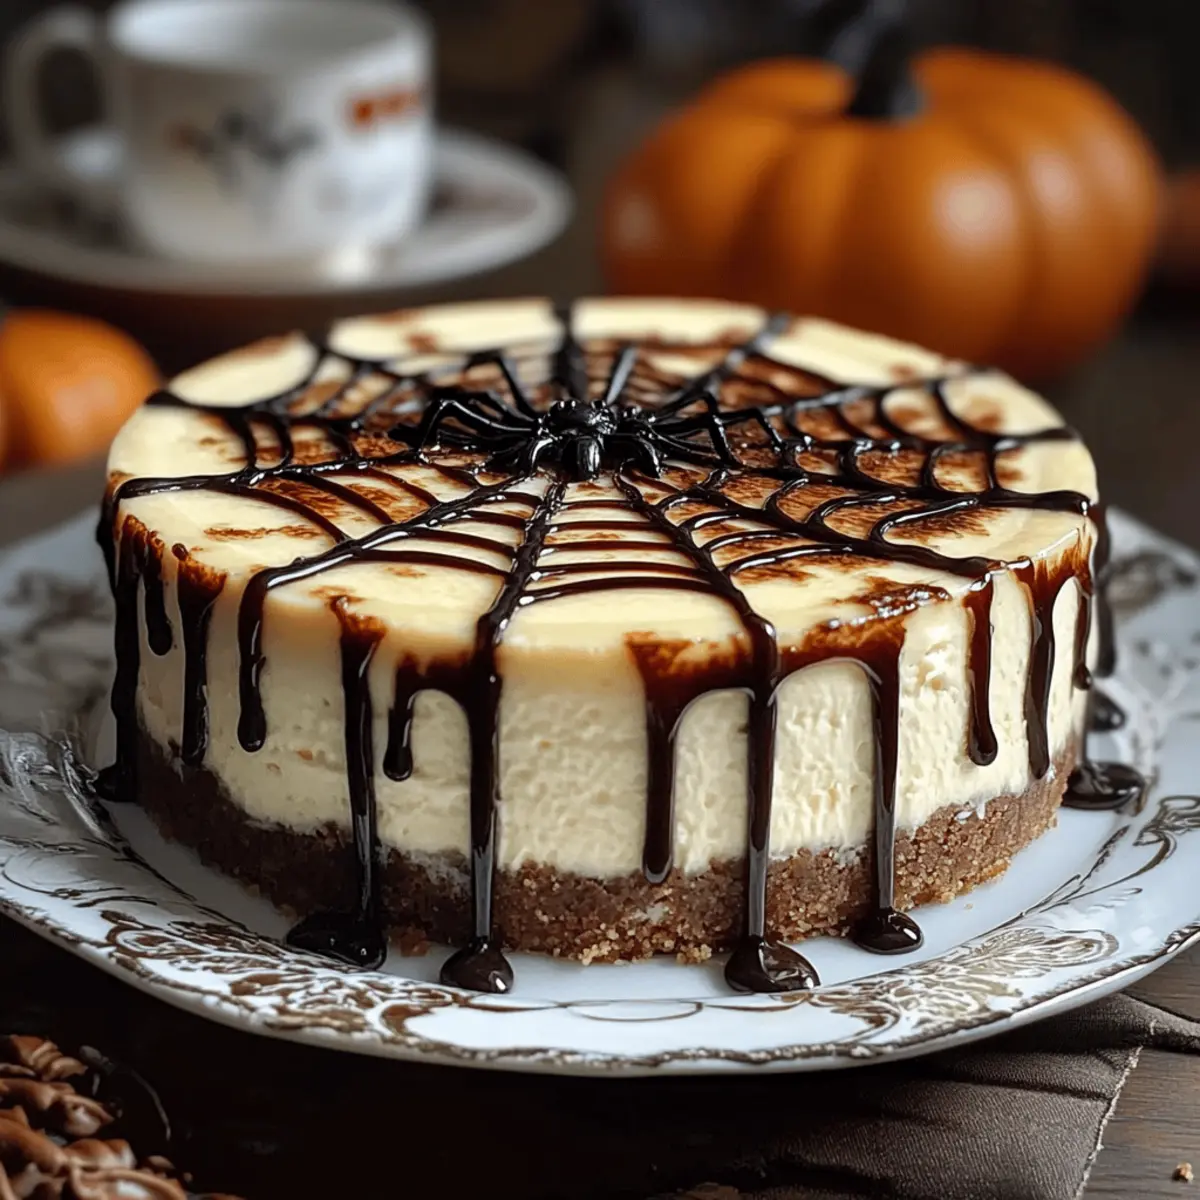
As I scoured my kitchen for inspiration one October evening, I stumbled upon an intriguing combination of flavors that would not only delight the taste buds but also capture the essence of Halloween. Enter the Spider Web Cheesecake—a visually striking treat that is as rich and creamy as it is festive. Perfect for beginners and those seeking to impress at gatherings, this dessert creates the ideal centerpiece for any spooky celebration. With just a handful of ingredients and a simple decorating technique, you’ll not only master a crowd-pleaser but also transform dessert time into a delightful experience. Ready to whip up something spooky and delicious? Let’s dive into this delectable creation that will leave your guests spellbound!
Why is Spider Web Cheesecake Unforgettable?
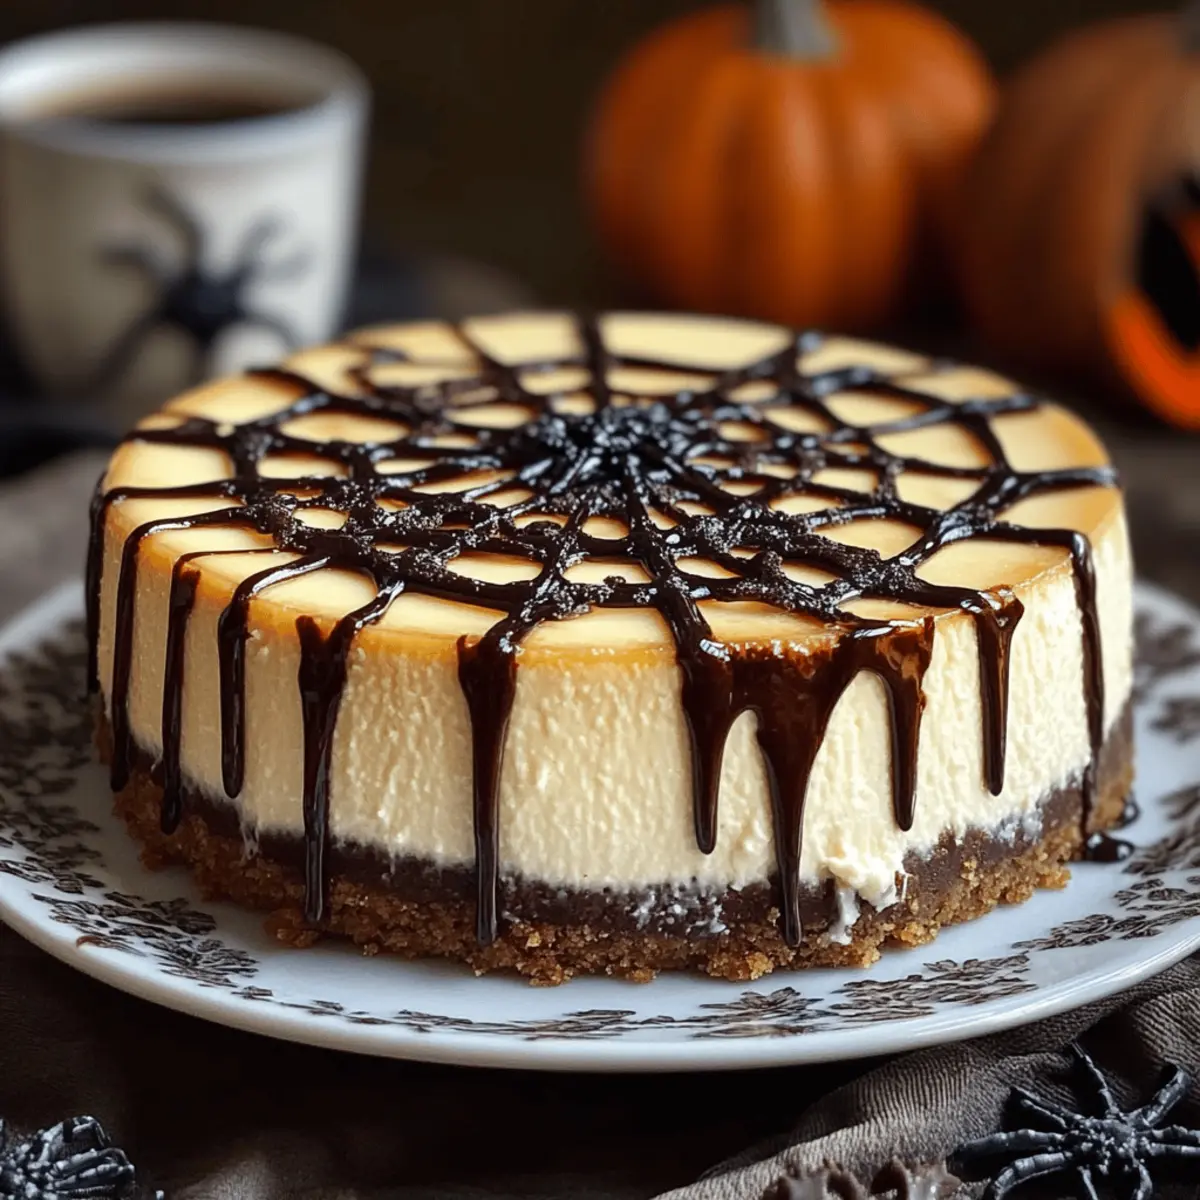
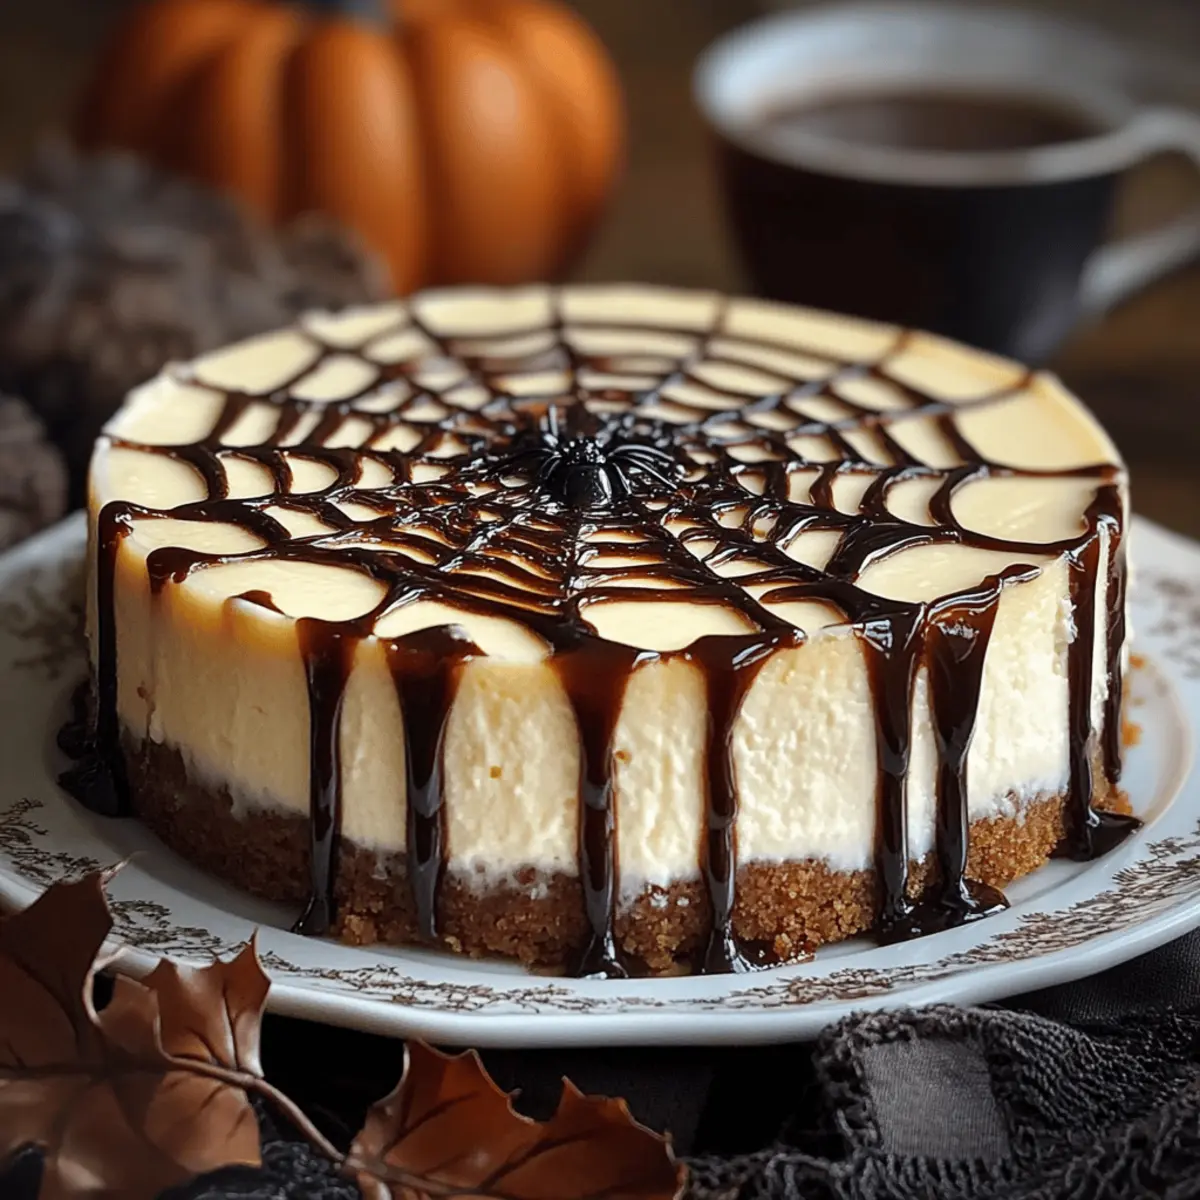
Visual Appeal: This stunning dessert steals the show with its eye-catching chocolate web design, guaranteed to wow your guests.
Beginner-Friendly: Even if you’re new to baking, you’ll find this cheesecake easy to prepare, making it perfect for any skill level.
Rich and Creamy: Each bite showcases a luxurious texture, combining a velvety filling with a crunchy chocolate crust that delights the senses.
Versatile for Occasions: While this Spider Web Cheesecake is ideal for Halloween, it can be easily adapted for birthdays or themed dinners, keeping celebrations exciting.
Make Ahead: Need to save time? This cheesecake tastes even better after a day in the fridge, allowing you to plan ahead and reduce stress on special occasions.
If you love creative desserts, check out my Mango Coconut Cheesecake for another treat that’s sure to impress!
Spider Web Cheesecake Ingredients
For the Crust
• Crushed Chocolate Cookies – Use Oreos (without filling) for the perfect base.
• Melted Unsalted Butter – This helps to bind the crust together securely.
• Granulated Sugar – Adds just the right amount of sweetness to balance the chocolate.
For the Cheesecake Filling
• Cream Cheese – The key to a rich, creamy texture; ensure it’s softened for smooth mixing.
• Granulated Sugar – Sweetens the filling and enhances flavor.
• Eggs – These provide structure and richness; use room temperature for smooth integration.
• Sour Cream – Adds creaminess and that delightful tang; opt for full-fat for the best taste.
• Vanilla Extract – Elevates the flavor profile beautifully.
• All-Purpose Flour (optional) – Helps stabilize the filling and prevent cracks if desired.
For the Spider Web Decoration
• Semi-Sweet Chocolate Chips or Melting Chocolate – Essential for creating the iconic spider web; white chocolate can be used for a varied look.
• Heavy Cream – Whisked with chocolate to make a silky topping for the web design.
• Gummy Spiders or Plastic Decorations – Optional garnishes that add a spooky touch to your cheesecake.
This Spider Web Cheesecake is not only stunning but also a delight to savor, making it a perfect addition to your Halloween festivities!
Step‑by‑Step Instructions for Spider Web Cheesecake
Step 1: Preheat the Oven
Begin by preheating your oven to 325°F (163°C). This temperature ensures that your Spider Web Cheesecake bakes evenly and comes out with the right texture. It’s essential to do this first so the oven is ready when you’re prepared to bake the crust.
Step 2: Prepare the Crust
In a mixing bowl, combine the crushed chocolate cookies, melted unsalted butter, and granulated sugar. Mix until the mixture resembles wet sand. Press this mixture firmly into the bottom of a 9-inch springform pan to create a solid crust. Aim for an even layer that holds together nicely.
Step 3: Bake the Crust
Place the crust in the preheated oven and bake for 8–10 minutes. You’ll know it’s ready when it looks slightly firm and aromatic. Once baked, remove it from the oven and allow it to cool completely while preparing the cheesecake filling.
Step 4: Beat the Cream Cheese
In a large mixing bowl, beat the softened cream cheese with an electric mixer on medium speed until smooth and creamy, about 2–3 minutes. This step is crucial for the rich texture of your cheesecake. After it’s smooth, gradually add the granulated sugar and continue mixing until fully combined.
Step 5: Add Eggs and Sour Cream
With the mixer on low speed, add the room temperature eggs one at a time, ensuring each egg is fully integrated before adding the next. After incorporating the eggs, stir in the sour cream and vanilla extract until the mixture is well blended and creamy.
Step 6: Optional Flour Addition
If you’re using all-purpose flour to help stabilize the filling, gently fold it into the mixture now. This step is optional but can prevent cracks in your Spider Web Cheesecake. Once mixed, pour the filling over the cooled crust, tapping the pan lightly to release any air bubbles trapped inside.
Step 7: Set Up the Water Bath
Prepare a water bath to help maintain moisture while baking. Place the springform pan into a larger roasting pan and add hot water to the roasting pan until it reaches halfway up the sides of the cheesecake pan. This method will ensure a smooth, crack-free cheesecake.
Step 8: Bake the Cheesecake
Insert the water bath setup into your preheated oven and bake for 55–65 minutes. The edges should appear set, while the center will slightly jiggle when gently shaken. This combination is key for achieving that creamy texture we love in the Spider Web Cheesecake.
Step 9: Cool in the Oven
When baking time is up, turn off the oven and crack the door open to let the residual heat escape. Allow your cheesecake to cool inside the oven for one hour. This gentle cooling process helps prevent cracks and promotes a silky finish.
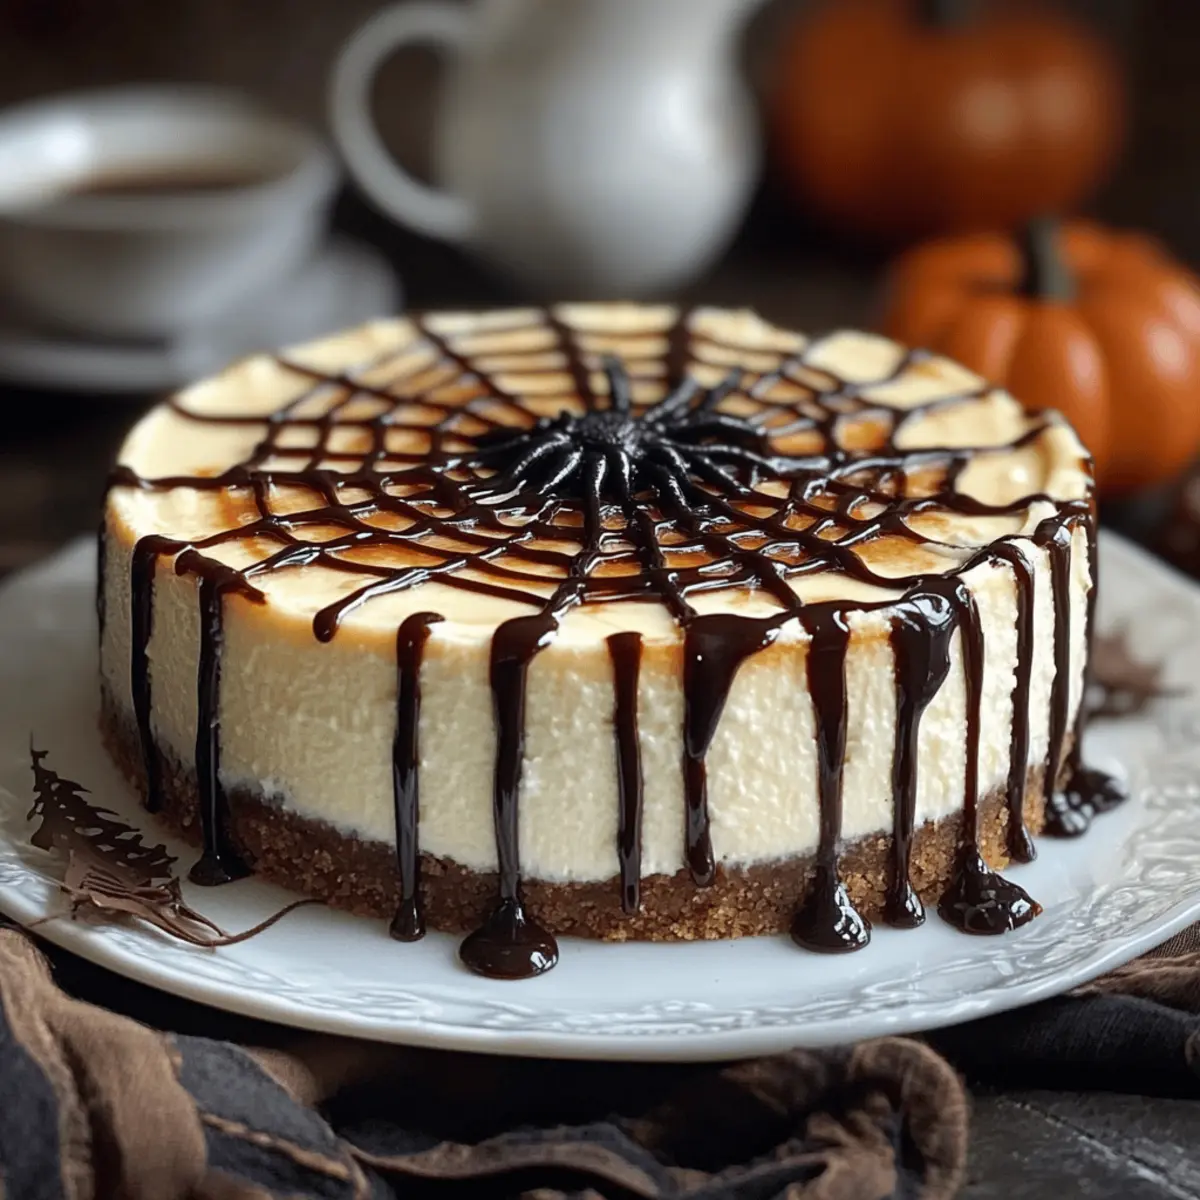
Step 10: Create the Spider Web Design
For the spider web decoration, melt the semi-sweet chocolate and heavy cream together in a small saucepan over low heat, stirring until smooth. Once melted, use a piping bag to create circles on the cooled cheesecake; then, drag a toothpick through the circles to form the web pattern.
Step 11: Chill Before Serving
Place your decorated Spider Web Cheesecake in the refrigerator and chill for at least 4 hours or preferably overnight. This chilling time is crucial for the flavors to meld and for the cheesecake to set properly before serving.
Expert Tips for Spider Web Cheesecake
- Room Temperature Ingredients: Ensure all dairy ingredients, especially cream cheese and eggs, are at room temperature for a stunningly smooth filling.
- Avoid Overmixing: Mix your filling just until combined. Overmixing can introduce air, leading to cracks in your Spider Web Cheesecake.
- Use a Water Bath: This technique prevents cracks by providing moisture during baking, resulting in a perfectly creamy texture.
- Chill Properly: Adequate chilling time is key; allow at least 4 hours for proper setting to enhance flavors and texture.
- Practice Your Piping: Before piping on the web design, practice the technique on parchment paper to build confidence and achieve a perfect look.
Spider Web Cheesecake Variations & Substitutions
Feel free to get creative with this recipe and make it your own – your taste buds will thank you!
-
Pumpkin Spice: Add 1 cup of pumpkin puree and 1 teaspoon of pumpkin pie spice to the filling for a festive fall twist. This variation brings a cozy warmth that pairs perfectly with Halloween.
-
Dairy-Free: Substitute cream cheese with a dairy-free alternative made from nuts or tofu, and use coconut whipped cream to create a luscious texture. You won’t miss the dairy with this easily customizable option.
-
Gluten-Free Crust: Use gluten-free cookie crumbs instead of chocolate cookies for a delicious crust that everyone can enjoy. This simple swap ensures everyone can partake in the festive fun.
-
Toppings Galore: Switch up the chocolate web with vibrant toppings like crushed candies or sprinkles that match your party theme. Candy eyes can create a whimsical presence for a fun and lively add-on!
-
Chocolate Chip Variation: Stir in 1 cup of semi-sweet chocolate chips into the filling for extra decadence. These little bursts of chocolate will surprise your guests and elevate every slice.
-
Caramel Drizzle: Add a drizzle of caramel sauce over the top to give it a sweet contrast against the rich chocolate. This sweet addition brings a touch of indulgence that your guests will love.
-
White Chocolate Web: For an alternative look, swap semi-sweet chocolate for melted white chocolate in the spider web design. This creates a striking contrast and adds a delightful sweetness.
-
Spicy Kick: Add a touch of cayenne pepper or cinnamon into the filling to give it a warm kick. This unexpected twist can elevate your cheesecake to a whole new level of flavor.
For some other tasty cheesecake ideas, try my delicious Dulce Leche Cheesecake Bars or the rich Turtle Cheesecake Dessert. Let your creativity shine in the kitchen!
How to Store and Freeze Spider Web Cheesecake
Fridge: Store Spider Web Cheesecake in the refrigerator, covered with plastic wrap or placed in an airtight container, for up to 5 days. This keeps it fresh and helps maintain its creamy texture.
Freezer: For longer storage, wrap the cheesecake slices tightly in plastic wrap, then in aluminum foil, and freeze for up to 2 months. Thaw overnight in the refrigerator before enjoying.
Make-Ahead: This cheesecake can be made a day in advance. In fact, it tastes even better after chilling overnight, allowing the flavors to meld beautifully.
Reheating: While cheesecake is best enjoyed cold, if you prefer it slightly warm, let it sit at room temperature for about 30 minutes. This enhances its rich, creamy texture.
What to Serve with Spider Web Cheesecake?
Each slice of this creamy delight deserves the perfect companions to enhance your Halloween celebration.
- Whipped Cream: A dollop of freshly whipped cream brings lightness to the rich cheesecake, creating a lovely contrast.
- Caramel Sauce: Drizzle warm caramel over each slice for a sweet, gooey addition that complements the chocolate crust beautifully.
- Pumpkin Spice Latte: This warming beverage adds a festive touch, echoing the seasonal flavors of Halloween and enhancing the cozy experience.
- Chocolate-Covered Strawberries: Sweet and juicy strawberries dipped in chocolate add freshness and a bright pop of color to your dessert table.
- Candy Corn: Scatter this classic Halloween treat around the cheesecake for a vibrant and playful touch that evokes nostalgia.
- Vanilla Ice Cream: A scoop of vanilla ice cream beside the cheesecake creates a delightful temperature contrast, enhancing the creamy texture.
- Festive Fruit Platter: Fresh fruits like apples and pears offer a refreshing crunch, balancing the cheesecake’s richness while adding seasonal flair.
- Hot Apple Cider: A warm cup of spiced apple cider pairs perfectly with the dessert, enhancing the festive mood with comforting flavors.
- Chocolate Mousse Cups: For a mini dessert extravaganza, serve individual cups of chocolate mousse; their velvety texture echoes the cheesecake’s richness.
Make Ahead Options
These Spider Web Cheesecakes are perfect for meal prep enthusiasts! You can prepare the crust and filling up to 24 hours in advance, allowing you to save time on busy days. To do this, make the crust and filling as directed, then cover the cheesecake tightly with plastic wrap and refrigerate. For the spider web decoration, make it just before serving to ensure it looks fresh and inviting. If you prefer, you can also chill the cheesecake overnight after baking; it tastes even better the next day! Just remember, chilling is crucial for flavor development, ensuring each bite remains just as delicious as when freshly made.
Spider Web Cheesecake Recipe FAQs
What type of chocolate cookies should I use for the crust?
Absolutely! I recommend using crushed Oreos without the filling; their rich chocolate flavor perfectly complements the creamy cheesecake filling.
How long can I store the Spider Web Cheesecake in the fridge?
You can keep your cheesecake in the refrigerator for up to 5 days. Make sure to cover it with plastic wrap or store it in an airtight container to maintain its fresh taste and creamy texture.
Can I freeze Spider Web Cheesecake?
Yes! For freezing, wrap individual slices tightly in plastic wrap, then in aluminum foil. This method will preserve their deliciousness for up to 2 months. When you’re ready to enjoy, simply thaw overnight in the refrigerator for best results.
What if my cheesecake cracks while baking?
No worries! Cracking can happen, but using a water bath like I mentioned in the instructions minimizes the risk. Additionally, avoid overmixing your filling to keep it smooth and gentle. If cracks still appear, a chocolate spider web decoration will cleverly disguise them!
Are there any dietary considerations for this recipe?
If you have dietary restrictions, it’s essential to note that this cheesecake contains dairy and gluten. For a gluten-free version, opt for gluten-free chocolate cookies in the crust. Always check ingredients if any guests have allergies, especially if using decorations like gummy spiders, as they may contain allergens.
Deliciously Spooky Spider Web Cheesecake for Halloween Fun
Ingredients
Equipment
Method
- Preheat your oven to 325°F (163°C).
- In a mixing bowl, combine crushed chocolate cookies, melted unsalted butter, and granulated sugar. Mix until resembling wet sand, then press into a 9-inch springform pan.
- Bake the crust for 8–10 minutes until slightly firm. Cool completely.
- Beat softened cream cheese on medium speed until smooth. Gradually add granulated sugar and mix until fully combined.
- Add room temperature eggs one at a time, mixing well after each. Stir in sour cream and vanilla extract.
- If using, fold in all-purpose flour. Pour mixture over the cooled crust.
- Prepare a water bath by placing the springform pan in a larger roasting pan and adding hot water halfway up the sides of the cheesecake pan.
- Bake for 55–65 minutes until edges are set and center jiggles slightly.
- Turn off the oven, crack the door, and cool the cheesecake inside for one hour.
- Melt chocolate and heavy cream together. Use a piping bag to create circles on the cooled cheesecake and drag a toothpick through to form a web.
- Chill in the refrigerator for at least 4 hours or overnight before serving.