

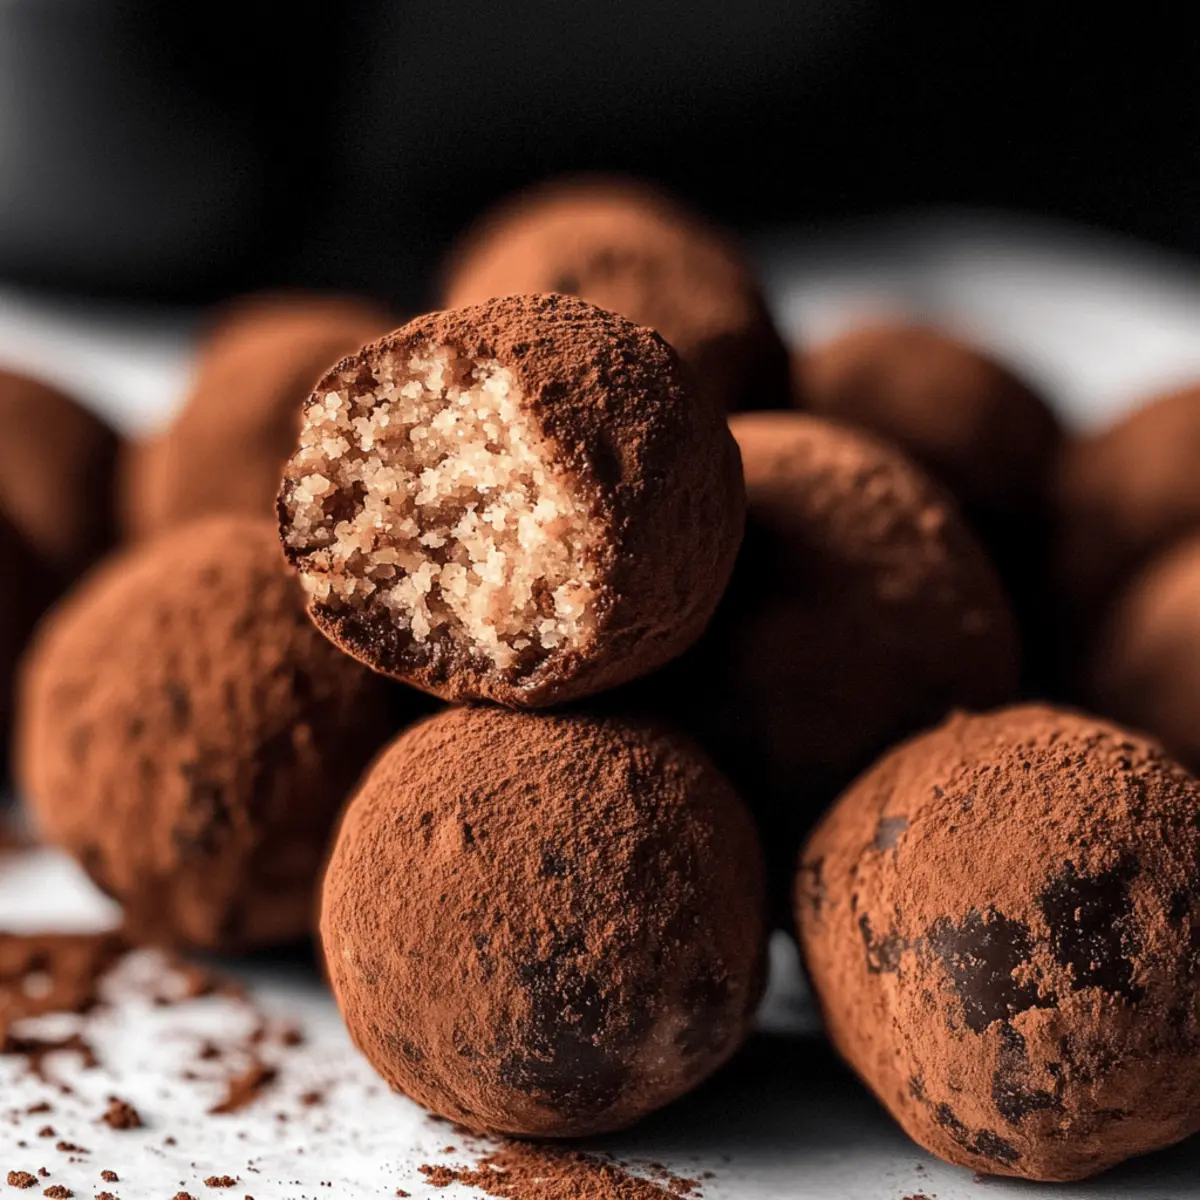
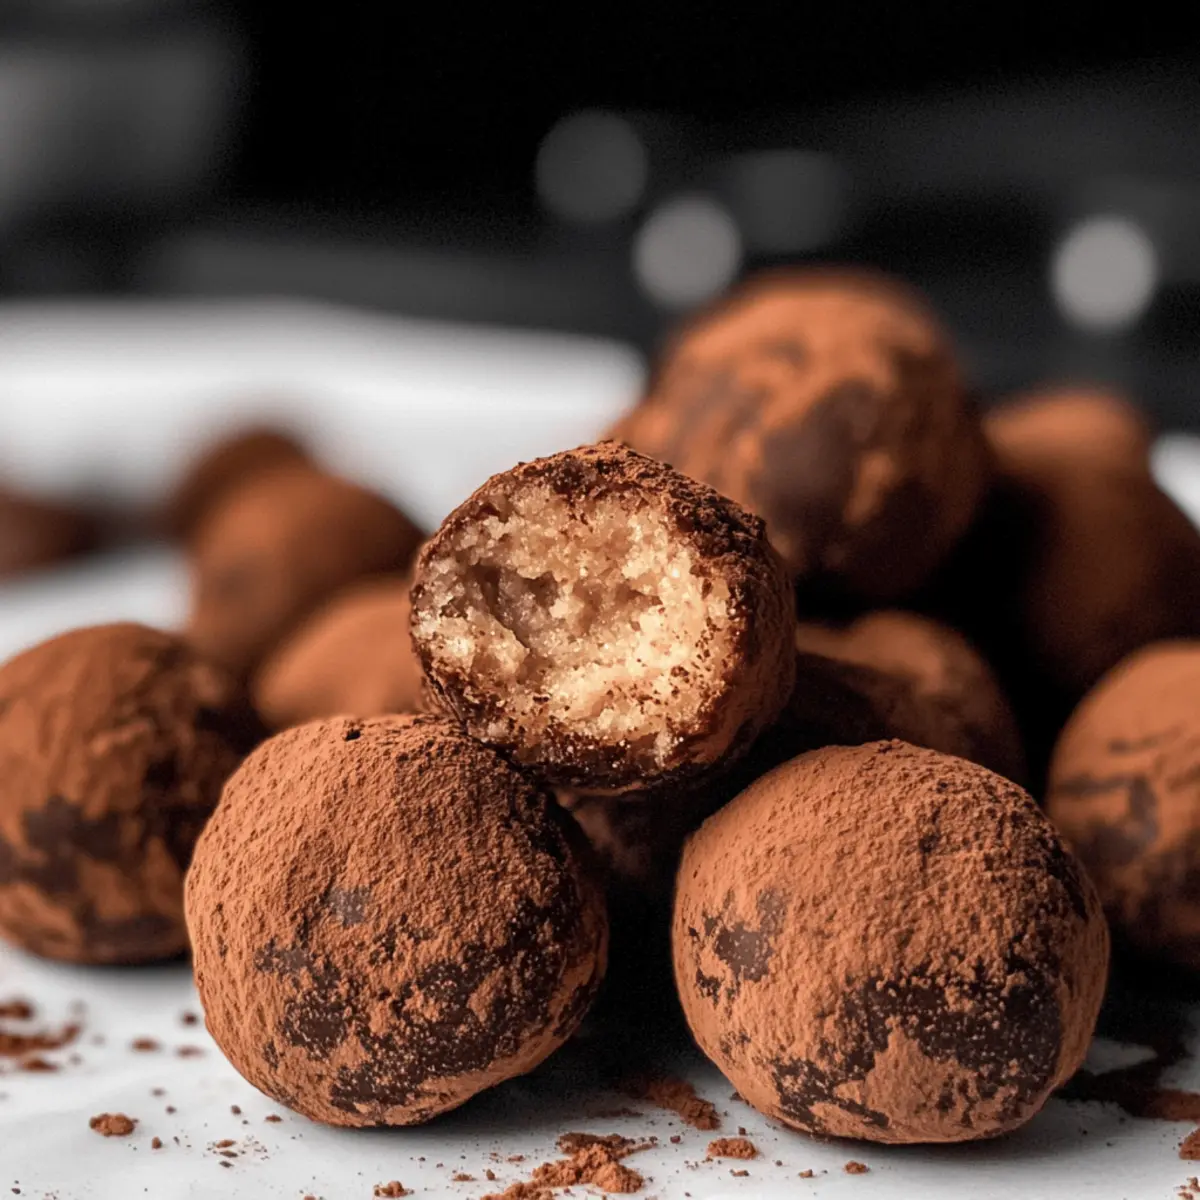
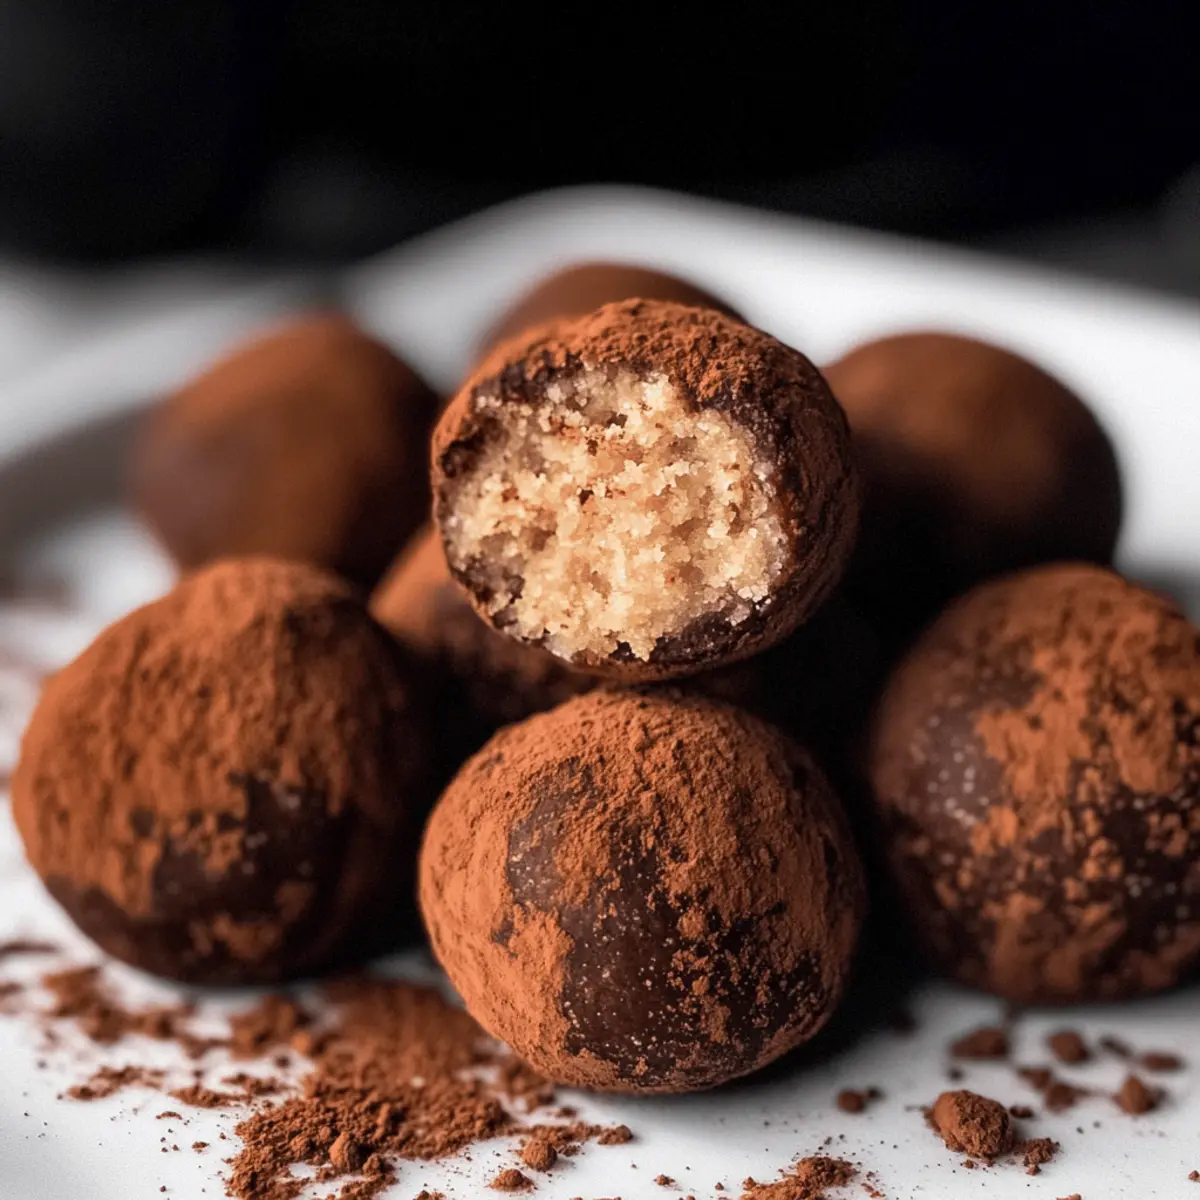
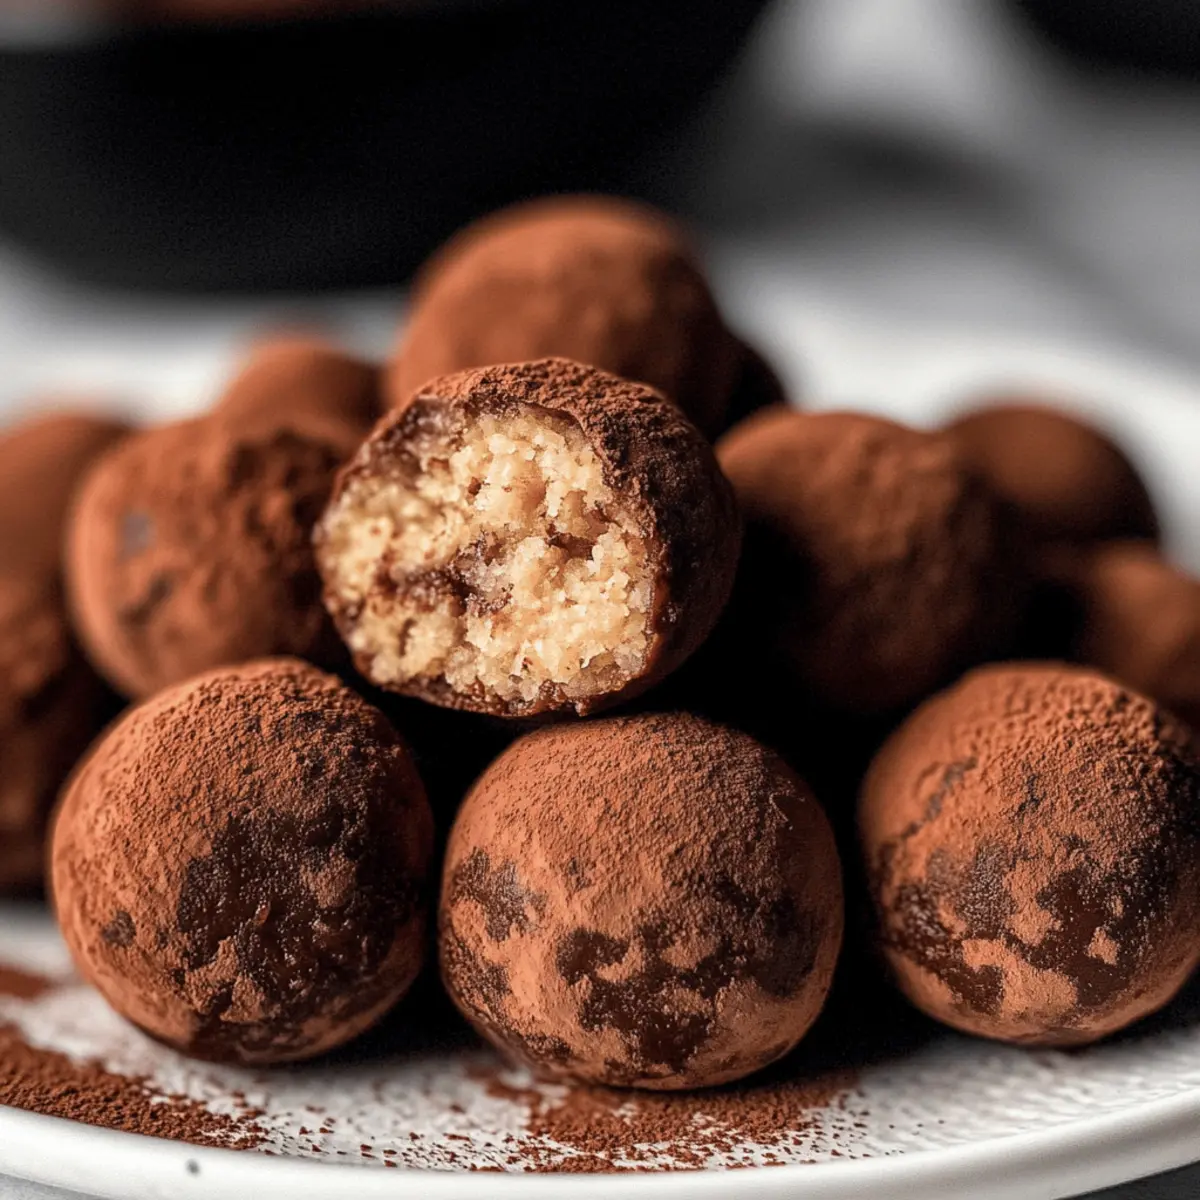
As I rummaged through my kitchen, I stumbled upon the perfect way to elevate my dessert game: Tiramisu Balls. These no-bake truffles are not only a delightful nod to the classic Italian dessert but also a lifesaver for those hectic days when time is tight. With just a quick 10-minute prep, you can whip up a batch of creamy, coffee-infused treats that are bound to impress both friends and family. The best part? They’re incredibly versatile, allowing you to customize them with various toppings to match any occasion. Whether you’re hosting a gathering or simply looking to satisfy your sweet tooth, these Tiramisu Balls are your go-to solution for an easy, crowd-pleasing dessert. What flavor combinations will you dream up?
Why Will You Love Tiramisu Balls?
Simplicity in Preparation: With a no-bake method, these Tiramisu Balls come together in just 10 minutes — perfect for busy days when you’re craving something sweet without the fuss.
Rich, Creamy Indulgence: Each bite bursts with the luxurious flavors of coffee and mascarpone cheese, delivering an authentic tiramisu experience in truffle form.
Endless Customization: From unique toppings like nuts to colorful sprinkles, you can easily adapt this dessert to suit any occasion or guest preferences.
Crowd-Pleasing Delight: These bite-sized treats are perfect for gatherings, ensuring everyone leaves with a smile and a delicious taste of Italy.
Storage Made Easy: They store well in the fridge, allowing you to prepare them ahead of time and enjoy them fresh for days. Give your dessert table a boost with these delightful Tiramisu Balls!
Tiramisu Balls Ingredients
• Ready to create some delightful Tiramisu Balls? Let’s gather your ingredients!
For the Base
- Lady Fingers – They provide the essential structure and flavor; ensure they are dry for the perfect blend.
- Mascarpone Cheese – This creamy delight is key to achieving that rich truffle texture; feel free to substitute with cream cheese for a twist.
- Powdered Sugar – Adds the right amount of sweetness; you can adjust based on your preference, but granulated sugar will change the texture.
For the Coating
- Cocoa Powder – A classic choice for coating, it enhances flavor but may add a hint of bitterness; balance with more sugar if needed.
- Chocolate (for dipping) – Elevates taste and texture; choose from white, semi-sweet, milk, or dark chocolate to cater to your taste.
Enjoy making these delicious Tiramisu Balls that are sure to impress!
Step‑by‑Step Instructions for Tiramisu Balls
Step 1: Prep the Base
Start by placing the dry lady fingers in a mini food processor. Pulse until you achieve fine crumbs, similar to sandy texture. This should take about 1-2 minutes. Ensure the crumbs are uniform for a smooth truffle mixture. Once ready, transfer the crumbs to a mixing bowl to prepare for the next step in making your Tiramisu Balls.
Step 2: Mix Ingredients
In the bowl with the lady finger crumbs, add mascarpone cheese and powdered sugar. Using a spatula, blend them together thoroughly until you have a smooth and uniform mixture, which will take around 2-3 minutes of mixing. You should see a creamy consistency come together, embodying the essence of your decadent Tiramisu Balls.
Step 3: Chill the Mixture
Cover the mixed ingredients and place them in the refrigerator for about 15 minutes. This chilling step allows the mixture to firm up, making it easier to roll into balls later. After 15 minutes, it should be slightly hardened but still pliable—a perfect texture for your delightful Tiramisu Balls.
Step 4: Form Truffles
Once chilled, use a small cookie scoop to portion out the mixture, taking about a tablespoon at a time. Roll each portion between your palms to create smooth balls. Aim for a consistent size, about 1 inch in diameter, to ensure even coating and presentation for your Tiramisu Balls.
Step 5: Coat the Truffles
For a classic touch, roll the formed truffles in cocoa powder until fully coated. Alternatively, melt your chocolate of choice in a microwave or double boiler, and dip each ball, ensuring they are fully covered in chocolate. Chill again on a baking sheet lined with parchment paper for about 10 minutes, allowing the coatings to set and solidify on your Tiramisu Balls.
Step 6: Store
Once set, place the Tiramisu Balls in an airtight container. Keep them wrapped in plastic wrap or in the refrigerator, where they will stay fresh for up to 3-4 days. This easy storage method ensures that your delightful treats are ready to enjoy whenever a sweet craving strikes!
What to Serve with Tiramisu Balls
Indulging in these decadent bites opens up a world of delightful meal possibilities, creating an unforgettable dining experience.
-
Espresso: A classic match, serving a small cup of strong espresso highlights the coffee notes in the Tiramisu Balls.
-
Whipped Cream: Light and airy, a dollop of freshly whipped cream beautifully complements the rich flavors, adding a touch of elegance.
-
Fruit Salad: A refreshing mixture of seasonal fruits balances the sweetness of the truffles, providing a burst of freshness.
-
Chocolate-Dipped Strawberries: The sweetness and slight acidity of strawberries dipped in chocolate make for a perfect pairing with the creamy truffles.
-
Vanilla Ice Cream: This creamy, cool treat is the ideal complement to the rich tiramisu flavors, creating a delightful contrast in texture.
-
Limoncello: A small glass of this vibrant Italian liqueur cleanses the palate, while enhancing the overall dessert experience with its citrus notes.
These pairings elevate your dessert spread and ensure a memorable finish to any meal!
Make Ahead Options
These Tiramisu Balls are perfect for meal prep enthusiasts! You can prepare the base mixture up to 24 hours in advance, simply following the instructions to blend and chill the mixture. Once ready to roll, ensure the mixture is firm by refrigerating it for those hours. You can also form the truffles and store them rolled in cocoa powder or dipped in chocolate, keeping them fresh in an airtight container in the refrigerator for up to 3-4 days. To serve, just remove them from the fridge and enjoy these indulgent bites, which will be just as delicious despite the prep! This way, you’ll have a sweet treat ready to go on those busy weeknights.
Expert Tips for Tiramisu Balls
-
Choose the Right Lady Fingers: Opt for dry, crisp lady fingers for the best texture; soft ones can lead to a soggy truffle mixture.
-
Adjust Sweetness Wisely: If you find cocoa powder too bitter, balance it with more powdered sugar to achieve the perfect flavor for your Tiramisu Balls.
-
Chill for Perfect Dipping: Make sure the truffles are well-chilled before dipping in chocolate; this prevents them from falling apart during the coating process.
-
Experiment with Toppings: Don’t hesitate to get creative! Try rolling your Tiramisu Balls in granulated sugar, nuts, or colorful sprinkles for a festive touch.
-
Store Properly: Keep your Tiramisu Balls wrapped tightly in the fridge, where they’ll stay fresh for 3-4 days—ideal for satisfying sweet cravings throughout the week.
Tiramisu Balls: Flavorful Variations
Feel free to get creative with your Tiramisu Balls, turning them into delightful treats tailored to your taste buds!
-
Nutty Delight: Roll the truffles in finely chopped hazelnuts or almonds for added crunch and flavor. These nuts beautifully complement the creamy texture while enhancing your Tiramisu experience.
-
Coconut Bliss: Coat your Tiramisu Balls in shredded coconut for a tropical twist. The sweet, chewy texture of coconut paired with coffee and chocolate brings an exciting spin to the classic recipe.
-
Zesty Lemon: Add a few drops of lemon extract to the mixture and roll the finished truffles in lemon zest. This refreshing flavor can brighten your dessert and offer a pop of citrus against the coffee notes.
-
Spiced Kick: Mix a pinch of cinnamon or nutmeg into the mascarpone filling for a warm spice that enhances the coffee flavor. Spicy accents elevate these truffles to a whole new level of comfort.
-
Minty Fresh: Incorporate mint extract instead of vanilla into your mixture, then roll in crushed peppermint candies after coating in chocolate. These minty Tiramisu Balls are sure to awaken the senses and bring a refreshing vibe!
-
Liqueur Infusion: Swap a tablespoon of water with coffee liqueurs like Kahlúa or Frangelico for an adult twist. This adds depth to the flavor and makes these treats perfect for a dinner party.
-
White Chocolate Dipped: Instead of traditional dark chocolate, dip your truffles in white chocolate and roll in crushed espresso beans. The blend of sweetness and coffee creates a sophisticated dessert that will impress any guest.
-
Caramel Drizzle: After cooling, drizzle your Tiramisu Balls with a bit of caramel sauce. This creates a delightful sweet contrast, adding an extra layer of flavor that’s simply irresistible.
Experiment with these ideas, and even consider mixing and matching your favorites! With so many options, your Tiramisu Balls can be a personalized treat each time you make them. And if you’re in the mood for more tasty adventures, check out our other delightful recipes like Chocolate Truffles and No-Bake Cheesecake!
How to Store and Freeze Tiramisu Balls
Fridge: Keep your Tiramisu Balls wrapped tightly in plastic wrap or in an airtight container. They will remain fresh for up to 3-4 days, perfect for enjoying at any time.
Freezer: For longer storage, freeze your Tiramisu Balls. Place them in a single layer on a baking sheet to freeze for about an hour, then transfer to an airtight container or freezer bag. They can be stored for up to 2 months.
Reheating: If frozen, allow the Tiramisu Balls to thaw in the refrigerator overnight before serving. Avoid reheating, as these truffles are best enjoyed chilled and fresh!
Toppings Reminder: When ready to serve, feel free to roll your thawed Tiramisu Balls in additional cocoa powder or other toppings for a refreshed touch.
Tiramisu Balls Recipe FAQs
How do I select the right lady fingers for Tiramisu Balls?
Absolutely! For the best results, look for dry and crisp lady fingers. They provide the essential texture and flavor for your Tiramisu Balls. Soft lady fingers can lead to a runny mixture, making it difficult to form the truffles.
What’s the best way to store Tiramisu Balls and how long do they last?
Very easy! Keep your Tiramisu Balls tightly wrapped in plastic wrap or in an airtight container in the refrigerator. They will stay fresh for up to 3-4 days, making it a perfect sweet treat to grab whenever you have a craving.
Can I freeze Tiramisu Balls? If so, how?
Certainly! To freeze your Tiramisu Balls, lay them in a single layer on a baking sheet and freeze for about an hour until they are firm. Then transfer them to an airtight container or freezer bag. They can be stored frozen for up to 2 months. When you’re ready to enjoy, simply let them thaw in the fridge overnight.
What if my mixture is too runny to form balls?
No worries! If your mixture is too runny, it’s likely that the lady fingers weren’t dry enough. You can try adding a bit more powdered sugar to thicken it up. Chill the mixture in the refrigerator for 15-20 minutes more to help it firm up. Once it’s thick enough, you should be good to go!
Do Tiramisu Balls contain any allergens I should be aware of?
Definitely! Tiramisu Balls typically contain gluten (from the lady fingers), dairy (from mascarpone), and potentially nuts if you choose to add them as toppings. If you’re making these for someone with allergies, look for gluten-free lady fingers and ensure that your chocolate is allergy-safe as well.
What can I use instead of mascarpone cheese in Tiramisu Balls?
Great question! If you need a substitution, you can use cream cheese, which will give you a different flavor profile but still create a creamy texture. I often recommend mixing it with a bit of sour cream for extra creaminess. Enjoy your delicious Tiramisu Balls!
Deliciously Easy Tiramisu Balls Perfect for Any Sweet Tooth
Ingredients
Equipment
Method
- Start by placing the dry lady fingers in a mini food processor. Pulse until you achieve fine crumbs, similar to sandy texture.
- In the bowl with the lady finger crumbs, add mascarpone cheese and powdered sugar. Blend together until you have a smooth mixture.
- Cover the mixed ingredients and place them in the refrigerator for about 15 minutes to firm up.
- Use a small cookie scoop to portion out the mixture, rolling each portion into smooth balls.
- Roll the formed truffles in cocoa powder or dip in melted chocolate, then chill again for about 10 minutes.
- Place the Tiramisu Balls in an airtight container and store in the fridge for up to 3-4 days.