

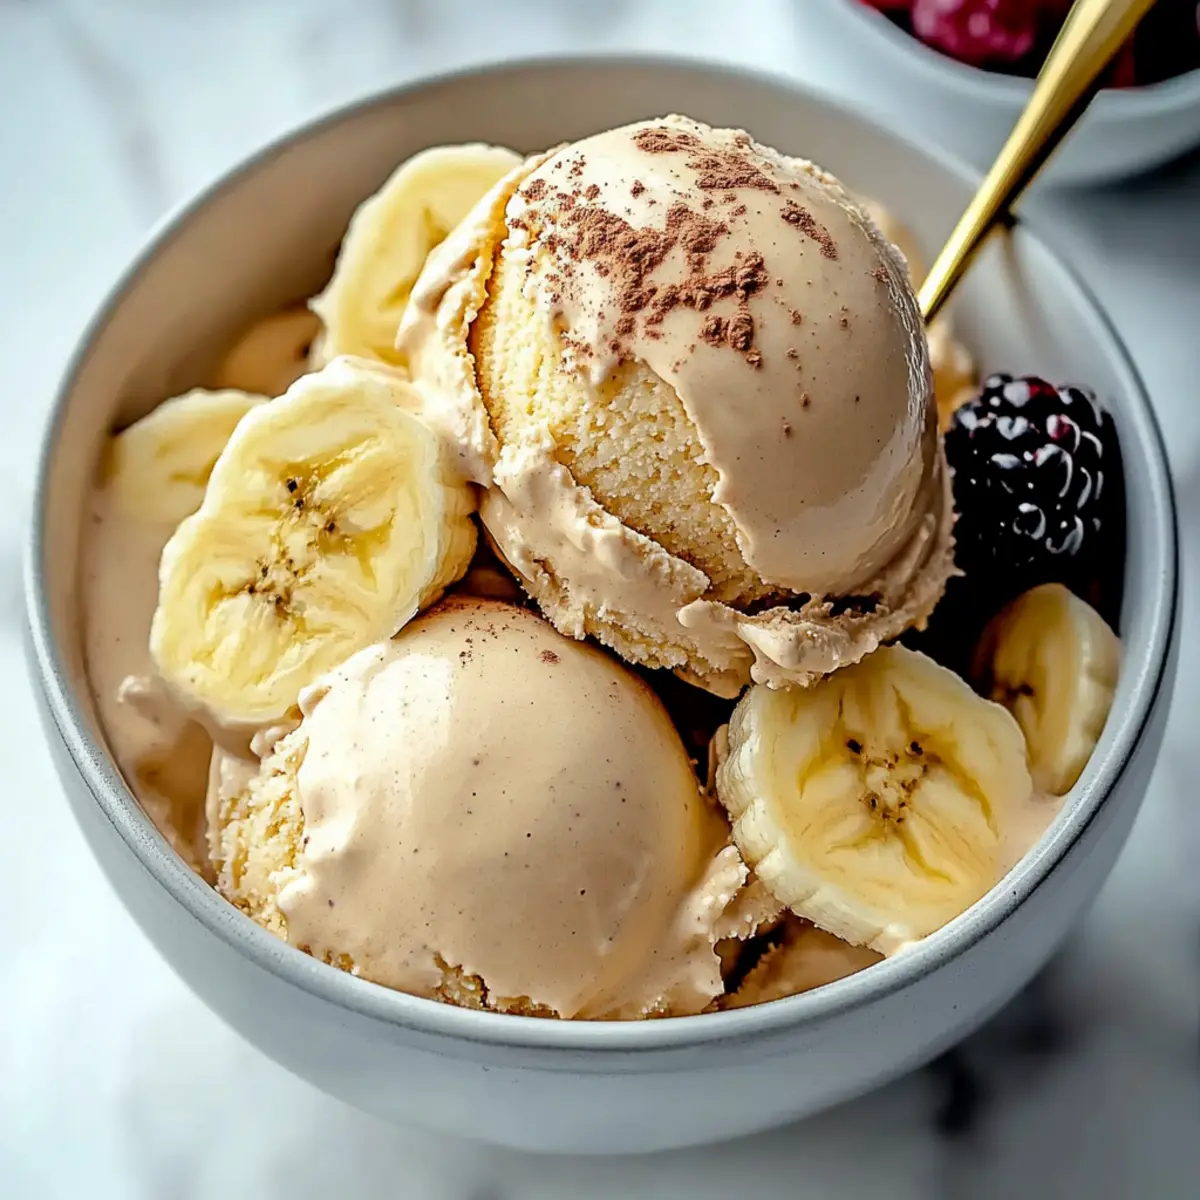
Tucked away in the heart of your kitchen, a magical treat awaits you—the Guilt-Free Creamy Banana Protein Ice Cream. One night, feeling adventurous yet craving something sweet, I decided to whip up this delightful dessert, and it has since become my secret weapon for satisfying my sweet tooth without straying from my health goals. With just four simple ingredients, this recipe promises a creamy finish that not only offers a nourishing boost of protein but is also completely dairy-free and vegan. The best part? You can customize it with fun mix-ins that elevate your healthy indulgence to new heights! So, are you ready to discover the joy of guilt-free ice cream that’s perfect for post-workout recovery or a sweet summer treat?
Why is this ice cream a must-try?
Guilt-Free Pleasure: You can indulge without the calories weighing you down!
Quick and Easy: Whip this up in less than 15 minutes, no fancy equipment needed.
Versatile Mix-Ins: With options like chocolate or nut butter, the possibilities are endless! Whether you want a tropical vibe or a chocolate fix, this recipe has you covered.
Healthy Treat: Each scoop offers a nutritious alternative packed with protein, making it perfect for post-workout fuel or satisfying cravings.
Dairy-Free Delight: Enjoy a creamy texture without any dairy, catering to various dietary preferences. If you love easy-to-make desserts, check out our Garlic Parmesan Steak Pasta for another flavor adventure!
Creamy Banana Protein Ice Cream Ingredients
Craft your guilt-free dessert with these simple ingredients!
For the Base
- Ripe Bananas – Adds natural sweetness and creaminess; use well-ripened bananas with speckles for the best flavor.
- Vanilla Protein Powder – Provides a nutritious protein boost; try chocolate protein powder for a decadent variation!
- Unsweetened Almond Milk – Contributes to a smooth texture while keeping it dairy-free; use coconut milk for a creamy twist.
- Vanilla Extract – Enhances the overall flavor and aroma of your ice cream.
Step‑by‑Step Instructions for Creamy Banana Protein Ice Cream
Step 1: Prepare Bananas
Slice two ripe bananas into small pieces, ensuring they are well-ripened with speckles for maximum flavor. Spread the banana slices out in a single layer on a baking sheet and place them in the freezer for 1-2 hours until they are firm and fully frozen. This step is crucial for achieving a creamy texture in your Creamy Banana Protein Ice Cream.
Step 2: Blend Ingredients
Once the banana slices are frozen, gather a high-powered blender. Add the frozen banana pieces, 1 scoop of vanilla protein powder, ½ cup of unsweetened almond milk, and 1 teaspoon of vanilla extract into the blender. Blend on high for 1-2 minutes, stopping to scrape down the sides as needed, until the mixture is exceptionally smooth and creamy with no lumps remaining.
Step 3: Freeze the Mixture
Pour the blended mixture into a suitable container, smoothing out the top with a spatula for even freezing. Cover the container tightly with a lid or plastic wrap and place it in the freezer for at least 2 hours to allow the Creamy Banana Protein Ice Cream to set properly. This wait is essential for achieving the right scoopable consistency.
Step 4: Serve
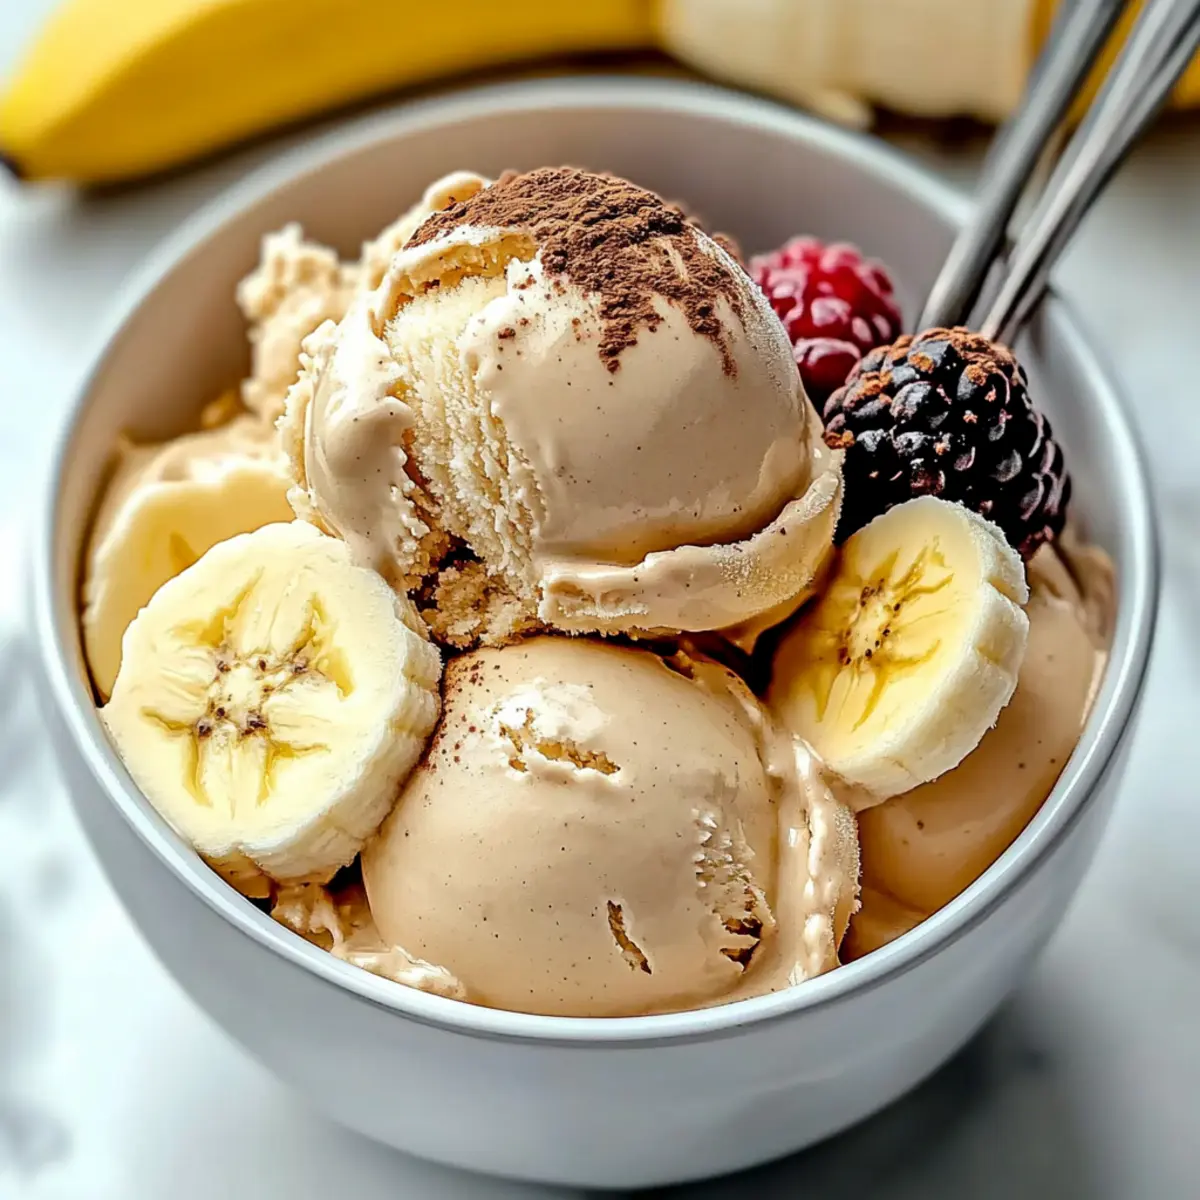
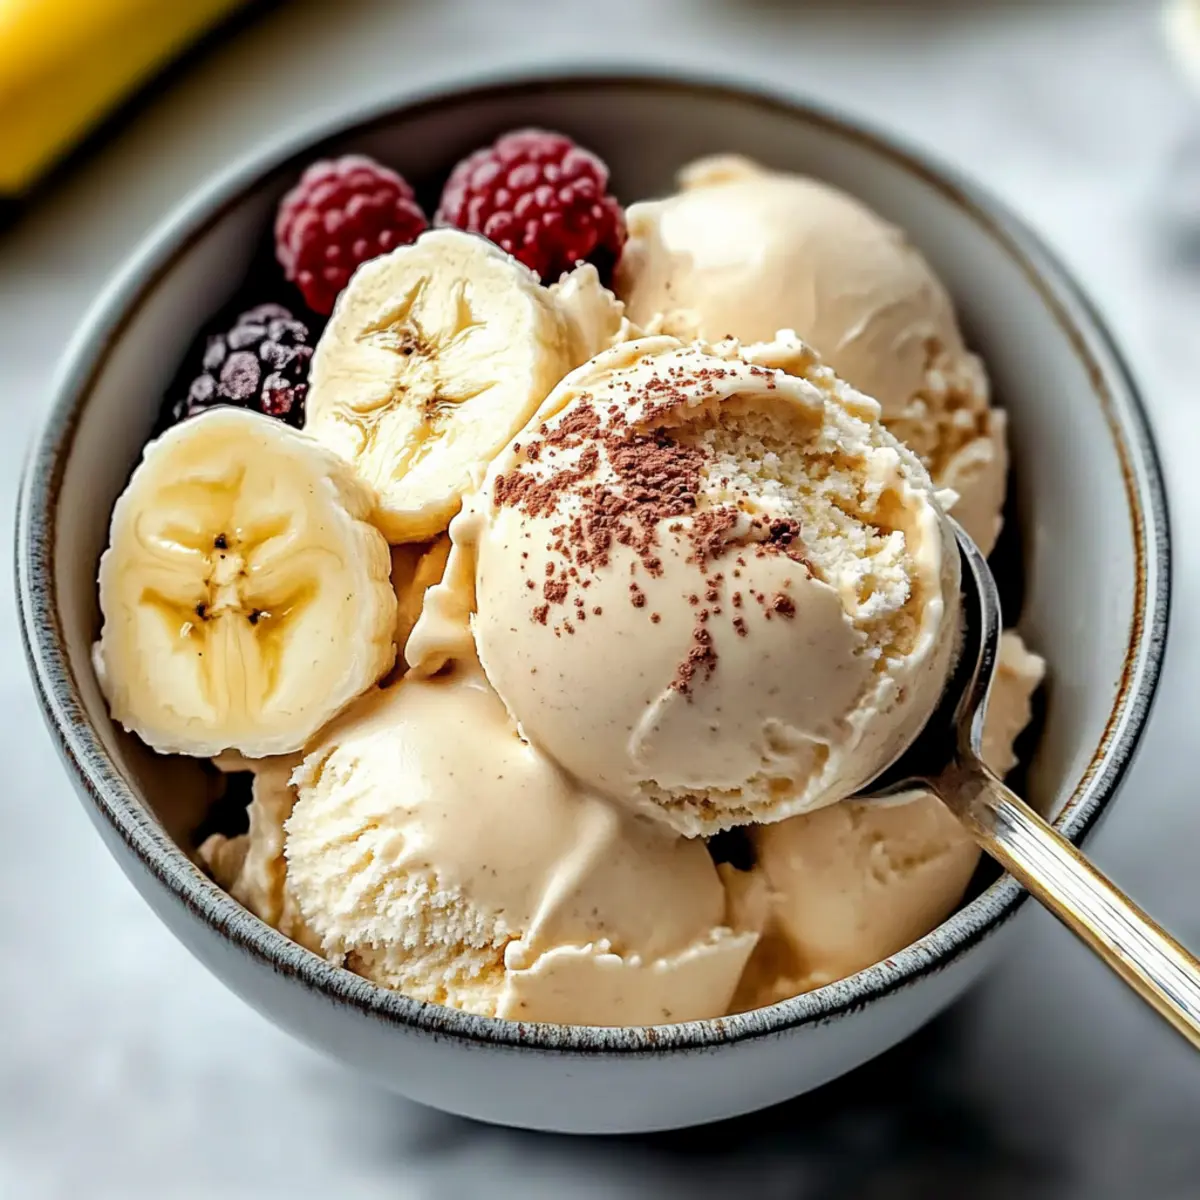
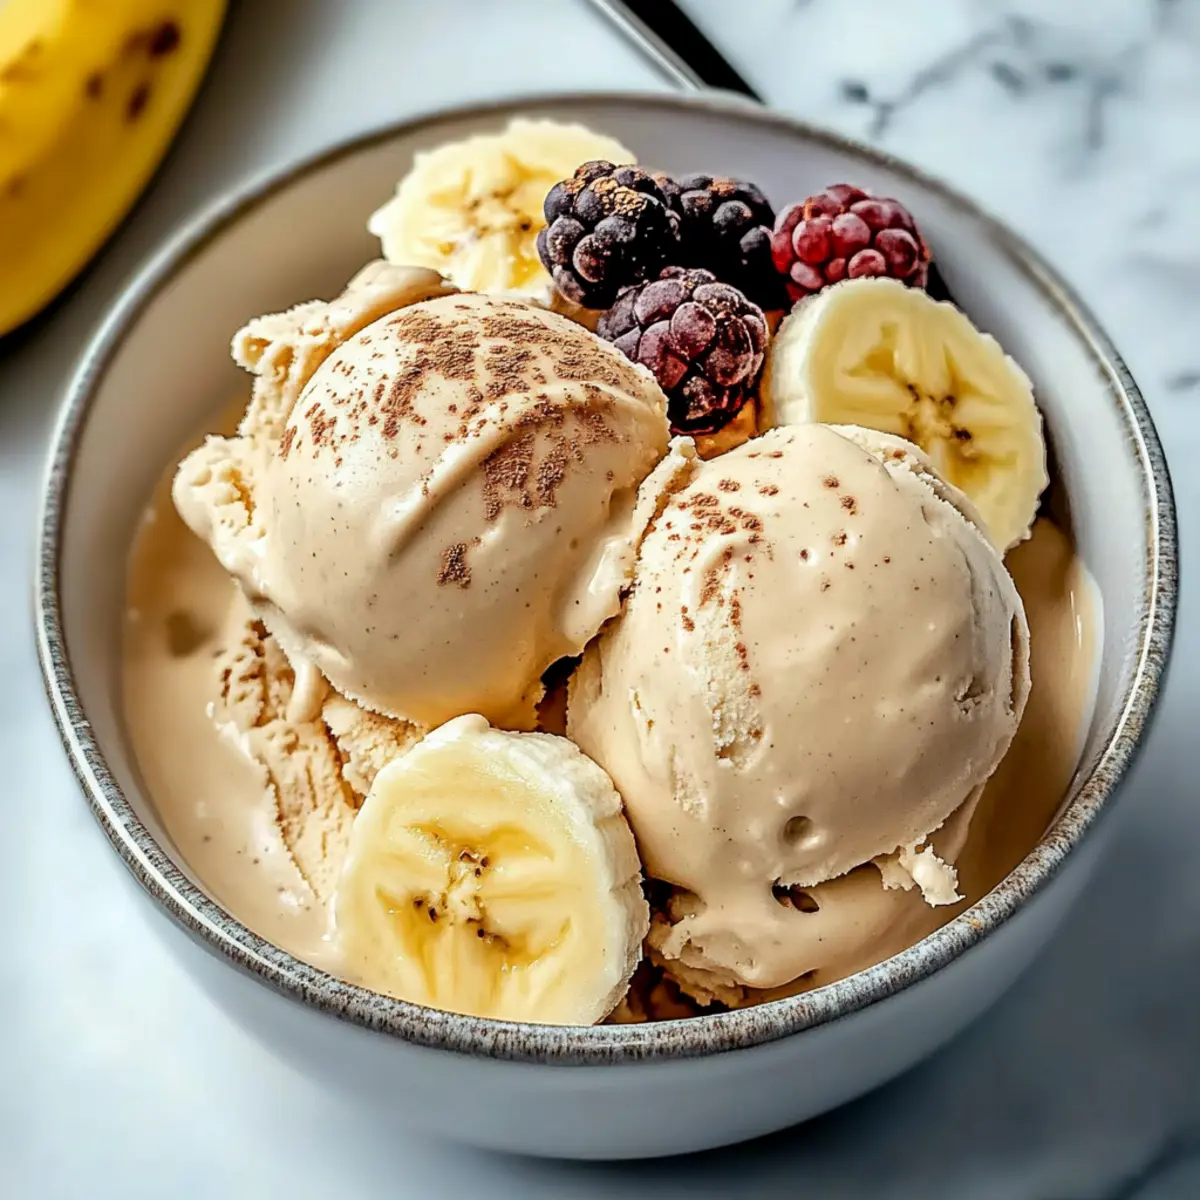
After the ice cream has set, remove the container from the freezer and let it sit at room temperature for a few minutes to soften slightly for easier scooping. Use an ice cream scoop or a spoon to dish out the Creamy Banana Protein Ice Cream into bowls or cones. Enjoy this delightful, guilt-free treat right away for the best texture and flavor!
Creamy Banana Protein Ice Cream Variations
Feel free to unleash your creativity and customize this delightful ice cream recipe to suit your taste buds!
-
Chocolate Lover’s: Add 2 tablespoons of cocoa powder before blending for a rich chocolate flavor. Indulge in a chocolatey twist that elevates your dessert to new heights!
-
Nutty Delight: Mix in almond or peanut butter for added creaminess and flavor. The nutty goodness creates a satisfying experience with every spoonful!
-
Fruity Fun: Incorporate 1/2 cup of frozen berries for a burst of color and tanginess. This refreshing addition will transport your taste buds to berry bliss!
-
Sweet Spice: Sprinkle in cinnamon for a warm, comforting taste. The cozy aroma will fill your kitchen, making it the perfect treat any time of year!
-
Zesty Fusion: Add lemon zest before blending for a refreshing twist. A hint of citrus balances the sweetness and takes your ice cream to the next level!
-
Tropical Escape: Blend in shredded coconut and pineapple chunks for a fun, tiki-inspired treat. Each scoop will whisk you away to a sandy beach!
-
Savory Dreams: Mix in a touch of sea salt to enhance the flavors and add an unexpected savory kick. Balance sweet and salty bliss for an enticing flavor profile!
-
Creamy Delights: Explore different protein powders, such as chocolate or strawberry, for varied flavor combinations. It’s like a different dessert every time! You can also check out our delicious Lemon Garlic Pasta for another creative adventure!
Make Ahead Options
These Creamy Banana Protein Ice Cream are perfect for busy home cooks looking to streamline their meal prep! You can slice and freeze the ripe bananas up to 24 hours in advance, which helps lock in their sweetness and creaminess. Additionally, you can blend the remaining ingredients and refrigerate the mixture (without freezing) for up to 3 days. To maintain the quality, store the blended mixture in an airtight container to prevent any absorption of odors from the fridge. When you’re ready to finish the recipe, simply pour the mixture into a container and freeze for at least 2 hours, ensuring you have a delightful guilt-free dessert ready to scoop at a moment’s notice!
What to Serve with Guilt-Free Creamy Banana Protein Ice Cream
A delightful dessert deserves equally delightful companions to create the perfect meal experience.
- Chocolate Drizzle: A rich drizzle of melted dark chocolate adds a sophisticated touch, enhancing the dessert’s indulgence without guilt.
- Chopped Nuts: Crunchy almonds or walnuts provide a satisfying contrast to the creamy texture. Sprinkle some on top for added crunch!
- Fresh Berries: Add a burst of freshness and vibrant color by garnishing with strawberries or blueberries. Their tartness beautifully balances sweetness.
- Coconut Whipped Cream: For an extra layer of decadence, top with a dollop of light coconut whipped cream. It brings a tropical twist to this healthy treat.
Pair your ice cream with a refreshing iced herbal tea for a cooling drink option. This light beverage complements the dessert’s richness and is soothing to sip on as you indulge.
Feel free to enjoy a warm slice of banana bread alongside your ice cream for a comforting touch. The flavors harmonize beautifully, making for a cozy dessert experience you won’t forget!
Storage Tips for Creamy Banana Protein Ice Cream
- Fridge: Store any leftovers in the fridge for up to 3 days. Place in an airtight container to maintain moisture and prevent freezer burn.
- Freezer: For long-term storage, keep the Creamy Banana Protein Ice Cream in the freezer for up to 3 months. Ensure the container is tightly sealed to preserve texture.
- Thawing: When ready to enjoy, let it sit at room temperature for 5-10 minutes for easier scooping. This step helps maintain its creamy consistency.
- Reheating: Avoid reheating in the microwave, as it may ruin the texture. Instead, just allow it to soften naturally before serving.
Expert Tips for Creamy Banana Protein Ice Cream
- Banana Selection: Choose ripe bananas with plenty of speckles for optimal sweetness and flavor in your Creamy Banana Protein Ice Cream.
- Freeze in a Single Layer: Slice bananas and freeze them in a single layer to prevent clumping, ensuring a smooth and creamy texture.
- Adjust Consistency: If the mixture is too thick while blending, add more almond milk gradually until you reach your desired creaminess.
- Storage Savvy: Store the ice cream in an airtight container and consume within a week to keep the texture luscious.
- Customize Wisely: Experiment with mix-ins like nut butter or cocoa powder, but add them gradually to find your perfect blend without overwhelming the base flavor.
Creamy Banana Protein Ice Cream Recipe FAQs
What kind of bananas should I use for the best flavor?
Absolutely! For the best flavor, look for bananas that are well-ripened with plenty of speckles. The more ripe they are, the sweeter and creamier your Creamy Banana Protein Ice Cream will be!
How can I store my ice cream properly?
To maintain the luscious texture, store the ice cream in an airtight container and consume it within one week. If you have leftovers, you can keep it in the freezer for up to 3 months. Just make sure the container is tightly sealed to prevent freezer burn!
Can I freeze it for later, and how do I thaw it?
Yes, you can freeze your Creamy Banana Protein Ice Cream for up to 3 months. When you’re ready to enjoy it, take it out of the freezer and let it sit at room temperature for about 5-10 minutes. This softens it enough for easy scooping while keeping that creamy consistency intact.
What if my ice cream is too thick to blend?
Very! If your blend is too thick, simply add a little extra almond milk, a tablespoon at a time, until it reaches your desired consistency. It’s important to blend on high for 1-2 minutes, scraping down the sides as needed, to ensure everything is well-combined for that delightful creaminess.
Can I make this dessert pet-friendly or allergy-safe?
Great question! If you’re looking to make the recipe safely for those with allergies or for pets, skip the protein powder as it may contain allergens. Instead, simply blend the ripe bananas with a little water or a pet-safe nut milk. Just ensure that your mix-ins are safe for your furry friends and free from any harmful ingredients.
Creamy Banana Protein Ice Cream: Guilt-Free Indulgence Awaits
Ingredients
Equipment
Method
- Slice two ripe bananas into small pieces and place them in a single layer on a baking sheet. Freeze for 1-2 hours until firm.
- In a blender, combine the frozen bananas, vanilla protein powder, unsweetened almond milk, and vanilla extract. Blend until smooth and creamy.
- Pour the mixture into a container, smooth the top, and freeze for at least 2 hours until set.
- Remove from the freezer, let sit for a few minutes, and serve into bowls or cones.