

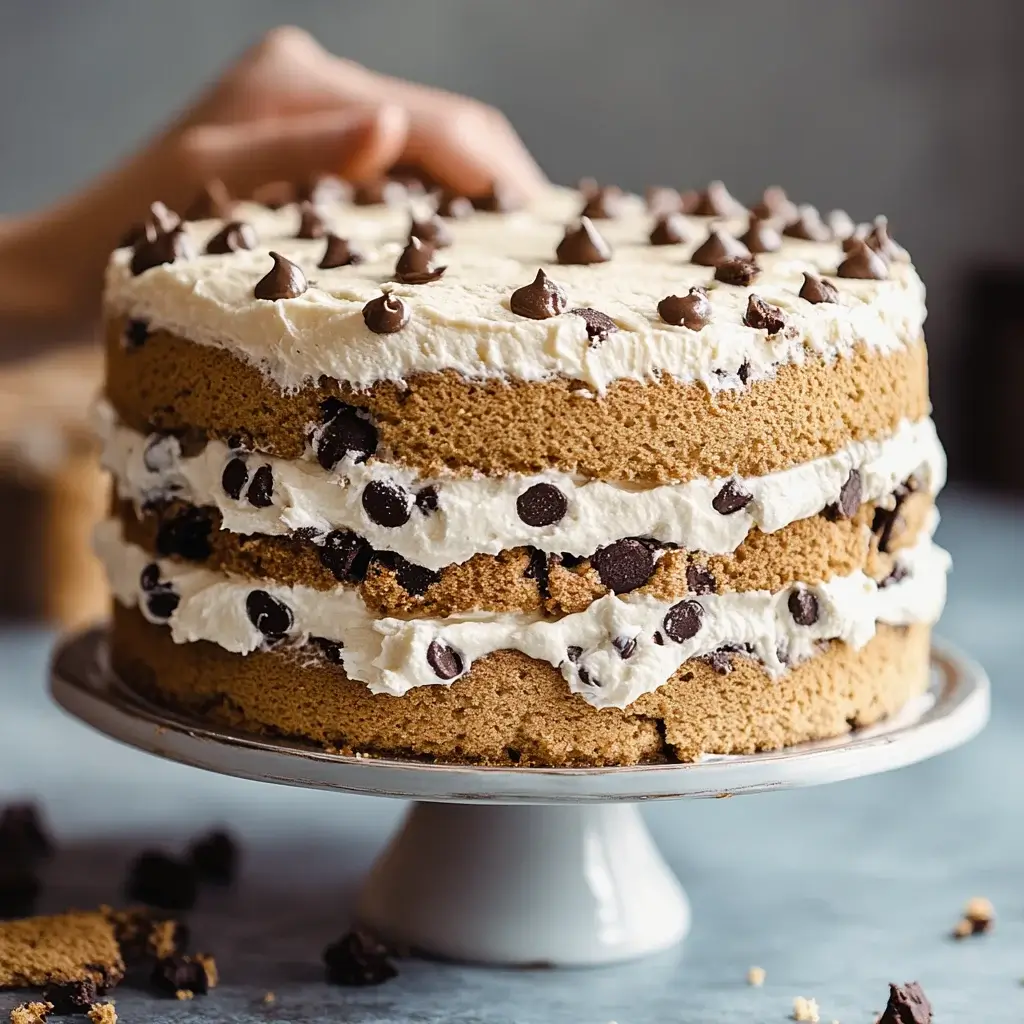
Introduction to Giant Chipwich Cake
There’s something magical about desserts that bring back childhood memories, and the Giant Chipwich Cake is no exception. This delightful treat combines the best of both worlds: cookies and ice cream, all in one glorious slice. Whether you’re looking to impress friends at a gathering or simply want to indulge after a long day, this recipe is your go-to solution. It’s easy to whip up, and the smiles it brings are priceless. Trust me, once you serve this cake, you’ll be the hero of the dessert table!
Why You’ll Love This Giant Chipwich Cake
This Giant Chipwich Cake is a dessert lover’s dream come true. It’s incredibly easy to make, requiring minimal effort for maximum flavor. The combination of warm, gooey cookies and creamy ice cream creates a taste sensation that’s hard to resist. Plus, it’s perfect for any occasion, whether it’s a birthday party or a cozy family night. You’ll love how quickly it comes together, leaving you more time to enjoy the sweet moments with loved ones.
Ingredients for Giant Chipwich Cake
Gathering the right ingredients is the first step to creating your Giant Chipwich Cake masterpiece. Here’s what you’ll need:
- All-purpose flour: The backbone of your cookie layers, providing structure and chewiness.
- Baking soda: This little leavening agent helps your cookies rise and become fluffy.
- Salt: A pinch enhances the sweetness and balances flavors.
- Unsalted butter: Softened butter adds richness and moisture to your cake.
- Brown sugar: This brings a deep, caramel-like flavor and helps keep the cookies soft.
- Granulated sugar: For that classic sweetness and a slight crunch.
- Eggs: They bind everything together and add moisture, making your cake tender.
- Vanilla extract: A splash of this aromatic essence elevates the flavor profile.
- Semi-sweet chocolate chips: The star of the show! They melt beautifully and add that irresistible chocolatey goodness.
- Vanilla ice cream: Softened ice cream acts as the creamy filling, making each slice a delight.
- Whipped cream: A fluffy topping that adds lightness and a touch of elegance.
- Chocolate syrup: Drizzle this on top for an extra layer of indulgence.
For a fun twist, consider adding crushed nuts or colorful sprinkles between the layers. You can also swap the vanilla ice cream for your favorite flavor, like chocolate or cookies and cream. The exact measurements for these ingredients can be found at the bottom of the article, ready for you to print and take to the kitchen!
How to Make Giant Chipwich Cake
Creating your Giant Chipwich Cake is a fun and rewarding experience. Follow these simple steps, and you’ll have a dessert that will wow everyone. Let’s dive in!
Step 1: Preheat and Prepare
Start by preheating your oven to 350°F (175°C). While it warms up, grab a 9-inch round cake pan. Grease it well and line the bottom with parchment paper. This will ensure your cookie layers come out easily and don’t stick.
Step 2: Mix Dry Ingredients
In a medium bowl, whisk together the all-purpose flour, baking soda, and salt. This step is crucial as it helps evenly distribute the leavening agent. Set this mixture aside for now; it’ll be ready to join the party soon!
Step 3: Cream Butter and Sugars
In a large bowl, beat the softened unsalted butter, brown sugar, and granulated sugar together. You want this mixture to be light and fluffy, which usually takes about 2-3 minutes. This is where the magic begins, as the butter and sugars create a rich base for your cake.
Step 4: Add Eggs and Vanilla
Now, it’s time to add the eggs. Incorporate them one at a time, mixing well after each addition. Then, stir in the vanilla extract. The aroma will fill your kitchen, making it hard to resist sneaking a taste!
Step 5: Combine Wet and Dry Ingredients
Gradually mix the dry ingredients into the wet mixture. Be gentle; you don’t want to overmix. Once combined, fold in those semi-sweet chocolate chips. They’re the stars of your Giant Chipwich Cake, adding that delicious chocolatey goodness.
Step 6: Bake the Cookie Layers
Spread half of the cookie dough into your prepared cake pan, smoothing it out evenly. Bake for 20-25 minutes, or until the edges are golden brown. A toothpick inserted in the center should come out clean. The smell will be heavenly!
Step 7: Cool and Layer
Once baked, allow the cookie layer to cool in the pan for about 10 minutes. Then, transfer it to a wire rack to cool completely. Repeat the baking process with the remaining dough to create a second layer. Once both layers are cool, it’s time to assemble your cake with ice cream and whipped cream!
Tips for Success
- Make sure your butter is softened for easy creaming; it should be slightly warm to the touch.
- Don’t skip the parchment paper; it’s a lifesaver for easy removal of the cookie layers.
- Let the cookie layers cool completely before assembling to prevent melting the ice cream.
- For a firmer texture, freeze the assembled cake for about 2 hours before serving.
- Feel free to get creative with toppings—nuts, sprinkles, or even a drizzle of caramel!
Equipment Needed
- 9-inch round cake pan: A standard size for baking; you can use a square pan if needed.
- Mixing bowls: A set of various sizes will help with ingredient prep.
- Whisk: Essential for mixing dry ingredients; a fork can work in a pinch.
- Electric mixer: Makes creaming butter and sugars easier; a wooden spoon will do if you prefer a workout.
- Wire rack: Perfect for cooling your cookie layers; a plate can substitute in a hurry.
Variations
- For a nutty twist, add chopped walnuts or pecans between the cookie layers for added crunch.
- Swap out the vanilla ice cream for chocolate, mint, or even cookie dough for a unique flavor experience.
- Try using different types of chocolate chips, like dark chocolate or white chocolate, to change up the taste.
- For a healthier option, substitute half of the all-purpose flour with whole wheat flour.
- Make it gluten-free by using a gluten-free flour blend and ensuring all other ingredients are certified gluten-free.
Serving Suggestions
- Pair your Giant Chipwich Cake with a scoop of extra vanilla ice cream for a double treat.
- Serve with fresh berries on the side for a pop of color and freshness.
- Drizzle with chocolate syrup or caramel sauce for an elegant touch.
- Enjoy with a hot cup of coffee or a cold glass of milk.
FAQs about Giant Chipwich Cake
Curious about the Giant Chipwich Cake? Here are some common questions that might pop into your mind as you prepare this delightful dessert.
Can I make the Giant Chipwich Cake ahead of time?
Absolutely! You can bake the cookie layers a day in advance. Just store them in an airtight container. Assemble the cake with ice cream and whipped cream right before serving for the best texture.
What if I don’t have a 9-inch round cake pan?
No worries! You can use a square baking dish or even a muffin tin for individual servings. Just adjust the baking time accordingly, as smaller portions will cook faster.
Can I use different flavors of ice cream?
Definitely! Feel free to swap vanilla ice cream for your favorite flavor, like chocolate or cookies and cream. The possibilities are endless, and it’s a great way to customize your cake!
How do I store leftovers?
Store any leftover Giant Chipwich Cake in the freezer, covered tightly. It can last for up to a week. Just let it sit at room temperature for a few minutes before serving again.
Is this recipe suitable for kids to help with?
Yes! This recipe is perfect for kids to join in on the fun. They can help mix ingredients, spread the ice cream, and even decorate with toppings. It’s a great way to create sweet memories together!
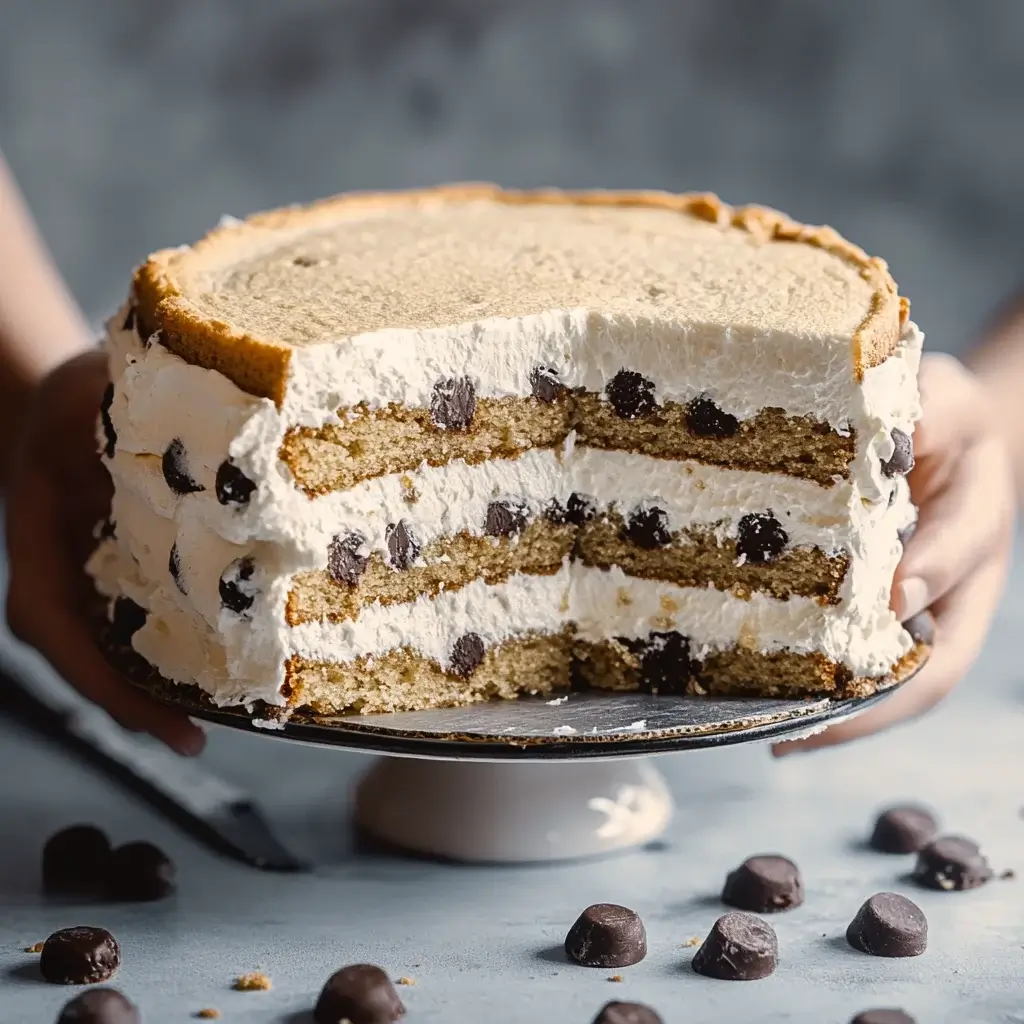
Final Thoughts
Creating a Giant Chipwich Cake is more than just baking; it’s about crafting memories that linger long after the last slice is gone. The joy of layering warm cookies with creamy ice cream and fluffy whipped cream is a delightful experience that brings everyone together. Whether it’s a birthday celebration or a simple family gathering, this cake is sure to spark smiles and laughter. So, roll up your sleeves, gather your loved ones, and dive into this sweet adventure. Trust me, the happiness this cake brings is worth every moment spent in the kitchen!
Giant Chipwich Cake: A Delicious Recipe to Try Today!
Ingredients
Method
- Preheat your oven to 350°F (175°C). Grease and line a 9-inch round cake pan with parchment paper.
- In a medium bowl, whisk together the flour, baking soda, and salt. Set aside.
- In a large bowl, beat the softened butter, brown sugar, and granulated sugar together until light and fluffy, about 2-3 minutes.
- Add the eggs one at a time, mixing well after each addition. Stir in the vanilla extract.
- Gradually add the dry ingredients to the wet ingredients, mixing until just combined. Fold in the chocolate chips.
- Spread half of the cookie dough into the prepared cake pan, smoothing it out evenly. Bake for 20-25 minutes, or until the edges are golden brown and a toothpick inserted in the center comes out clean.
- Allow the cookie layer to cool in the pan for 10 minutes, then transfer to a wire rack to cool completely. Repeat the baking process with the remaining cookie dough to create a second layer.
- Once both layers are completely cooled, place one layer on a serving platter. Spread the softened vanilla ice cream over the top, then add the second cookie layer on top.
- Top with whipped cream and drizzle with chocolate syrup.
- Serve immediately or freeze for up to 2 hours for a firmer texture.
Nutrition
Notes
- For a fun twist, try adding crushed nuts or sprinkles between the layers.
- You can also substitute the vanilla ice cream with your favorite flavor, like chocolate or cookies and cream.