

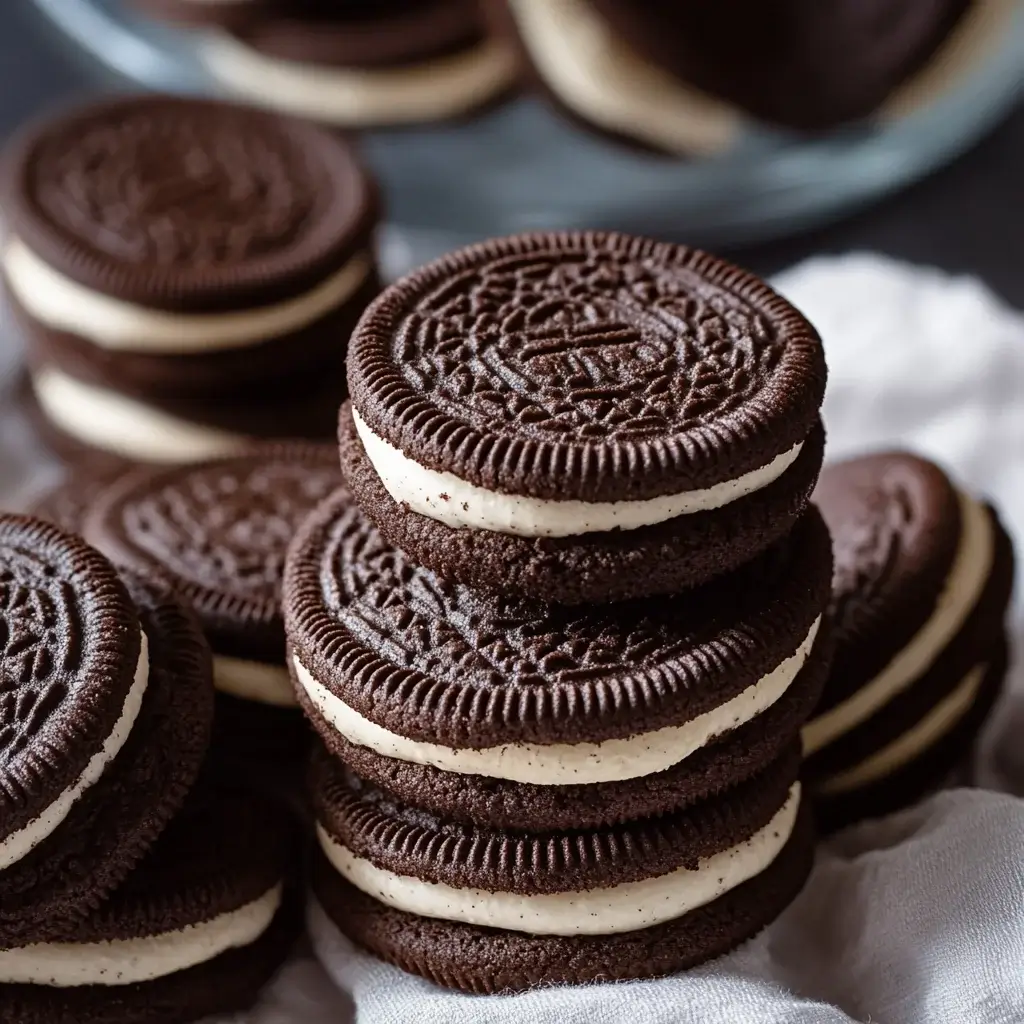
Introduction to Homemade Oreo Cookies
There’s something magical about the first bite of a cookie that takes you back to childhood.
Homemade Oreo cookies are not just a treat; they’re a nostalgic journey.
Whether you’re looking to impress your loved ones or simply satisfy a late-night craving, this recipe is your go-to solution.
With just a handful of ingredients and a little bit of time, you can whip up these delightful cookies that rival the store-bought version.
Trust me, once you taste the creamy filling sandwiched between those rich chocolate cookies, you’ll never look back!
Why You’ll Love This Homemade Oreo Cookies
These homemade Oreo cookies are a game changer.
They’re quick to make, taking just over half an hour from start to finish.
The taste? Absolutely unbeatable!
You get that rich chocolate flavor paired with a creamy filling that melts in your mouth.
Plus, you can customize them to your liking.
Whether you want a minty twist or a classic vanilla, the possibilities are endless.
Get ready to impress your friends and family!
Ingredients for Homemade Oreo Cookies
Creating the perfect homemade Oreo cookies starts with gathering the right ingredients.
Here’s what you’ll need:
- All-purpose flour: This is the backbone of your cookies, providing structure and texture.
- Unsweetened cocoa powder: It gives those cookies their rich chocolate flavor. Don’t skimp on quality!
- Baking soda: This helps the cookies rise and become fluffy.
- Baking powder: A little extra lift for that perfect texture.
- Salt: Just a pinch enhances the sweetness and balances flavors.
- Unsalted butter: Softened butter is key for a creamy, rich dough.
- Granulated sugar: This sweetens the cookies and contributes to their crispness.
- Brown sugar: Adds moisture and a hint of caramel flavor.
- Large egg: Binds everything together and adds richness.
- Vanilla extract: A must for that classic cookie flavor.
- Powdered sugar: Essential for the creamy filling, giving it that smooth texture.
- Additional unsalted butter: For the filling, it creates a luscious creaminess.
- More vanilla extract: Yes, you’ll need it again for the filling!
- Milk: Just a splash to achieve the perfect consistency for the filling.
Feel free to get creative!
For a minty twist, consider adding peppermint extract to the filling.
You can also experiment with other flavored extracts like almond or orange for a unique spin.
Exact measurements are at the bottom of the article, ready for printing!
How to Make Homemade Oreo Cookies
Making homemade Oreo cookies is a delightful adventure.
Follow these simple steps, and you’ll have a batch of cookies that will make your taste buds dance!
Step 1: Preheat and Prepare
Start by preheating your oven to 350°F (175°C).
While that’s heating up, line two baking sheets with parchment paper.
This will prevent the cookies from sticking and make cleanup a breeze.
Step 2: Mix Dry Ingredients
In a medium bowl, whisk together the all-purpose flour, unsweetened cocoa powder, baking soda, baking powder, and salt.
This step is crucial for ensuring your cookies have the right texture.
Set this mixture aside for now.
Step 3: Cream Butter and Sugars
In a large bowl, cream together the softened unsalted butter, granulated sugar, and brown sugar.
You want this mixture to be light and fluffy, which usually takes about 2-3 minutes.
This is where the magic begins!
Step 4: Combine Wet Ingredients
Next, beat in the large egg and vanilla extract until everything is well combined.
This adds richness and flavor to your cookie dough.
Make sure to scrape down the sides of the bowl to incorporate all the ingredients.
Step 5: Mix Dry and Wet Ingredients
Gradually add the dry ingredients to the wet mixture.
Mix until just combined; you don’t want to overdo it.
A few flour streaks are okay; they’ll disappear as you shape the cookies.
Step 6: Shape the Cookies
Using a tablespoon or cookie scoop, drop rounded balls of dough onto the prepared baking sheets.
Space them about 2 inches apart to allow for spreading.
This is where you can start to imagine how delicious they’ll be!
Step 7: Bake the Cookies
Bake the cookies for 10-12 minutes.
You’ll know they’re ready when the edges are set but the centers are still soft.
Let them cool on the baking sheets for about 5 minutes before transferring them to a wire rack.
Step 8: Prepare the Filling
While the cookies cool, it’s time to whip up the filling.
In a bowl, beat together the powdered sugar, softened butter, vanilla extract, and enough milk to achieve a smooth, spreadable consistency.
This creamy filling is what makes your homemade Oreo cookies truly special!
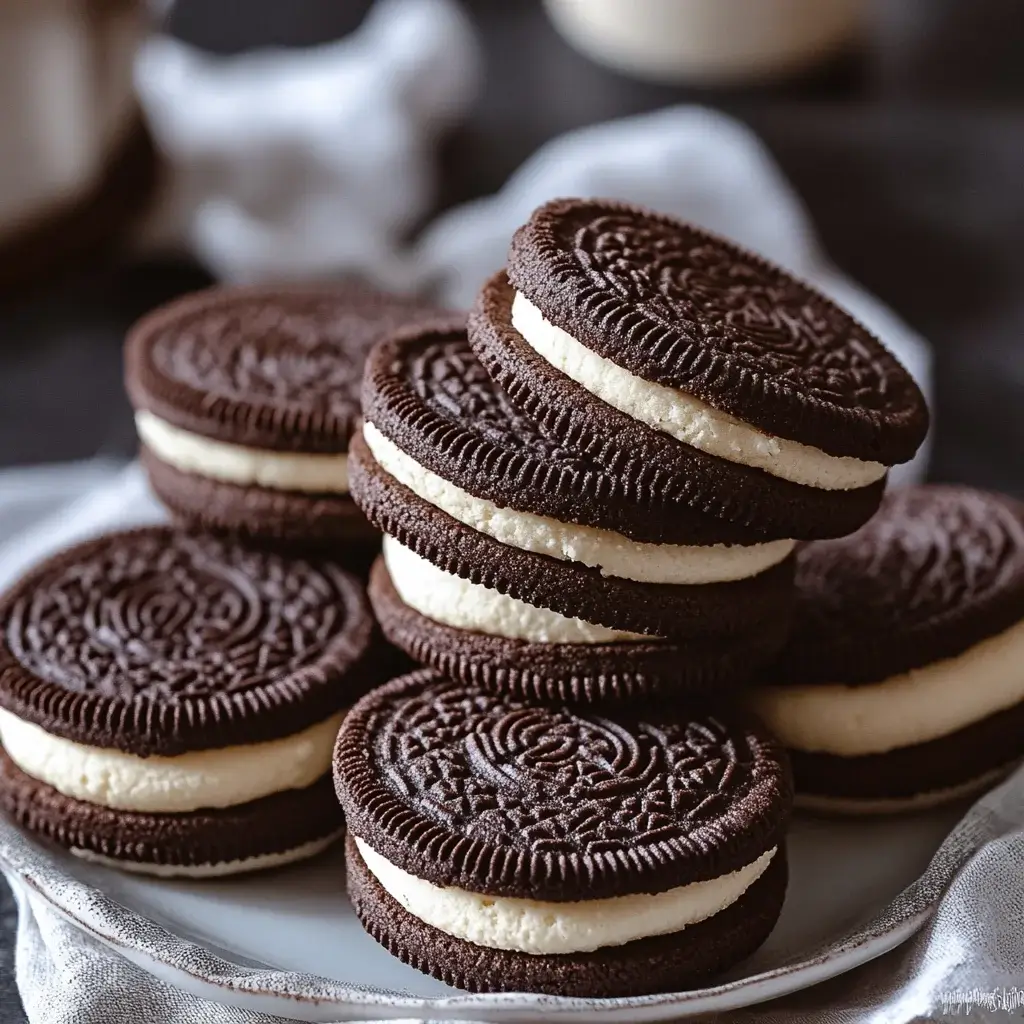
Step 9: Assemble the Cookies
Once the cookies are completely cool, spread a generous amount of filling on the flat side of one cookie.
Sandwich it with another cookie, flat side down.
Repeat this process until all your cookies are filled.
Now, you have a batch of homemade Oreo cookies that are ready to be devoured!
Tips for Success
- Make sure your butter is softened for easy creaming.
- Don’t overmix the dough; it should be just combined.
- Use a cookie scoop for uniform cookie sizes.
- Let the cookies cool completely before adding the filling.
- Store cookies in an airtight container to keep them fresh.
Equipment Needed
- Baking sheets: Essential for baking your cookies. If you don’t have them, a sturdy oven-safe tray works too.
- Parchment paper: Keeps cookies from sticking. Aluminum foil can be a substitute, but it may not prevent sticking as well.
- Mixing bowls: Use any size you have on hand; just ensure they’re deep enough for mixing.
- Whisk: Perfect for mixing dry ingredients. A fork can work in a pinch!
- Cookie scoop or tablespoon: For shaping dough. A regular spoon can do the job too.
Variations of Homemade Oreo Cookies
- Mint Chocolate Oreo: Add 1/4 teaspoon of peppermint extract to the filling for a refreshing twist.
- Peanut Butter Oreo: Mix in 1/4 cup of creamy peanut butter into the filling for a nutty flavor.
- Gluten-Free Oreo: Substitute all-purpose flour with a gluten-free flour blend to accommodate dietary needs.
- Vegan Oreo: Use coconut oil instead of butter and a flax egg (1 tablespoon ground flaxseed mixed with 2.5 tablespoons water) instead of the egg.
- Chocolate Chip Oreo: Fold in mini chocolate chips into the cookie dough for an extra chocolatey experience.
Serving Suggestions for Homemade Oreo Cookies
- Pair your cookies with a tall glass of cold milk for the classic experience.
- Serve them alongside a scoop of vanilla ice cream for an indulgent dessert.
- Arrange cookies on a decorative plate for a charming presentation at gatherings.
- Try them with a hot cup of coffee or tea for a delightful afternoon treat.
FAQs about Homemade Oreo Cookies
Can I make these cookies ahead of time?
Absolutely! You can prepare the cookie dough in advance and refrigerate it for up to 3 days. Just scoop and bake when you’re ready for fresh cookies!
How should I store my homemade Oreo cookies?
Store your cookies in an airtight container at room temperature. They’ll stay fresh for about a week, but I doubt they’ll last that long!
Can I freeze homemade Oreo cookies?
Yes, you can freeze them! Just make sure they’re completely cool, then place them in a freezer-safe container. They’ll keep well for up to 3 months.
What can I use instead of butter?
If you’re looking for a dairy-free option, coconut oil works great! Just ensure it’s softened, similar to butter, for the best texture.
Can I customize the filling?
Definitely! Feel free to experiment with different extracts or even add in some crushed cookies for a fun twist. The filling is your canvas!
Final Thoughts
Baking homemade Oreo cookies is more than just a recipe; it’s an experience that brings joy to your kitchen.
The aroma of chocolate wafting through your home is enough to make anyone smile.
Each bite transports you back to simpler times, where cookies were a special treat.
Sharing these delightful creations with family and friends creates lasting memories.
Whether you enjoy them with a glass of milk or as a sweet surprise for loved ones, these cookies are sure to impress.
So roll up your sleeves, embrace the process, and savor the deliciousness of your homemade Oreo cookies!
Homemade Oreo Cookies: Discover the Secret Recipe!
Ingredients
Method
- Preheat your oven to 350°F (175°C) and line two baking sheets with parchment paper.
- In a medium bowl, whisk together the flour, cocoa powder, baking soda, baking powder, and salt. Set aside.
- In a large bowl, cream together the softened butter, granulated sugar, and brown sugar until light and fluffy, about 2-3 minutes.
- Beat in the egg and vanilla extract until well combined.
- Gradually add the dry ingredients to the wet ingredients, mixing until just combined.
- Using a tablespoon or cookie scoop, drop rounded balls of dough onto the prepared baking sheets, spacing them about 2 inches apart.
- Bake for 10-12 minutes, or until the edges are set. Allow to cool on the baking sheets for 5 minutes before transferring to a wire rack to cool completely.
- While the cookies are cooling, prepare the filling by beating together the powdered sugar, softened butter, vanilla extract, and enough milk to achieve a smooth, spreadable consistency.
- Once the cookies are completely cool, spread a generous amount of filling on the flat side of one cookie and sandwich it with another cookie, flat side down. Repeat with the remaining cookies.
Nutrition
Notes
- For a minty twist, add 1/4 teaspoon of peppermint extract to the filling.
- Experiment with different flavored extracts, such as almond or orange, for a unique filling.