

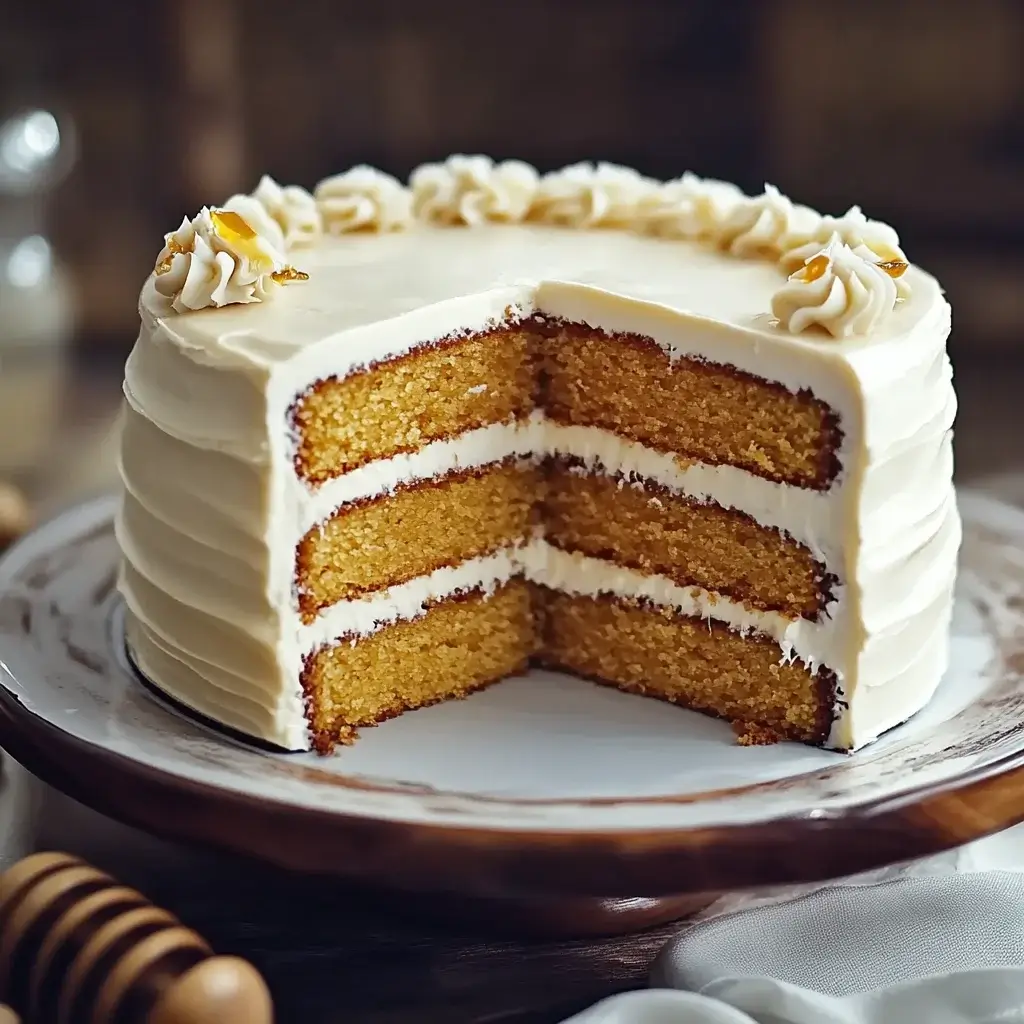
Introduction to Honey Layer Cake
There’s something magical about a cake that brings back memories of family gatherings and sweet celebrations. The Honey Layer Cake is just that—a delightful treat that’s perfect for any occasion. Whether you’re looking to impress your loved ones or simply want a quick solution for a busy day, this cake is your answer. With its rich honey flavor and fluffy whipped cream layers, it’s a dessert that feels special without requiring hours in the kitchen. Trust me, once you try this recipe, it will become a staple in your home!
Why You’ll Love This Honey Layer Cake
This Honey Layer Cake is a game-changer for dessert lovers. It’s incredibly easy to whip up, making it perfect for those busy weeknights or last-minute gatherings. The taste? Oh, it’s a delightful balance of sweetness and richness that will have everyone asking for seconds. Plus, the fluffy whipped cream layers add a lightness that makes each bite feel like a little celebration. You’ll find yourself reaching for this recipe time and again!
Ingredients for Honey Layer Cake
Gathering the right ingredients is the first step to creating your Honey Layer Cake masterpiece. Here’s what you’ll need:
- All-purpose flour: The backbone of your cake, providing structure and texture.
- Granulated sugar: Adds sweetness and helps create that lovely golden crust.
- Honey: The star of the show! It infuses the cake with a rich, natural sweetness.
- Unsalted butter: Brings moisture and richness to the cake. Make sure it’s softened for easy mixing.
- Large eggs: They help bind everything together and add a lovely fluffiness.
- Baking soda: This leavening agent gives the cake its rise, making it light and airy.
- Salt: Just a pinch enhances the flavors and balances the sweetness.
- Vanilla extract: A splash of this adds depth and warmth to the cake’s flavor.
- Heavy cream: Essential for whipping up that luscious frosting that layers the cake.
- Powdered sugar: Sweetens the whipped cream and helps it hold its shape.
- Extra vanilla extract (for whipped cream): A little more vanilla elevates the cream’s flavor.
For those looking to mix things up, consider adding a teaspoon of cinnamon or nutmeg to the batter for a warm spice twist. If you want a lighter frosting, Greek yogurt can be a great substitute for heavy cream. You can find the exact quantities for each ingredient at the bottom of the article, ready for printing!
How to Make Honey Layer Cake
Now that you have your ingredients ready, let’s dive into the fun part—making your Honey Layer Cake! Follow these simple steps, and you’ll have a delicious dessert that will impress everyone.
Step 1: Preheat and Prepare
First things first, preheat your oven to 350°F (175°C). This ensures your cake bakes evenly. While that’s heating up, grab an 8-inch round cake pan. Grease it with butter and dust it with flour. This will help your cake slide out easily once it’s baked.
Step 2: Mix Wet Ingredients
In a large mixing bowl, combine the honey, granulated sugar, and softened butter. Beat them together until the mixture is smooth and creamy. Next, add the eggs one at a time, mixing well after each addition. Don’t forget to stir in the vanilla extract for that extra flavor boost!
Step 3: Combine Dry Ingredients
In a separate bowl, whisk together the all-purpose flour, baking soda, and salt. This step is crucial as it ensures the baking soda is evenly distributed, helping your cake rise beautifully.
Step 4: Combine Mixtures
Now, gradually add the dry ingredients to the wet mixture. Mix until just combined. Be careful not to overmix; you want your cake to be light and fluffy, not dense!
Step 5: Bake the Cake
Pour the batter into your prepared cake pan, smoothing the top with a spatula. Bake in the preheated oven for 25-30 minutes. To check if it’s done, insert a toothpick into the center. If it comes out clean, your cake is ready! Let it cool in the pan for about 10 minutes before transferring it to a wire rack.
Step 6: Prepare Whipped Cream
While your cake cools, it’s time to whip up some delicious cream. In a mixing bowl, beat the heavy cream, powdered sugar, and a splash of vanilla extract until soft peaks form. This will be the luscious filling between your cake layers.
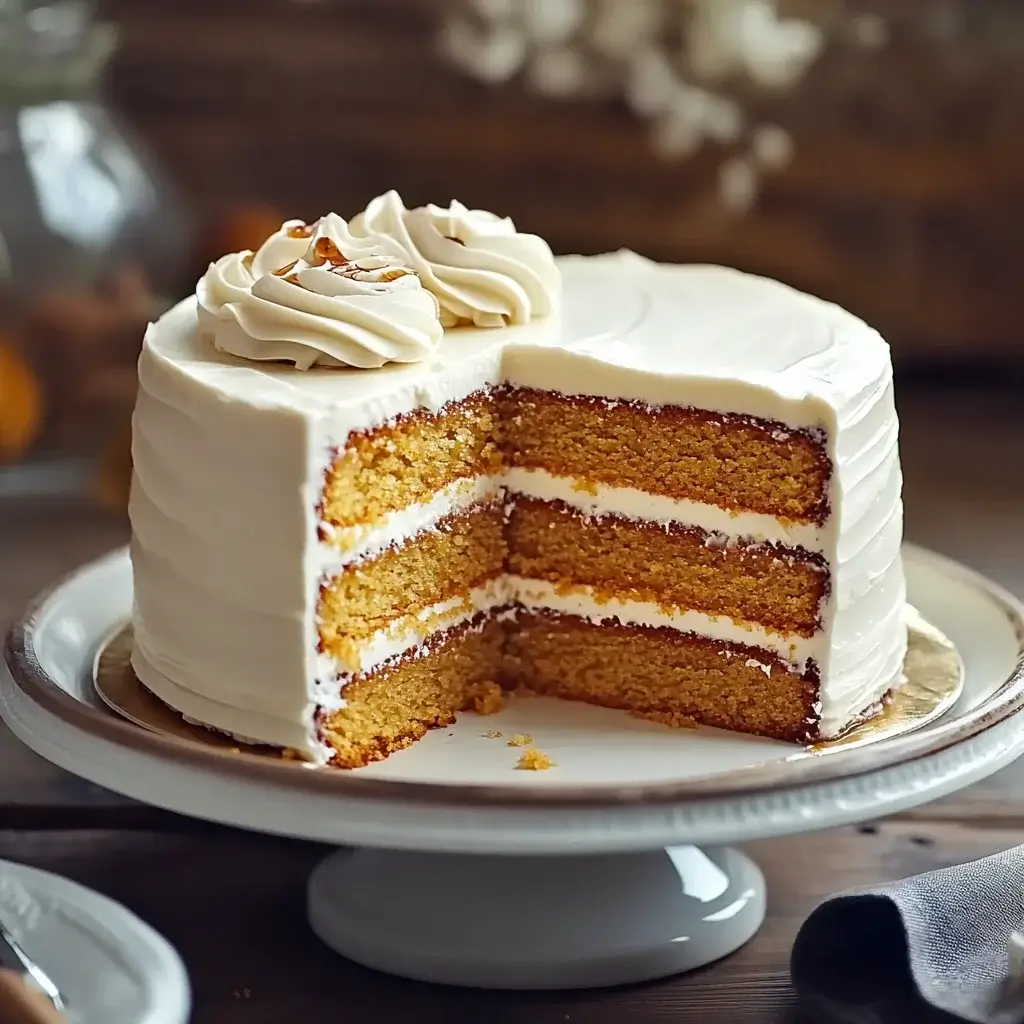
Step 7: Layer the Cake
Once your cake is completely cool, carefully slice it horizontally into three equal layers. Place the first layer on a serving plate and spread a generous amount of whipped cream on top. Repeat this with the second layer, then crown it with the final layer. Don’t be shy with the cream—it’s what makes this cake so delightful!
Step 8: Chill and Serve
For the best flavor, chill your layered cake in the refrigerator for at least an hour. This allows the flavors to meld beautifully. When you’re ready to serve, you can drizzle a little extra honey on top for that finishing touch. Enjoy your Honey Layer Cake!
Tips for Success
- Always use room temperature ingredients for better mixing and texture.
- Don’t skip the chilling step; it enhances the flavors and makes slicing easier.
- For a more intense honey flavor, use a high-quality, raw honey.
- Keep an eye on your cake while baking; ovens can vary in temperature.
- Experiment with different toppings like fresh fruit or nuts for added texture.
Equipment Needed
- 8-inch round cake pan: A standard choice, but you can use a square pan if that’s what you have.
- Mixing bowls: A set of various sizes is handy; even a large pot can work in a pinch.
- Electric mixer: Great for whipping cream, but a whisk will do if you’re feeling strong!
- Spatula: Essential for smoothing batter and spreading whipped cream.
- Wire rack: Helps cool the cake evenly; a plate can substitute if needed.
Variations
- Spiced Honey Layer Cake: Add a teaspoon of cinnamon or nutmeg to the batter for a warm, aromatic twist.
- Fruit-Infused Layers: Incorporate fresh berries or sliced peaches between the layers for a fruity burst.
- Nutty Crunch: Fold in chopped walnuts or pecans into the batter for added texture and flavor.
- Gluten-Free Option: Substitute all-purpose flour with a gluten-free blend to accommodate dietary needs.
- Vegan Version: Replace eggs with flaxseed meal and use plant-based butter and cream for a delicious vegan treat.
Serving Suggestions
- Fresh Berries: Serve with a side of mixed berries for a refreshing contrast to the sweetness.
- Herbal Tea: Pair with a warm cup of chamomile or mint tea for a cozy experience.
- Presentation: Dust with powdered sugar and garnish with mint leaves for an elegant touch.
- Ice Cream: A scoop of vanilla ice cream complements the cake’s flavors beautifully.
FAQs about Honey Layer Cake
As you embark on your Honey Layer Cake journey, you might have a few questions. Here are some common queries that can help you along the way:
Can I use different types of honey for this cake?
Absolutely! Different honeys can impart unique flavors. Try clover, wildflower, or even orange blossom honey for a twist on the classic taste.
How do I store leftover Honey Layer Cake?
Store any leftovers in an airtight container in the refrigerator. It should stay fresh for up to three days, but trust me, it’s hard to resist!
Can I freeze Honey Layer Cake?
Yes, you can freeze the cake! Wrap it tightly in plastic wrap and then in aluminum foil. It can last up to three months in the freezer. Just thaw it in the fridge before serving.
What can I substitute for heavy cream in the frosting?
If you’re looking for a lighter option, Greek yogurt works well. It gives a tangy flavor and creamy texture, making it a great alternative.
Can I make this cake ahead of time?
Definitely! You can bake the cake a day in advance and layer it with whipped cream just before serving. This allows the flavors to meld beautifully!
Final Thoughts
Creating a Honey Layer Cake is more than just baking; it’s about crafting sweet memories. Each layer tells a story, from the rich honey flavor to the fluffy whipped cream that brings it all together. This cake is perfect for celebrations or simply to brighten a regular day. The joy of sharing a slice with family or friends is unmatched. Plus, the ease of making it means you can whip it up anytime the craving strikes. Trust me, once you experience the delightful taste and texture, this Honey Layer Cake will become a cherished favorite in your home!
Honey Layer Cake: Discover the Sweetest Recipe!
Ingredients
Method
- Preheat your oven to 350°F (175°C). Grease and flour an 8-inch round cake pan.
- In a large mixing bowl, combine the honey, sugar, and softened butter. Beat until well blended.
- Add the eggs one at a time, mixing well after each addition. Stir in the vanilla extract.
- In a separate bowl, whisk together the flour, baking soda, and salt. Gradually add the dry ingredients to the wet mixture, mixing until just combined.
- Pour the batter into the prepared cake pan and smooth the top. Bake for 25-30 minutes, or until a toothpick inserted in the center comes out clean. Allow to cool in the pan for 10 minutes before transferring to a wire rack to cool completely.
- While the cake cools, prepare the whipped cream. In a mixing bowl, beat the heavy cream, powdered sugar, and vanilla extract until soft peaks form.
- Once the cake is completely cool, slice it horizontally into three equal layers.
- Place one layer on a serving plate and spread a generous amount of whipped cream on top. Repeat with the second layer, then place the final layer on top.
- Decorate the top with any remaining whipped cream and drizzle with extra honey if desired. Chill in the refrigerator for at least 1 hour before serving.
Nutrition
Notes
- For added flavor, mix in a teaspoon of cinnamon or nutmeg into the batter.
- Substitute the heavy cream with Greek yogurt for a lighter version of the frosting.