

Introduction to Lotus Biscoff Cheesecake
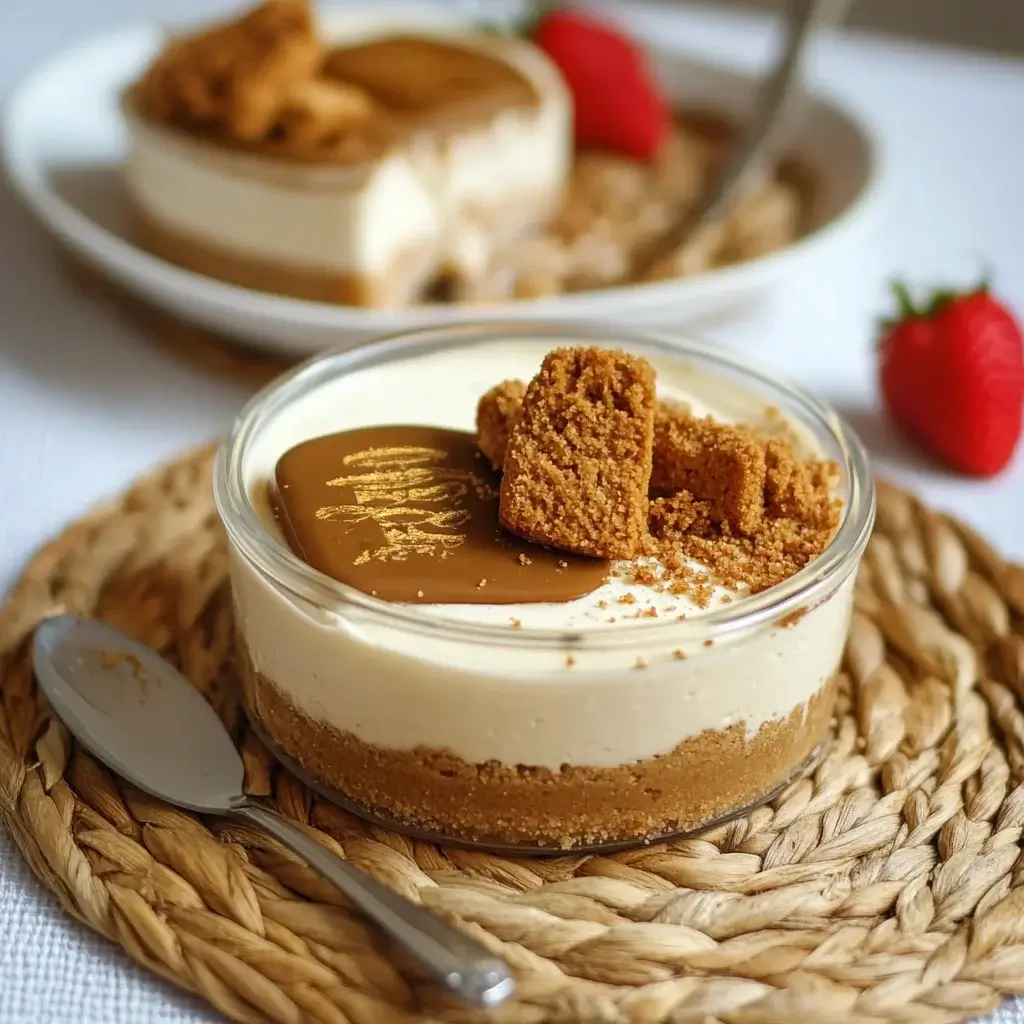
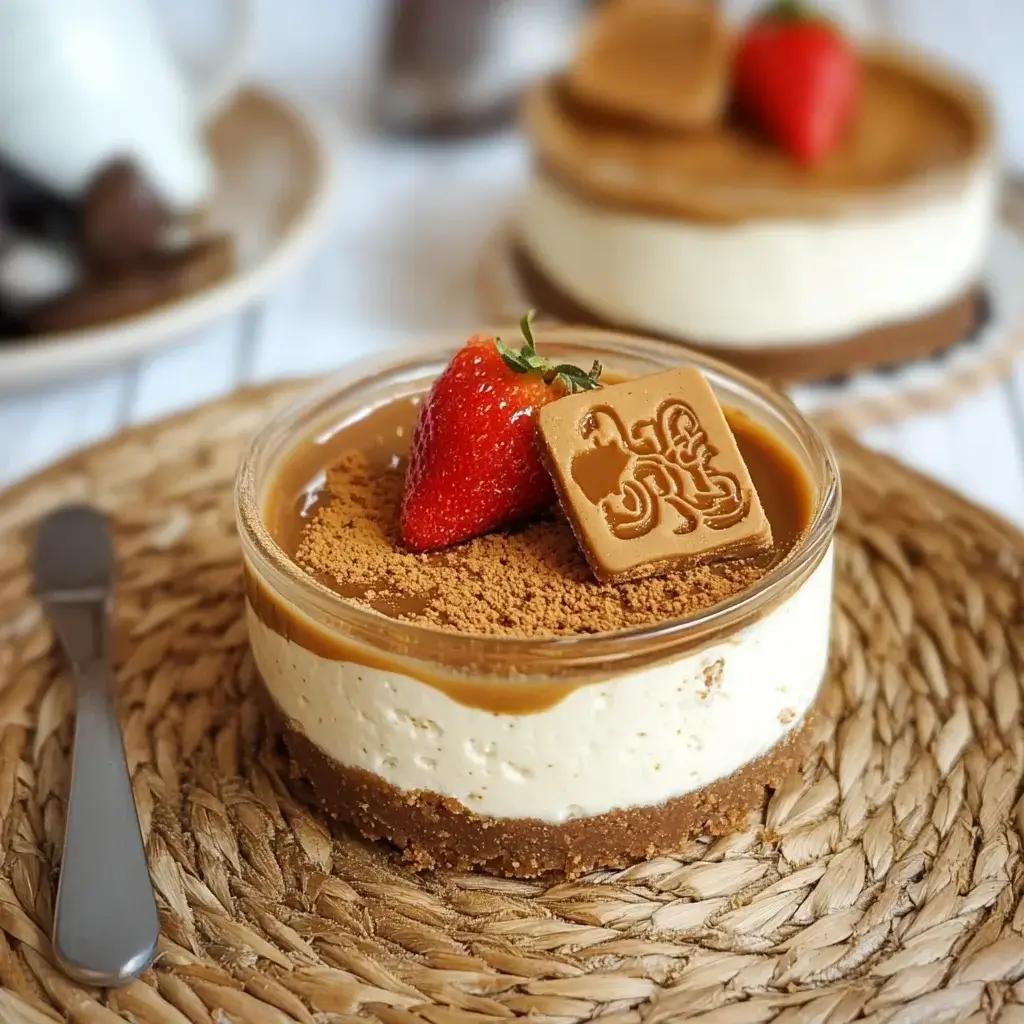
This Lotus Biscoff Cheesecake is a heavenly dessert that combines creamy cheesecake with the signature caramelized crunch of Biscoff cookies. The rich, silky filling is swirled with Biscoff spread and sits on a buttery cookie crust, making every bite an irresistible mix of smooth and crunchy textures. It’s an indulgent treat perfect for special occasions or any time you want a decadent sweet fix.
Why You’ll Love This Lotus Biscoff Cheesecake
-
Unique flavor from iconic Biscoff cookies and spread.
-
Creamy, velvety cheesecake texture.
-
Buttery crust adds delightful crunch.
-
Show-stopping dessert for celebrations.
-
Relatively simple to prepare with impressive results.
Ingredients for Lotus Biscoff Cheesecake
It all begins with the right mix—start with these and follow the flavor.
- Crushed Lotus Biscoff cookies: These are the star of the show, providing a sweet and spiced flavor that pairs perfectly with the creamy filling.
- Unsalted butter: This helps bind the cookie crust together, adding richness to the base.
- Cream cheese: The foundation of any cheesecake, it gives that luscious, creamy texture we all love.
- Powdered sugar: This sweetens the cream cheese mixture without the graininess of granulated sugar.
- Vanilla extract: A splash of vanilla enhances the overall flavor, making it even more delightful.
- Heavy whipping cream: Whipping this to stiff peaks adds airiness to the cheesecake, making it light and fluffy.
- Lotus Biscoff spread: This adds an extra layer of flavor and creaminess, making each bite irresistible.
- Lemon juice: A touch of acidity balances the sweetness and brightens the flavors.
- Pinch of salt: Just a hint of salt enhances all the flavors, making them pop.
For those looking to mix things up, consider adding a bit of cocoa powder for a chocolate twist. You can also top your cheesecake with whipped cream and extra crushed cookies for added texture and flavor. If you’re curious about exact measurements, they’re available at the bottom of the article for easy printing!
How to Make Lotus Biscoff Cheesecake
Creating this Lotus Biscoff cheesecake is a delightful journey. Each step brings you closer to a creamy, dreamy dessert that will wow your friends and family. Let’s dive into the process!
Step 1: Preheat the Oven
Start by preheating your oven to 325°F (163°C). Preheating is crucial because it ensures even baking. A properly heated oven helps the crust set perfectly, giving you that ideal base for your cheesecake.
Step 2: Prepare the Crust
In a medium bowl, combine the crushed Lotus Biscoff cookies with melted butter. Mix until the crumbs are well-coated. This mixture should resemble wet sand. Next, press it firmly into the bottom of a 9-inch springform pan. Make sure it’s even; this will be the foundation of your cheesecake.
Step 3: Bake the Crust
Pop the crust into the preheated oven and bake for about 10 minutes. This step helps the crust firm up. Once done, remove it from the oven and let it cool completely. A cooled crust is essential for the cheesecake filling to set properly.
Step 4: Make the Cream Cheese Mixture
In a large mixing bowl, beat the softened cream cheese with an electric mixer until it’s smooth and creamy. Gradually add the powdered sugar, mixing until well combined. Then, add the vanilla extract, lemon juice, and a pinch of salt. Mix until everything is smooth and luscious.
Step 5: Whip the Cream
In a separate bowl, whip the heavy cream until stiff peaks form. This means when you lift the whisk, the cream holds its shape. Achieving stiff peaks is vital; it adds airiness to the cheesecake, making it light and fluffy.
Step 6: Combine Mixtures
Gently fold the whipped cream into the cream cheese mixture. Use a spatula and be careful not to deflate the whipped cream. This folding process is crucial for maintaining that airy texture we all love in a cheesecake.
Step 7: Layer the Cheesecake
Pour half of the cheesecake filling over the cooled crust. Drizzle half of the Lotus Biscoff spread on top, then swirl it with a knife for a beautiful marbled effect. Repeat with the remaining filling and spread. This layering creates a stunning visual and flavor experience.
Step 8: Refrigerate
Cover the cheesecake with plastic wrap and refrigerate for at least 4 hours, or overnight for the best results. Chilling is essential; it allows the cheesecake to set and develop its flavors fully.
Step 9: Serve and Enjoy
When you’re ready to serve, carefully remove the cheesecake from the springform pan. Slice it into pieces and enjoy every creamy, dreamy bite. Trust me, this Lotus Biscoff cheesecake will be a hit!
Tips for Success
- Use room temperature cream cheese for a smoother mixture.
- Don’t skip the chilling time; it’s key for the perfect texture.
- For a cleaner slice, use a hot knife to cut through the cheesecake.
- Experiment with toppings like chocolate shavings or fresh fruit for added flair.
- Store leftovers in an airtight container in the fridge for up to 5 days.
Equipment Needed
- 9-inch springform pan: Essential for easy removal; a regular cake pan works too, but slicing will be trickier.
- Mixing bowls: Use at least two—one for the cream cheese and another for whipping cream.
- Electric mixer: A hand mixer is perfect; a whisk can work, but it’ll take longer.
- Spatula: For folding and spreading the mixtures smoothly.
Variations
- Chocolate Lotus Biscoff Cheesecake: Add ¼ cup of cocoa powder to the cream cheese mixture for a rich chocolate flavor.
- Gluten-Free Option: Substitute crushed gluten-free cookies for the crust to make this dessert suitable for gluten-sensitive friends.
- Vegan Twist: Use vegan cream cheese and coconut cream instead of heavy whipping cream for a plant-based version.
- Fruit-Infused: Incorporate fresh berries or a fruit compote on top for a refreshing contrast to the creamy cheesecake.
- Nutty Crunch: Add chopped nuts like pecans or almonds to the crust for an extra layer of texture and flavor.
Serving Suggestions
- Pair with a dollop of whipped cream for added richness.
- Serve alongside fresh berries for a burst of color and flavor.
- Drizzle with extra Lotus Biscoff spread for a decadent touch.
- Complement with a cup of coffee or tea to balance the sweetness.
- Garnish with crushed Lotus Biscoff cookies for a delightful crunch.
FAQs about Lotus Biscoff Cheesecake
Can I make Lotus Biscoff cheesecake ahead of time?
Absolutely! This cheesecake is perfect for making ahead. Just prepare it the day before and let it chill overnight. The flavors will deepen, making it even more delicious!
How do I store leftovers?
Store any leftover Lotus Biscoff cheesecake in an airtight container in the fridge. It will stay fresh for up to five days, but trust me, it’s hard to resist finishing it sooner!
Can I freeze Lotus Biscoff cheesecake?
Yes, you can freeze it! Wrap individual slices tightly in plastic wrap and then place them in a freezer-safe container. It can last up to three months in the freezer. Just thaw in the fridge before serving.
What can I use instead of Lotus Biscoff spread?
If you can’t find Lotus Biscoff spread, try using cookie butter or a similar flavored spread. Nut butters can also work, but they will change the flavor profile a bit.
Is this cheesecake suitable for vegetarians?
Yes! This Lotus Biscoff cheesecake is vegetarian-friendly, as it contains no meat or fish products. Just be sure to check the ingredients of your cookies and spread to ensure they meet your dietary preferences.
Final Thoughts
Creating this Lotus Biscoff cheesecake is more than just baking; it’s about crafting a moment of joy. Each slice offers a creamy, dreamy experience that transports you back to those cozy afternoons. Whether you’re sharing it with friends or savoring it solo, this dessert brings a smile to your face. The delightful combination of flavors and textures makes it a true crowd-pleaser. So, roll up your sleeves and dive into this recipe. I promise, the happiness it brings will be worth every minute spent in the kitchen!
Lotus Biscoff Cheesecake: A Delicious Recipe to Try!
Ingredients
Method
- Preheat your oven to 325°F (163°C).
- In a medium bowl, combine the crushed Lotus Biscoff cookies and melted butter. Mix until the crumbs are evenly coated.
- Press the cookie mixture into the bottom of a 9-inch springform pan to form a crust. Bake for 10 minutes, then remove and let cool.
- In a large mixing bowl, beat the softened cream cheese with an electric mixer until smooth. Gradually add the powdered sugar and continue to mix until well combined.
- Add the vanilla extract, lemon juice, and a pinch of salt to the cream cheese mixture, and mix until smooth.
- In a separate bowl, whip the heavy cream until stiff peaks form. Gently fold the whipped cream into the cream cheese mixture until fully incorporated.
- Pour half of the cheesecake filling over the cooled crust. Drizzle half of the Lotus Biscoff spread on top, then swirl it with a knife.
- Add the remaining cheesecake filling and repeat the drizzling and swirling with the remaining Lotus Biscoff spread.
- Cover the cheesecake with plastic wrap and refrigerate for at least 4 hours, or overnight for best results.
- Before serving, remove the cheesecake from the springform pan and slice. Enjoy!
Nutrition
Notes
- For a chocolate twist, add ¼ cup of cocoa powder to the cream cheese mixture.
- Top the cheesecake with whipped cream and additional crushed Lotus Biscoff cookies for extra texture and flavor.