

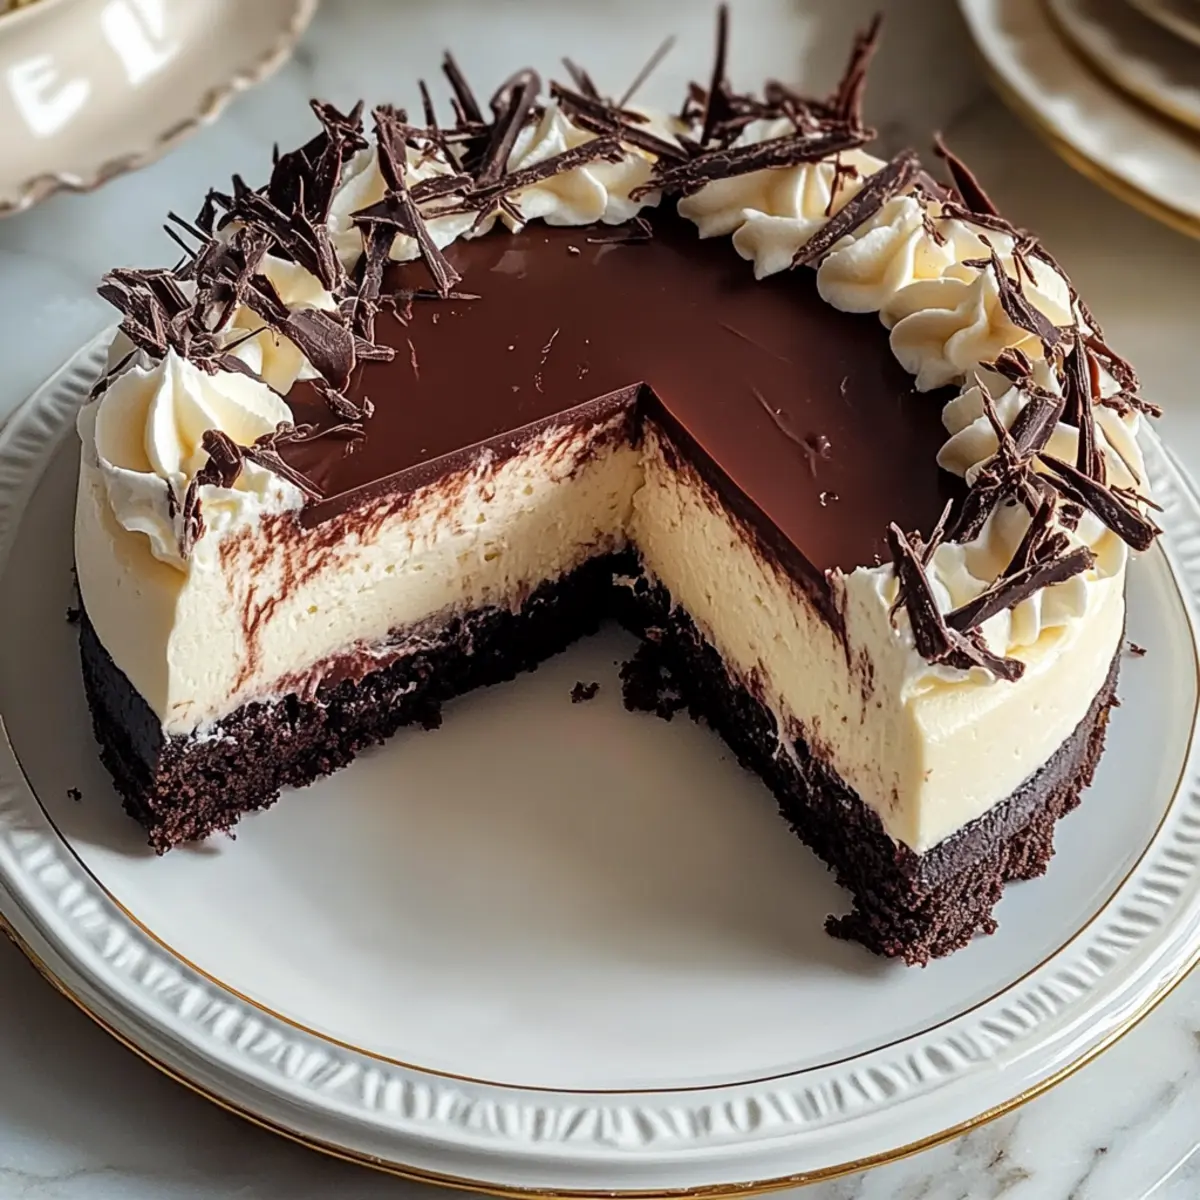
As I peeled back the layers of my latest baking creation, the aroma of rich chocolate wafted through my kitchen like a warm embrace. If you’re craving a show-stopping dessert that rivals the famous Olive Garden Black Tie Mousse Cake, you’ve landed in the right place! This delightful treat offers not just a pleasing presentation but also the fantastic perk of being an easy, homemade option for anyone looking to impress guests at gatherings or simply indulge after a long day. With a decadent combination of creamy cheesecake and airy mousse, this cake is as versatile as it is delicious, accommodating special dietary needs with a gluten-free twist. Are you ready to elevate your dessert game and explore the magic of layered chocolate goodness?
Why is this cake a must-try?
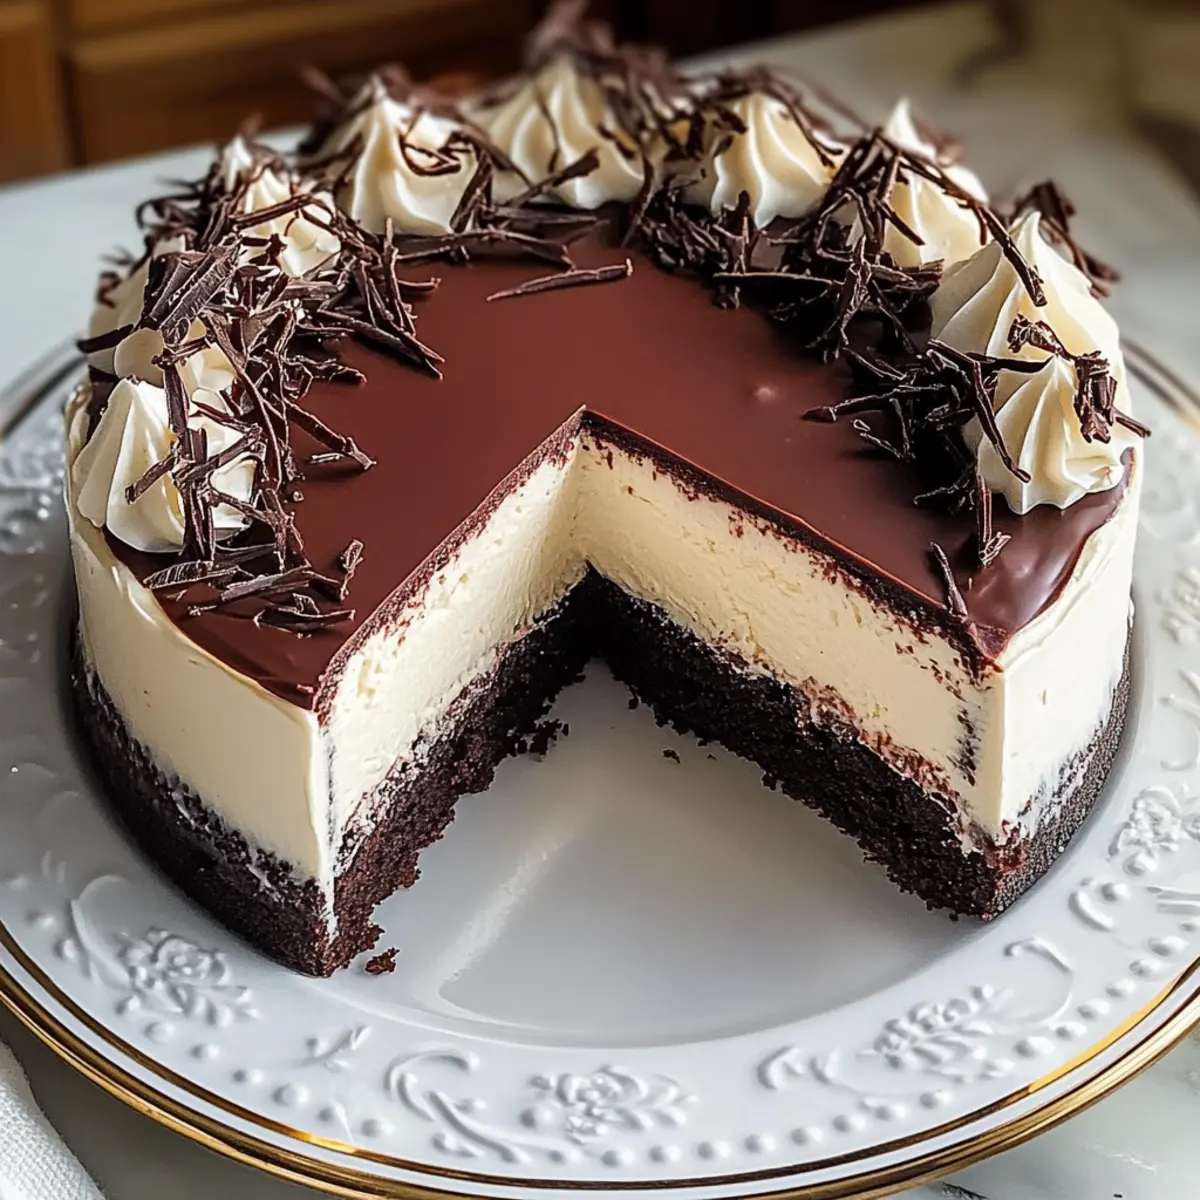
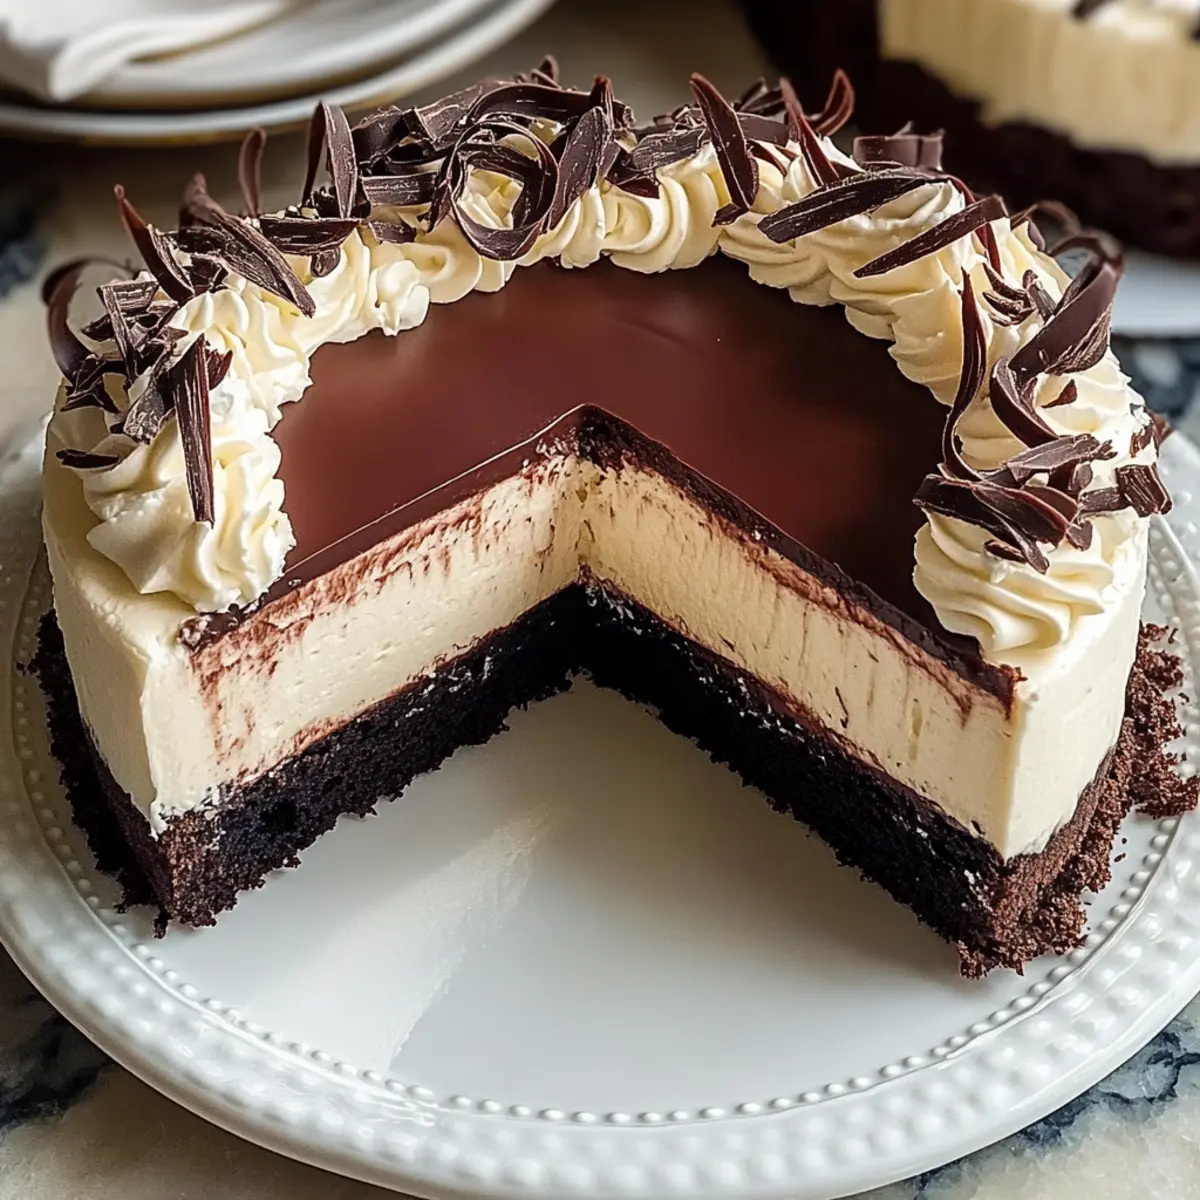
Indulgent Layers: Every slice of this cake is a luxurious experience, with a perfect balance of rich chocolate cheesecake and fluffy mousse.
Impress Your Guests: Its stunning four-layer design is sure to wow friends and family, making it ideal for celebrations or dinner parties.
Versatile Variations: Want to add a fruity twist? Try adding fresh berries between layers or a caramel layer for those with a sweet tooth!
Effortlessly Homemade: With straightforward steps, even novice bakers can create this show-stopping dessert from the comfort of their kitchen.
Crowd Favorite: Whether enjoyed at a birthday or holiday gathering, this decadent cake is bound to become a favorite among your guests.
Taste the magic, and for more delightful baking options, don’t miss out on my Mini Pancake Muffins or Mango Coconut Cheesecake!
Perfect Olive Garden Black Tie Mousse Cake Ingredients
For the Cake
- All-purpose flour – Provides structure; substitute with gluten-free flour for a gluten-free option.
- Granulated sugar – Essential sweetness; use regular sugar for best results.
- Unsweetened cocoa powder – Delivers deep chocolate flavor; consider Dutch-process cocoa for a richer taste.
- Baking soda – Acts as a leavening agent; ensure it’s fresh for effectiveness.
- Kosher salt – Enhances overall flavor; sea salt is a good substitute.
- Brewed coffee – Intensifies chocolate flavor; instant coffee is a handy substitute.
- Extra-virgin olive oil – Keeps the cake moist; can swap with vegetable oil if needed.
- Apple cider vinegar – Reacts with baking soda for lift; white vinegar will work too.
- Pure vanilla extract – Adds depth of flavor; imitation vanilla can alter the taste slightly.
For the Cheesecake Layer
- Dark chocolate (70% cacao) – Main cheesecake ingredient; opt for high-quality chocolate.
- Cream cheese (softened) – Provides creaminess; Neufchâtel cheese is a lighter alternative.
- Unsalted butter – Adds richness; substitute with salted butter by omitting extra salt.
For the Mousse
- Heavy cream – Necessary for the fluffy mousse; avoid light cream.
- Confectioners’ sugar – Sweetens the whipped cream smoothly; regular sugar can be used if mixed well.
For Decoration
- White chocolate chips – Adds sweetness and a decorative touch; dark chocolate chips are a good alternative.
- Semisweet mini chocolate chips – Optional garnish for extra texture and visual appeal.
Step‑by‑Step Instructions for Perfect Olive Garden Black Tie Mousse Cake
Step 1: Bake the Cake
Preheat your oven to 350°F (175°C) and prepare two 9-inch round cake pans by greasing and flouring them. In a mixing bowl, combine all-purpose flour, granulated sugar, unsweetened cocoa powder, baking soda, and kosher salt. Add brewed coffee, olive oil, apple cider vinegar, and vanilla extract, mixing until smooth. Pour the batter evenly into the prepared pans and bake for 25-30 minutes, or until a toothpick inserted comes out clean. Allow the cakes to cool completely in the pans.
Step 2: Prepare the Cheesecake Layer
While the cakes cool, make the cheesecake layer by melting dark chocolate in a double boiler, stirring until smooth. In a separate bowl, beat softened cream cheese until creamy. Gradually add the melted chocolate, mixing until fully incorporated. Pour in heavy cream and blend until the mixture is smooth and homogeneous. Set aside to allow the flavors to meld while you prepare the mousse.
Step 3: Make the Mousse
In a clean mixing bowl, whip heavy cream with confectioners’ sugar and a splash of vanilla extract until stiff peaks form. Gently fold the whipped cream into the cheesecake mixture, maintaining a light and airy texture. This mousse will add a delightful contrast to the dense cheesecake layer in the Perfect Olive Garden Black Tie Mousse Cake.
Step 4: Assemble the Cake
On a large serving platter, place one cooled chocolate cake layer down. Spread a generous layer of the cheesecake mixture on top, followed by half of the mousse. Repeat with the second cake layer, more cheesecake, and the remaining mousse. Ensure the mousse is smooth on the top for a beautiful finish.
Step 5: Chill the Cake
Cover the assembled cake with plastic wrap or aluminum foil and refrigerate for at least 4 hours or overnight. This chilling time is crucial for the Perfect Olive Garden Black Tie Mousse Cake, as it allows all the layers to set properly and makes it easier to slice.
Step 6: Decorate
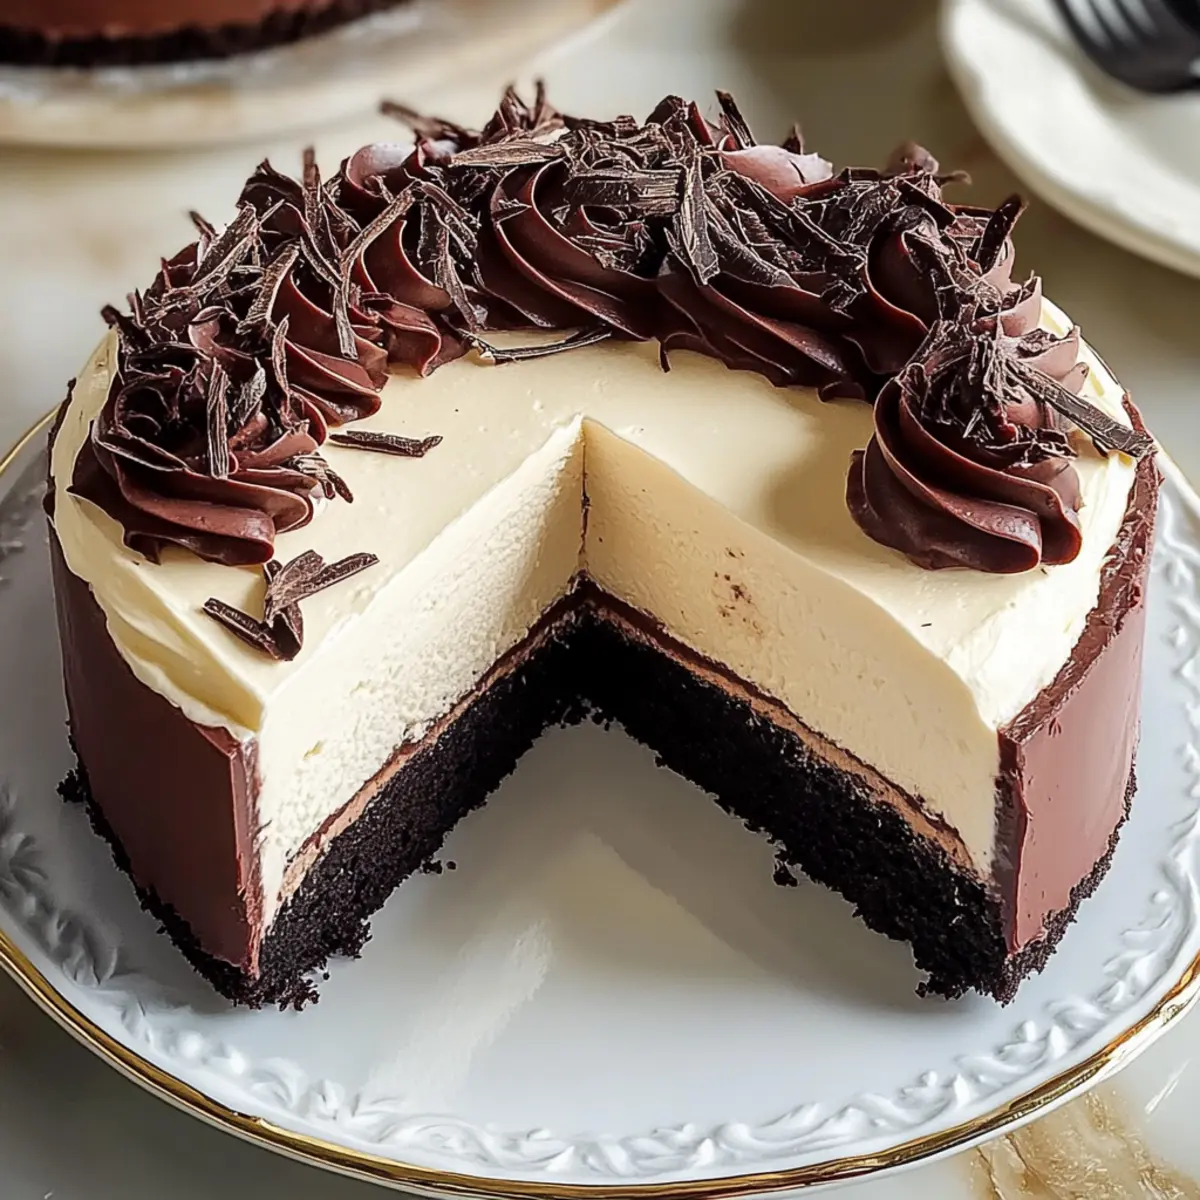
Before serving, remove the cake from the refrigerator. Sprinkle the top with white chocolate chips and semisweet mini chocolate chips for a visually enticing presentation. Slice the cake carefully to reveal the stunning layers and serve to your guests, who will be wowed by your homemade creation.
Perfect Olive Garden Black Tie Mousse Cake Variations
Get ready to make this indulgent chocolate treat even more exciting with these delightful variations!
-
Caramel Layer: Add a delicious layer of caramel between the cheesecake and mousse for an extra sweet surprise. It’s a perfect twist that elevates the entire cake.
-
Flavored Chocolate: Swap in flavored chocolates, such as raspberry or orange, for a unique take on the cheesecake layer that pairs beautifully with the chocolate mousse.
-
Vanilla Mousse: For a lighter option, replace the chocolate mousse with a luscious vanilla mousse that still complements the rich cheesecake perfectly.
-
Fresh Fruits: Punch up the freshness by adding layers of berries—strawberries, raspberries, or blueberries bring a refreshing contrast to the rich flavors.
-
Nutty Crunch: Sprinkle crushed nuts, like pecans or almonds, between layers for a delightful crunch that adds texture and nutty flavor to each bite.
-
Spicy Chocolate: Give your cake a surprising kick with a dash of cayenne pepper or espresso powder mixed into the cake batter for those who enjoy a spiced chocolate experience.
-
Gluten-Free Substitute: Simply swap all-purpose flour with gluten-free flour to make this decadent cake suitable for your gluten-sensitive friends and family.
-
Mocha Bliss: Enhance the chocolate flavor by adding instant coffee to the cake batter, creating a mocha experience that chocolate lovers will adore.
For more mouthwatering ideas, check out my recipe for Dulce Leche Cheesecake or treat yourself to Black Pepper Beef for an adventurous main dish!
Storage Tips for Perfect Olive Garden Black Tie Mousse Cake
-
Room Temperature: Keep the cake at room temperature for a maximum of 2 hours if serving at room temperature; any longer may affect the textures of the layers.
-
Fridge: Store leftover cake in an airtight container in the refrigerator for up to 3 days; this helps maintain its freshness and creaminess.
-
Freezer: Alternatively, freeze individual slices wrapped tightly in plastic wrap and foil for up to 2 months; this way, you can enjoy the perfect Olive Garden Black Tie Mousse Cake whenever the craving strikes.
-
Reheating: To serve frozen slices, thaw them overnight in the fridge; for a little extra warmth, you can briefly microwave them on low power for about 10 seconds if desired.
Expert Tips for Perfect Olive Garden Black Tie Mousse Cake
-
Room Temperature Ingredients: Ensure all your ingredients are at room temperature for optimal mixing, which helps create a smoother batter and better texture.
-
Cool Completely: Allow the cake layers to cool completely in the pans. This prevents melting the mousse and cheesecake layers during assembly, preserving those distinct textures.
-
Whip Wisely: Avoid overwhipping the cream for the mousse. Stop at stiff peaks to maintain that light and airy texture essential to the Perfect Olive Garden Black Tie Mousse Cake.
-
Chill for Success: Refrigeration is key for setting the layers properly. Aim for at least 4 hours in the fridge to ensure each slice holds its shape perfectly.
-
Decorate with Style: When adding toppings, sprinkle them evenly across the top for a beautiful finish. This adds visual appeal and a delightful crunch with each slice.
What to Serve with Perfect Olive Garden Black Tie Mousse Cake
Enhancing this elegant dessert with complementary sides will create an unforgettable feast, elevating every bite.
- Fresh Berries: Add a burst of freshness with strawberries, raspberries, or blueberries. Their tartness balances the cake’s sweetness beautifully.
- Whipped Cream: A dollop of lightly sweetened whipped cream adds a pillowy texture, enhancing the overall indulgence of each slice.
- Chocolate Sauce Drizzle: A silky chocolate sauce drizzled on the plate creates a stunning visual contrast and an extra layer of rich chocolate flavor.
- Espresso or Coffee: Serve with a cup of rich espresso or freshly brewed coffee to cut through the richness and elevate the dessert experience.
- Vanilla Ice Cream: The creamy, cold texture of vanilla ice cream pairs wonderfully with the dense layers of the cake, making every bite creamy and smooth.
- Mint Leaves: A few fresh mint leaves on the side add a pop of color and a refreshing hint, contrasting the chocolate’s richness beautifully.
- Chocolate-Covered Strawberries: These delightful treats make a gorgeous garnish while echoing the dessert’s chocolate theme, enhancing the celebration vibe.
- Caramel Sauce: A light drizzle of caramel adds a sweet, gooey touch that pairs harmoniously with the cake’s chocolate layers and enriches the flavor profile.
Make Ahead Options
These Perfect Olive Garden Black Tie Mousse Cakes are a game-changer for meal prep enthusiasts! You can bake the chocolate cake layers up to 24 hours in advance and store them tightly wrapped in plastic wrap or an airtight container at room temperature. Additionally, the cheesecake and mousse layers can be prepared up to 3 days ahead, refrigerated in separate containers to maintain their texture and flavor integrity. When you’re ready to assemble, simply layer the components and allow the cake to chill in the refrigerator for at least 4 hours or overnight. This way, you’ll have a stunning dessert ready to impress with minimal effort on the day of your gathering!
Perfect Olive Garden Black Tie Mousse Cake Recipe FAQs
How do I select the right ripeness of ingredients?
Absolutely! For this cake, ensure that your cream cheese is softened to room temperature for easy mixing. Dark chocolate should be high-quality; look for bars that are glossy and have a rich aroma rather than slight blemishes. The eggs used in such desserts should also be at room temperature as this aids in better emulsification.
What are the best storage methods for this cake?
Very good question! To keep your Perfect Olive Garden Black Tie Mousse Cake fresh, store it in an airtight container in the refrigerator for up to 3 days. Cover the top with plastic wrap if the container isn’t tall enough to prevent the mousse from sticking. For longer storage, you can freeze individual slices tightly wrapped in plastic wrap and foil for up to 2 months.
How do I freeze the Perfect Olive Garden Black Tie Mousse Cake?
Here’s the scoop! To freeze your cake, first, make sure it’s completely chilled after refrigeration. Cut it into individual slices, then wrap each slice tightly in plastic wrap followed by aluminum foil to prevent freezer burn. Label the packaging with the date. When ready to enjoy, simply thaw the slices overnight in the fridge—no need to make it a hassle!
What common troubleshooting tips should I keep in mind for this cake?
Definitely! If your mousse seems too runny, you may have overwhipped the cream—aim for just stiff peaks. If layers aren’t setting properly, ensure you’ve refrigerated them for at least 4 hours, as this chilling period is critical for allowing the mousse and cheesecake to adhere.
Can I make this cake gluten-free?
The more the merrier! Yes, you can easily make the Perfect Olive Garden Black Tie Mousse Cake gluten-free by substituting all-purpose flour with a 1:1 gluten-free flour blend. Just ensure that all other ingredients, like baking powder, are also certified gluten-free. This way, everyone can enjoy this indulgent treat!
What should I do if I have allergies?
Absolutely important to consider! If you or your guests have allergies, you can customize this recipe by using dairy-free cream cheese and coconut cream for the mousse. For nut allergies, ensure that your chocolate does not contain traces of nuts. Always check labels carefully to be on the safe side!
Perfect Olive Garden Black Tie Mousse Cake You'll Love
Ingredients
Equipment
Method
- Preheat your oven to 350°F (175°C) and prepare two 9-inch round cake pans by greasing and flouring them.
- In a mixing bowl, combine all-purpose flour, granulated sugar, unsweetened cocoa powder, baking soda, and kosher salt.
- Add brewed coffee, olive oil, apple cider vinegar, and vanilla extract, mixing until smooth.
- Pour the batter evenly into the prepared pans and bake for 25-30 minutes, or until a toothpick inserted comes out clean.
- Allow the cakes to cool completely in the pans.
- While the cakes cool, make the cheesecake layer by melting dark chocolate in a double boiler, stirring until smooth.
- In a separate bowl, beat softened cream cheese until creamy. Gradually add the melted chocolate, mixing until fully incorporated.
- Pour in heavy cream and blend until the mixture is smooth and homogeneous.
- Set aside to allow the flavors to meld while you prepare the mousse.
- In a clean mixing bowl, whip heavy cream with confectioners' sugar and a splash of vanilla extract until stiff peaks form.
- Gently fold the whipped cream into the cheesecake mixture, maintaining a light and airy texture.
- On a large serving platter, place one cooled chocolate cake layer down.
- Spread a generous layer of the cheesecake mixture on top, followed by half of the mousse.
- Repeat with the second cake layer, more cheesecake, and the remaining mousse.
- Cover the assembled cake with plastic wrap or aluminum foil and refrigerate for at least 4 hours or overnight.
- Before serving, remove the cake from the refrigerator and sprinkle the top with white chocolate chips and semisweet mini chocolate chips.
- Slice the cake carefully to reveal the stunning layers and serve to your guests.