

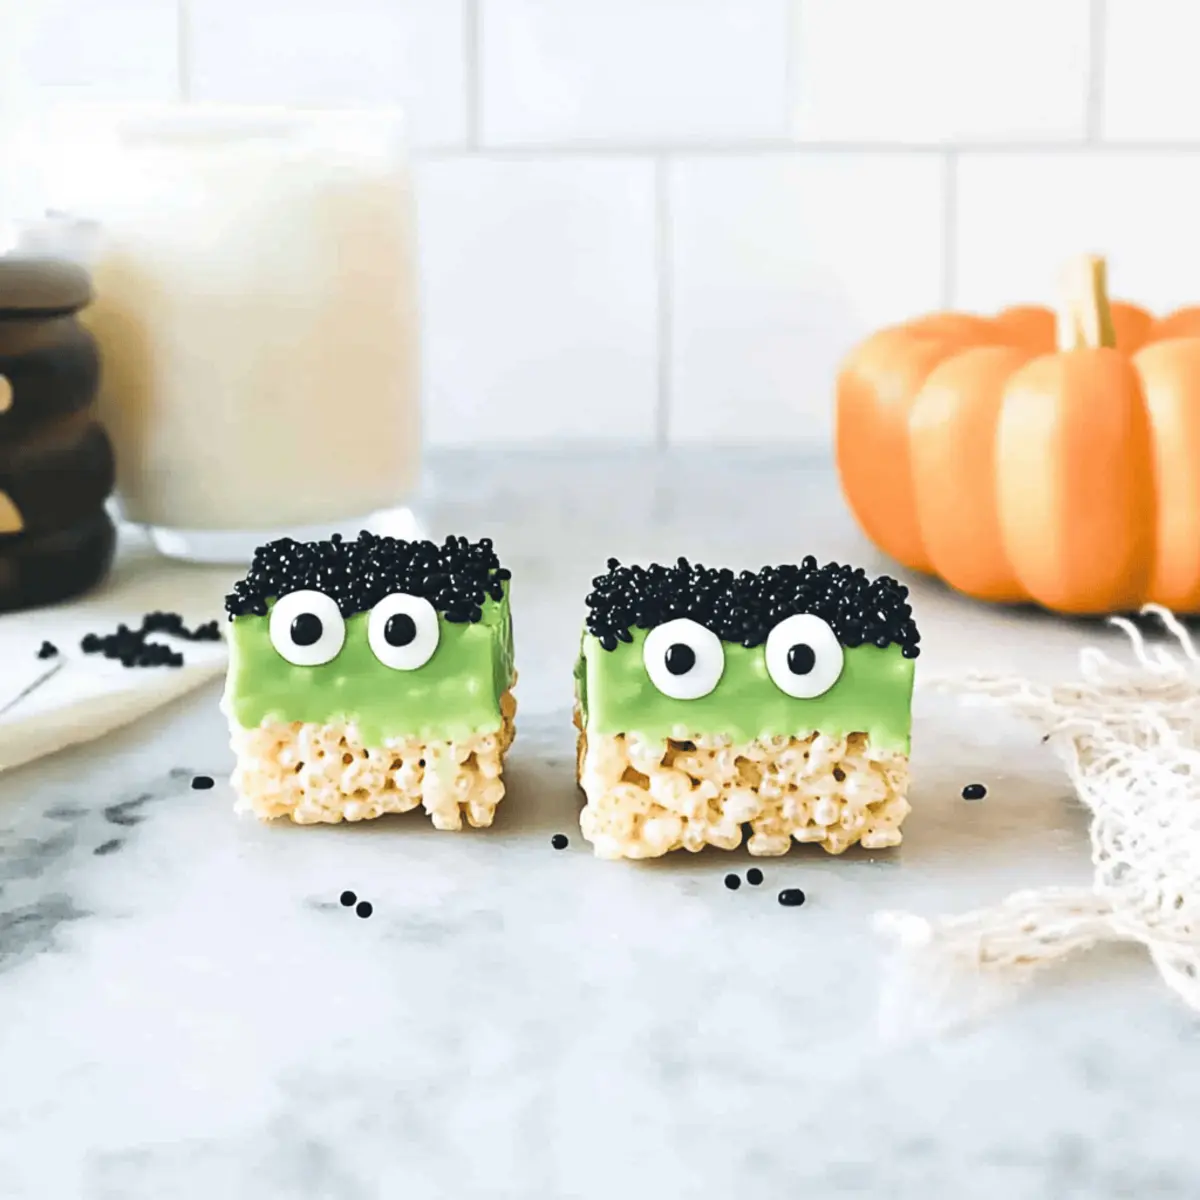
As the leaves turn crisp and the nights grow longer, there’s a familiar buzz in the air—the excitement of Halloween! This year, I wanted to create something special that captures the festive spirit of the season: Frankenstein Rice Krispie Treats. Not only are these delightful no-bake sweets a breeze to whip up, but they also bring a playful twist that kids adore. With just a handful of ingredients like gooey marshmallows and colorful candy melts, you’ll find yourself crafting a spooky treat that’s both quick and easy. Plus, they make for a perfect family activity, turning kitchen time into cherished memories. Ready to dive into this sweet adventure? Let’s uncover the simple steps to create these frightfully fun treats!
Why make Frankenstein Rice Krispie Treats?
Delightful Fun: These treats are a Halloween hit, adding a playful twist to a classic favorite.
Easy Preparation: With just a few ingredients, you can whip up a batch in no time—perfect for busy schedules or impromptu gatherings.
Kid-Friendly: Involve your little ones in the fun! They’ll love getting creative with coatings and decorations, making it a perfect family activity.
No-Bake Convenience: Enjoy the hassle-free joy of a no-bake recipe, which means less mess and more time for spooky celebrations!
Versatile Variations: Feel free to switch up the colors or toppings, like trying Mini Pancake Treats for a fun breakfast option or adapting to other holidays with themed coatings.
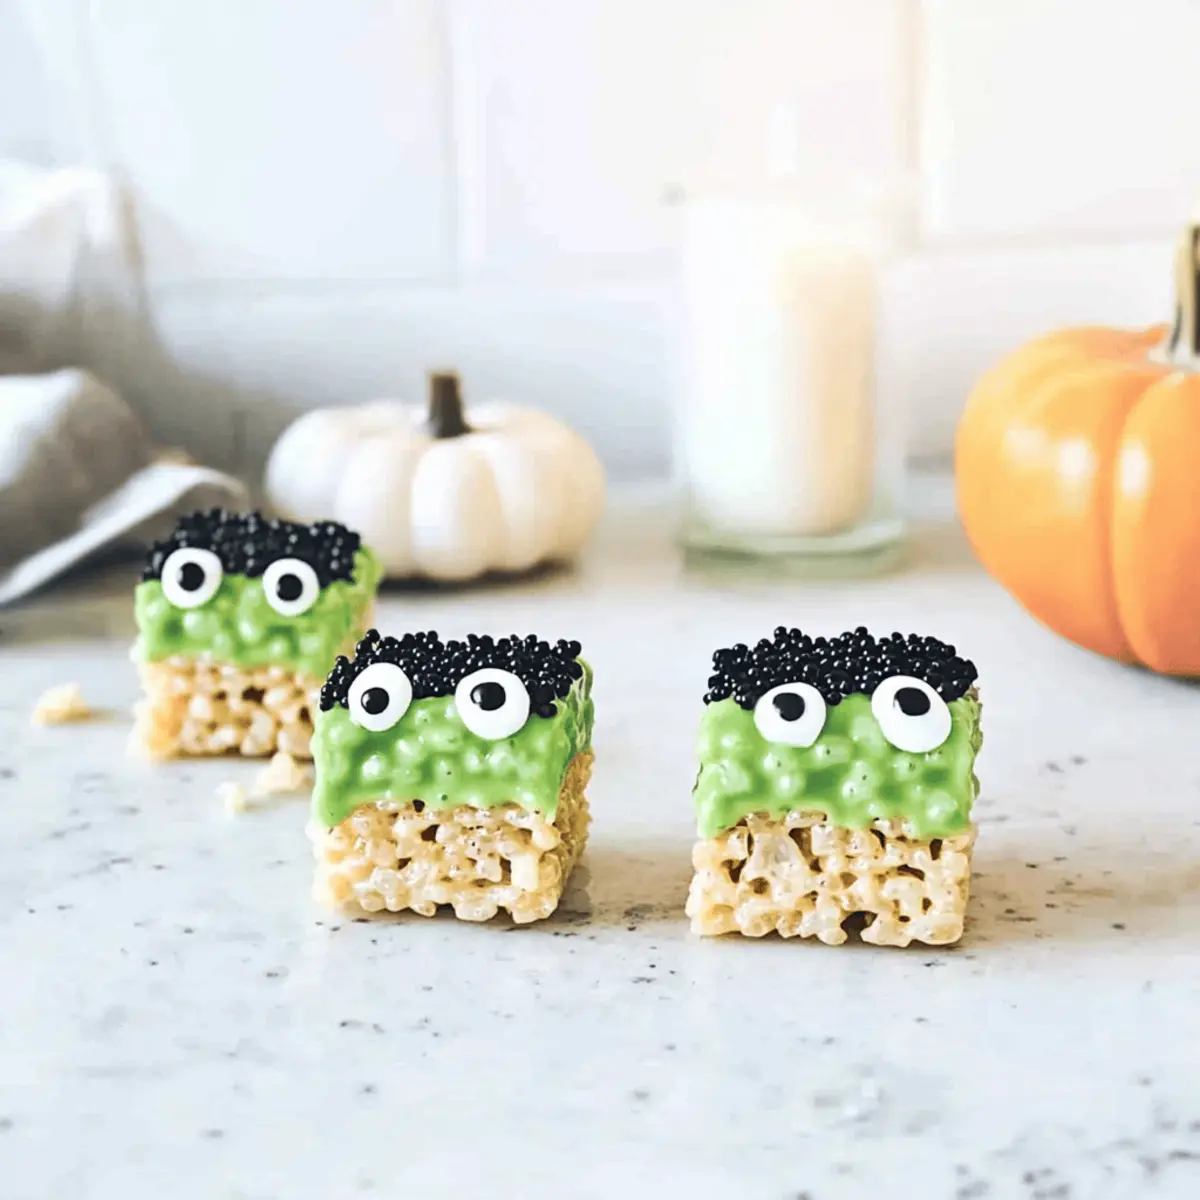
These Frankenstein Rice Krispie Treats are not just a treat; they’re an experience that brings smiles to everyone’s faces!
Frankenstein Rice Krispie Treats Ingredients
Dive into the delicious world of Frankenstein Rice Krispie Treats with these easy-to-find ingredients!
For the Base
- Rice Krispies Cereal – Provides the perfect structure and crunch for your treats, ensuring peak freshness is key!
- Mini Marshmallows – The sweet, sticky binders of the treats; if you’re looking for an alternative, try using peanut butter and honey (¾ cup each).
- Unsalted Butter – Adds a rich, smooth flavor; melt on low-medium heat to keep it from browning.
For the Coating
- Green Candy Melts – The vibrant base that gives these treats their spooky color; white chocolate dyed with gel food coloring can work too!
- Black Candy Melts – Perfect for an added layer of decoration; you can swap these out for dark chocolate if you prefer a different taste.
For the Decorations
- Royal Icing Eyes – Fun little accents that bring your Frankenstein treats to life!
- Black Jimmies Sprinkles – Add a touch of texture and creativity; feel free to use alternative sprinkles for variety!
Whether you’re crafting these for Halloween or a themed party, these Frankenstein Rice Krispie Treats are sure to delight, making every bite a delightful surprise!
Step‑by‑Step Instructions for Frankenstein Rice Krispie Treats
Step 1: Prepare the Dish
Begin your spooky creation by greasing a 9″x13″ casserole dish with butter. This step not only helps prevent sticking but also adds a touch of flavor to your Frankenstein Rice Krispie Treats. Ensure the dish is evenly coated and ready to hold the mixture later on.
Step 2: Melt Butter
In a large pot over low-medium heat, melt 3 tablespoons of unsalted butter. Stir continuously to keep the butter from browning, allowing it to melt slowly until fully liquid. This process should take about 2-3 minutes; the butter needs to be smooth before moving on to the next step.
Step 3: Melt Marshmallows
Once the butter is melted, add 4 cups of mini marshmallows to the pot. Stir the mixture continuously for 3-5 minutes, or until the marshmallows are completely melted and the mixture is smooth. You’ll know it’s ready when there’s no leftover marshmallow fluff and it looks like a creamy, gooey blend.
Step 4: Combine Cereal
Immediately add 6 cups of Rice Krispies cereal to the melted marshmallow mixture. Gently fold the cereal in using a spatula, ensuring that every piece is well-coated and incorporated. This should take just a couple of minutes; look for a uniform mixture without any dry patches of cereal.
Step 5: Set Mixture
Transfer the mixture into your prepared dish, using the spatula to spread it evenly. Press down firmly to ensure they hold together, creating a solid base for your Frankenstein Rice Krispie Treats. Allow the mixture to set at room temperature for about 30 minutes, until it firms up completely.
Step 6: Cut Treats
Once set, use a sharp knife to cut the mixture into rectangles or squares, depending on your preference. You can make them larger for big treats or smaller if you want to serve more. This step is fun and brings out the playful side of preparing your Frankenstein Rice Krispie Treats!
Step 7: Melt Candy Melts
Using a double boiler, melt 1 cup of green candy melts over low heat. Stir occasionally until smooth and fully melted, which will take about 5-7 minutes. This vibrant color is what makes your treats look like Frankenstein, so ensure there are no lumps!
Step 8: Decorate Treats
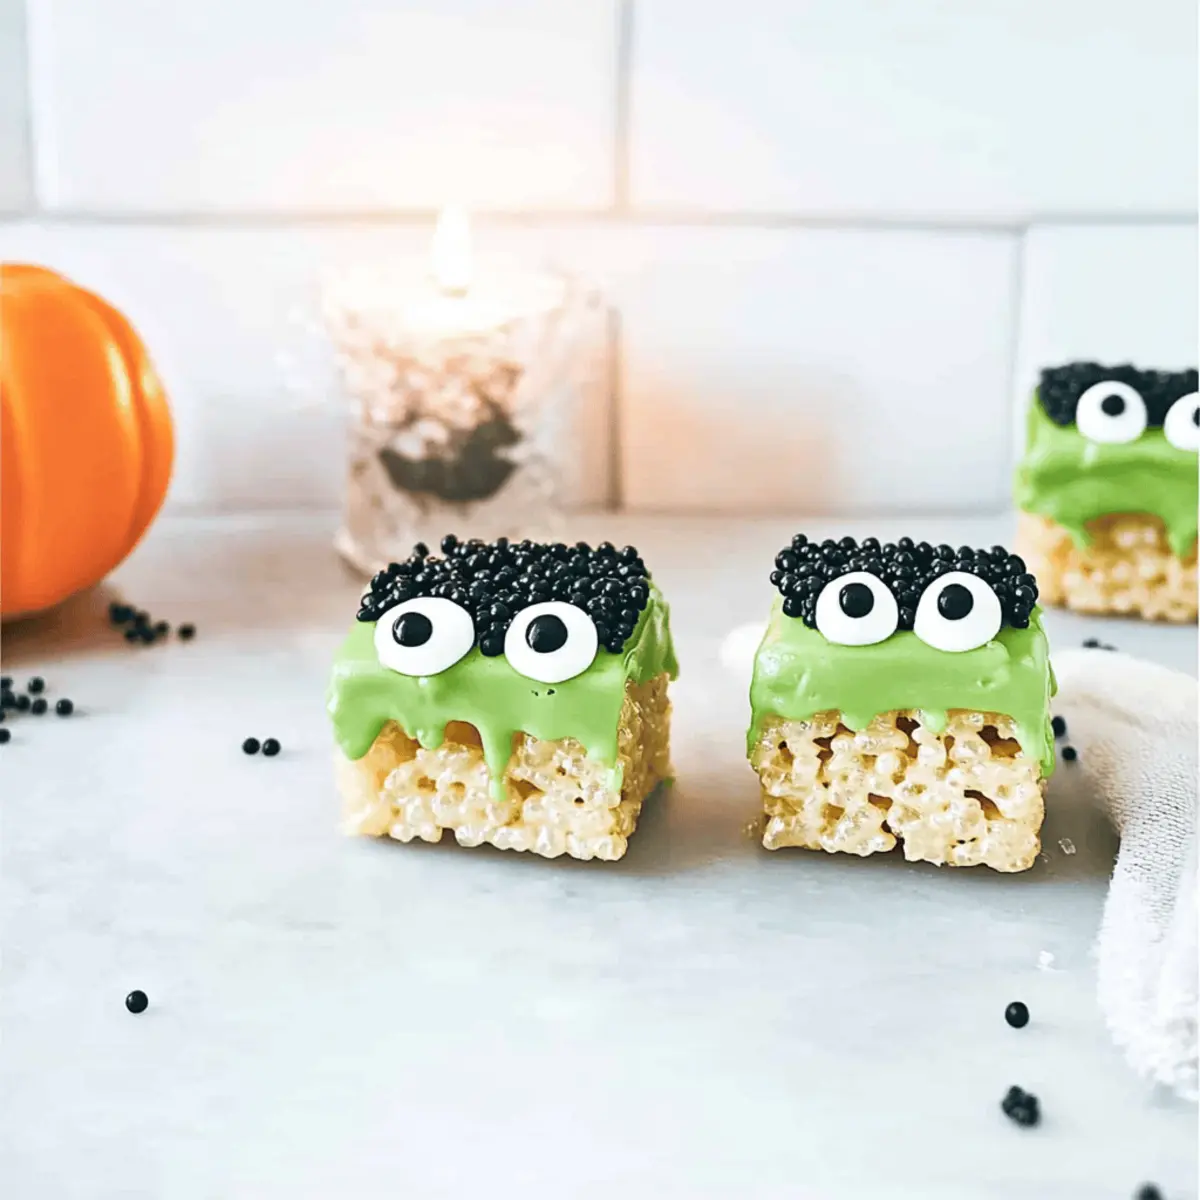
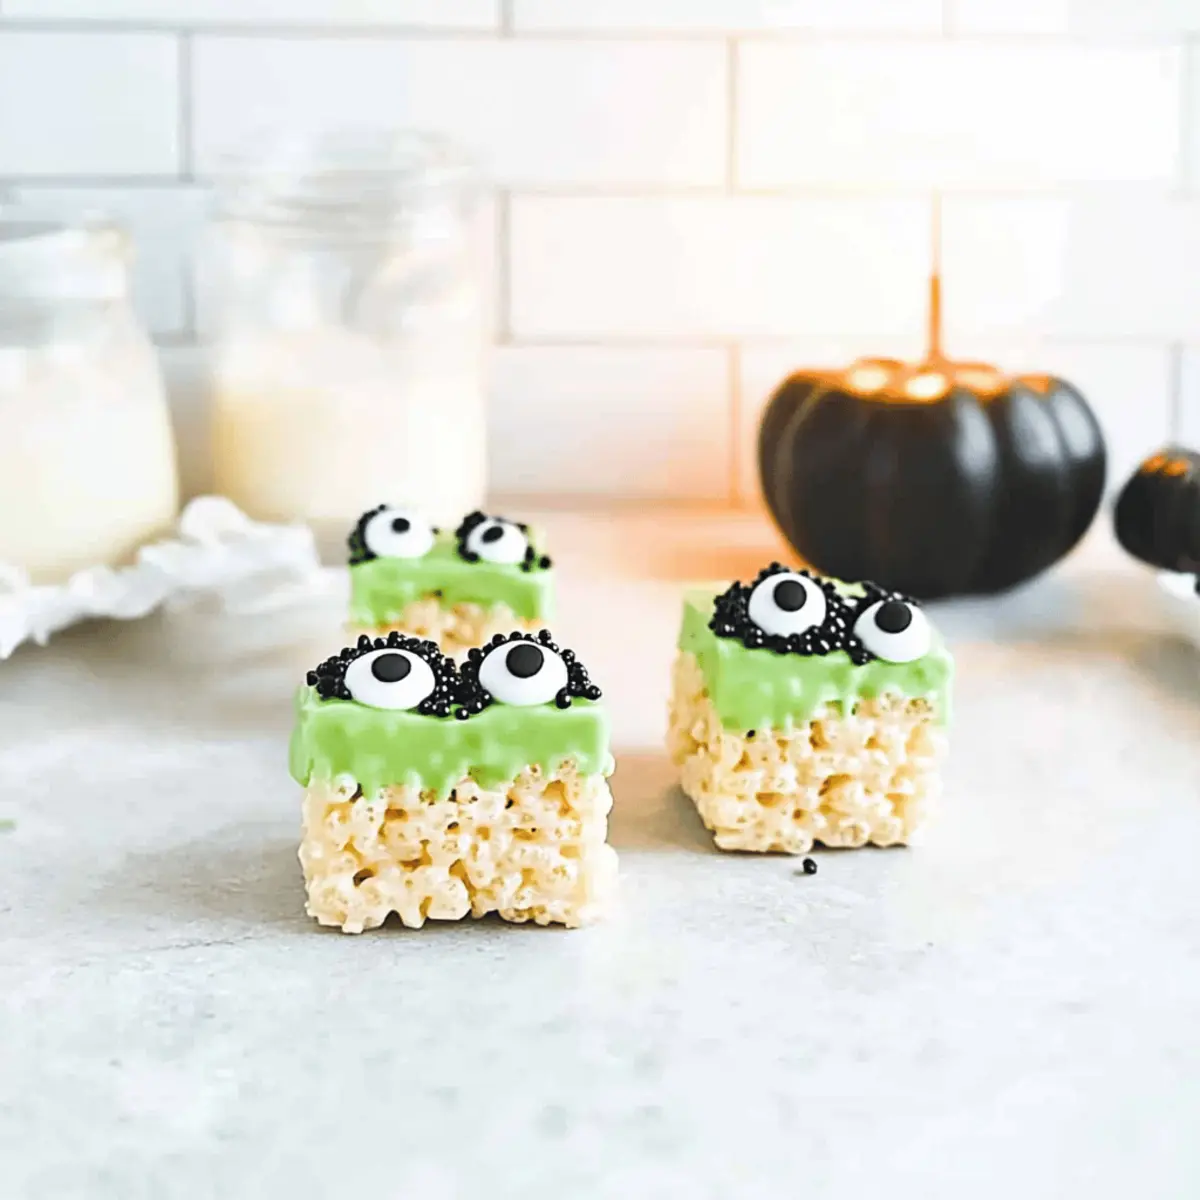
Dip each cut treat into the melted green candy, allowing any excess to drip off. Then, gently roll them in black jimmies sprinkles for a monster-like texture. Add royal icing eyes to each treat, giving them a fun and festive Halloween look.
Step 9: Pipe Stitches
Melt ½ cup of black candy melts in the double boiler. Once melted, use a piping bag to carefully pipe decorative stitches on top of each treat, creating those signature Frankenstein features. Let the decorations set completely at room temperature before serving or packaging your delightful treats.
How to Store and Freeze Frankenstein Rice Krispie Treats
Airtight Container: Store your treats in an airtight container at room temperature for up to 3 days to maintain their soft and chewy texture.
Freezer: For longer storage, wrap individual treats in plastic wrap, then place them in a freezer-safe bag. They can be frozen for up to 3 months.
Thawing: To enjoy, simply remove from the freezer and let sit at room temperature for about 15-20 minutes or until soft.
Reheating: If you prefer a softer treat, you can microwave a single treat for about 10 seconds, but avoid overheating to prevent them from becoming hard.
Expert Tips for Frankenstein Rice Krispie Treats
-
Fresh Ingredients: Always use fresh mini marshmallows for optimum taste and texture. Stale marshmallows can lead to tough treats.
-
Gentle Heat: Melt your butter and marshmallows over low-medium heat to avoid scorching. This keeps your mixture smooth and gooey.
-
Avoid Sticking: Greasing your dish well ensures that the Rice Krispies mixture won’t stick, making it much easier to cut once set.
-
Control Consistency: If your melted candy melts are too thick for dipping, add a small amount of vegetable shortening to thin it out for an easier coating process.
-
Decorating Fun: Let your kids get creative with the decorations! Using various sprinkles or colors can make each treat uniquely spooky.
-
Storage Savvy: Keep your Frankenstein Rice Krispie Treats in an airtight container at room temperature for up to three days for maximum freshness.
Make Ahead Options
These Frankenstein Rice Krispie Treats are a fantastic choice for meal prep, saving you time during the bustling Halloween season! You can prepare the base mixture (steps 1-5) up to 24 hours in advance and store it tightly wrapped in plastic wrap at room temperature to maintain its soft, chewy texture. To finish, simply cut the treats and decorate (steps 6-9) before serving. If you’d like to make the treats even earlier, they can be stored in an airtight container for up to 3 days after cutting. Just ensure they cool completely to preserve their crispiness. With these prep tips, you’ll be able to create festive, delicious treats with minimal last-minute effort!
What to Serve with Halloween Rice Krispie Treats
Imagine a delightful spread that complements the whimsical charm of these playful treats, creating the perfect festive atmosphere for your Halloween gathering.
-
Festive Punch: Create a spooky punch with cranberry juice and lemon-lime soda. The vibrant red hue enhances the Halloween theme wonderfully.
-
Pumpkin Spice Cookies: Soft and chewy pumpkin cookies provide a warm spice contrast to the sweet, crunchy treats. The nostalgic flavors make for a perfect balance.
-
Chocolate-Dipped Pretzels: With their salty-sweet combo, these crunchy snacks add an exciting texture and flavor contrast, encouraging guests to mix it up while snacking.
-
Ghostly Cupcakes: Light vanilla cupcakes topped with ghostly meringue icing make an adorable pairing and an utterly irresistible treat for children and adults alike.
-
Apple Slices with Caramel Dip: Fresh apple slices drizzled with caramel make a refreshing, crunchy addition to the dessert table, encouraging lighter bites between sweets.
-
Ice Cream Floats: Serve up ice cream floats with lime soda and a scoop of vanilla ice cream. It’s a delightful, refreshing way to cool off amidst all the sugary goodness.
-
Spooky Cheese Board: Combine a selection of cheeses, crackers, and pumpkin-shaped cheeses to create a savory counterpoint to the treats. Add some fruits for a fresh touch and to keep things vibrant.
Variations & Substitutions for Frankenstein Rice Krispie Treats
Customize your Halloween treat adventure with these delightful variations that are sure to tickle your taste buds!
-
Peanut Butter Twist: Replace marshmallows with ¾ cup each of peanut butter and honey for a nutty flavor. The richness adds a unique depth to the classic treat.
-
Colorful Treats: Swap green candy melts for orange or purple, perfect for Halloween or any festive occasion. Use your creativity to match the holiday vibe!
-
Crunchy Delight: Add 1 cup of chopped nuts, like almonds or walnuts, to the Rice Krispies for added crunch. It creates a satisfying texture contrast that will delight your guests.
-
Fruity Fun: Incorporate a handful of freeze-dried fruit, such as strawberries or blueberries, for a pop of flavor and color. This exciting twist brings a fruity balance to the sweetness!
-
Vegan Option: Use dairy-free butter and swap marshmallows for a plant-based substitute, like coconut cream mixed with maple syrup. It’s a thoughtful twist for your vegan friends!
-
Halloween Themes: Switch the decorations; use edible glitter or candy corn instead of black sprinkles to create a vibrant, festive look. Each treat can become a spooky surprise reflecting your creativity!
-
Spicy Kick: Sprinkle a dash of cayenne pepper or chili powder into the cereal mix for a surprising kick of heat. A bold contrast to the sweetness may just become your new favorite flavor profile.
-
Coating Variations: Instead of candy melts, dip treats in melted dark chocolate for a richer taste. You can also drizzle white chocolate for an eye-catching finish—so many delicious possibilities await!
Feel free to experiment and create your own spin on these Frankenstein Rice Krispie Treats. For a festive breakfast twist, check out Mini Pancake Treats!
Frankenstein Rice Krispie Treats Recipe FAQs
How do I select fresh marshmallows?
Absolutely! When choosing marshmallows, look for puffy, soft ones with no signs of hardening or sticking together. Fresh marshmallows have a bouncy texture, whereas stale ones may become tough in your treats, affecting their delightful chewiness.
How should I store Frankenstein Rice Krispie Treats?
For optimal freshness, keep your treats in an airtight container at room temperature for up to 3 days. This will help maintain their soft, chewy texture. If you want to save some for later, follow these steps: wrap each treat individually in plastic wrap, then place them in a freezer-safe bag. They can be frozen for up to 3 months.
Can I freeze Frankenstein Rice Krispie Treats?
Very! To freeze, ensure each treat is wrapped in plastic wrap and placed in a freezer-safe bag to prevent freezer burn. When you’re ready to enjoy, simply remove from the freezer and allow them to sit at room temperature for about 15-20 minutes to soften, or microwave for 10 seconds for a quick treat!
What if my Rice Krispie Treats are too sticky?
No worries! If your mixture turns out too sticky, it may be due to excess marshmallow or not enough cereal. To troubleshoot, try adding a bit more Rice Krispies to the mixture—start with 1/2 cup at a time until you achieve the desired consistency. If the treats are still sticking to the pan after setting, lightly greasing your hands with butter can help when cutting them.
Are these treats safe for my pets?
It’s best to avoid giving your pets any treats made with marshmallows, chocolate, or sugar, as these can be harmful to them. Always keep your Halloween Rice Krispie Treats away from furry friends to keep them safe!
What can I use as substitutions for dietary restrictions?
If you have dietary concerns, you can substitute marshmallows with a combination of ¾ cup peanut butter and ¾ cup honey for an alternative binding agent. This not only alters the flavor but makes it a fun twist while accommodating certain diets. Just remember to adjust the sweetness level as needed!
Frankenstein Rice Krispie Treats: Spook-tacular No-Bake Fun
Ingredients
Equipment
Method
- Grease a 9x13 casserole dish with butter.
- Melt 3 tablespoons of butter in a large pot over low-medium heat.
- Add 4 cups of mini marshmallows and stir until melted.
- Quickly add 6 cups of Rice Krispies cereal and fold into the melted mixture.
- Transfer the mixture into the prepared dish and press down firmly.
- Allow the mixture to set at room temperature for about 30 minutes.
- Cut the set mixture into squares or rectangles.
- Melt 1 cup of green candy melts over low heat in a double boiler.
- Dip each treat into the melted green candy and allow excess to drip off.
- Roll the treats in black jimmies sprinkles and add royal icing eyes.
- Melt ½ cup of black candy melts for piping decorative stitches on top.
- Allow decorations to set completely before serving.