

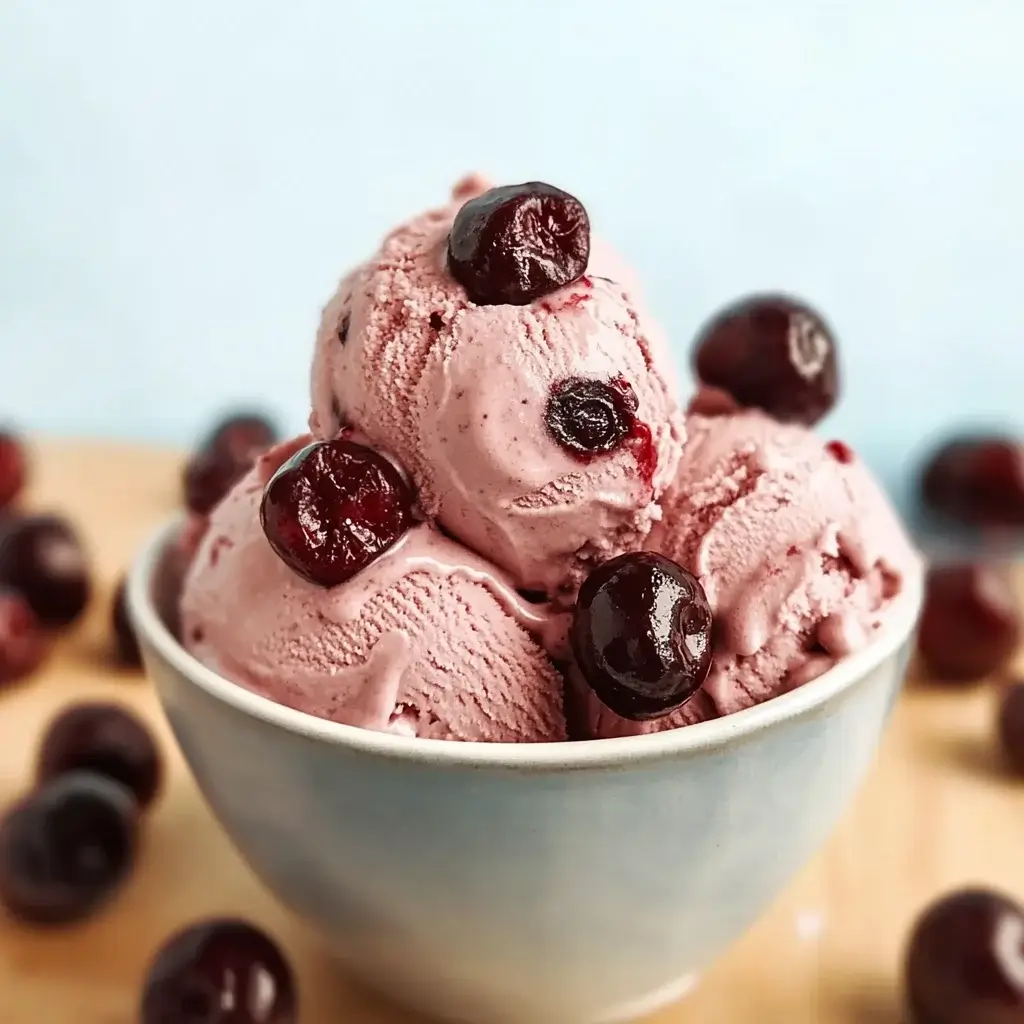
Introduction to Cherry Garcia Nice Cream
There’s something magical about a dessert that feels indulgent yet guilt-free. Cherry Garcia Nice Cream is just that—a creamy, dreamy treat that satisfies your sweet tooth without the heavy calories. I remember the first time I made this delightful concoction; it was a hot summer day, and I craved something refreshing. This recipe is perfect for those busy evenings when you want to impress your loved ones without spending hours in the kitchen. With just a few simple ingredients, you can whip up a delicious dessert that everyone will love. Let’s dive into this delightful recipe!
Why You’ll Love This Cherry Garcia Nice Cream
This Cherry Garcia Nice Cream is a game-changer for dessert lovers. It’s incredibly easy to make, taking just 10 minutes of prep time. The vibrant flavors of cherries and rich chocolate create a taste sensation that feels like a treat from your favorite ice cream shop. Plus, it’s vegan and guilt-free, making it a perfect choice for those hot days when you want something refreshing without the extra calories. You’ll be hooked!
Ingredients for Cherry Garcia Nice Cream
Gathering the right ingredients is key to making the perfect Cherry Garcia Nice Cream. Here’s what you’ll need:
- Frozen cherries: These are the star of the show! They provide a burst of fruity flavor and a beautiful color.
- Ripe banana: A frozen banana adds natural sweetness and creaminess, making your nice cream smooth and luscious.
- Coconut milk: This creamy base gives your nice cream a rich texture. You can use canned or carton coconut milk, but full-fat is best for that indulgent feel.
- Vanilla extract: A splash of vanilla enhances the overall flavor, making it taste even more delightful.
- Dark chocolate chips: These little gems add a satisfying crunch and a touch of decadence. Opt for dairy-free if you’re keeping it vegan.
Feel free to get creative! You can add a tablespoon of almond butter or peanut butter for a nutty twist. If you can’t find frozen cherries, fresh ones work too—just pit and freeze them ahead of time. For exact measurements, check the bottom of the article where you can find everything available for printing.
How to Make Cherry Garcia Nice Cream
Creating your own Cherry Garcia Nice Cream is a breeze! Follow these simple steps, and you’ll have a delicious dessert ready in no time. Let’s get started!
Step 1: Blend the Base
First, grab your blender or food processor. Toss in the frozen cherries, frozen banana, coconut milk, and vanilla extract. Blend everything together until it’s smooth and creamy. Don’t rush this part! Stop occasionally to scrape down the sides. This ensures every bit gets blended well. The result should be a vibrant, thick mixture that looks like a cherry sunset.
Step 2: Fold in Chocolate Chips
Once your base is perfectly blended, it’s time to add the chocolate chips. Gently fold them into the mixture using a spatula. This step is crucial because you want those little bursts of chocolate to remain intact. Each bite should surprise you with a delightful crunch. Trust me, it’s worth the extra care!
Step 3: Freeze the Mixture
Now, transfer your nice cream mixture into a freezer-safe container. Spread it out evenly, making sure it’s not too thick in any one spot. Cover it tightly with a lid or plastic wrap. Pop it in the freezer for at least two hours. This step is essential for achieving that perfect scoopable texture. Patience is key here!
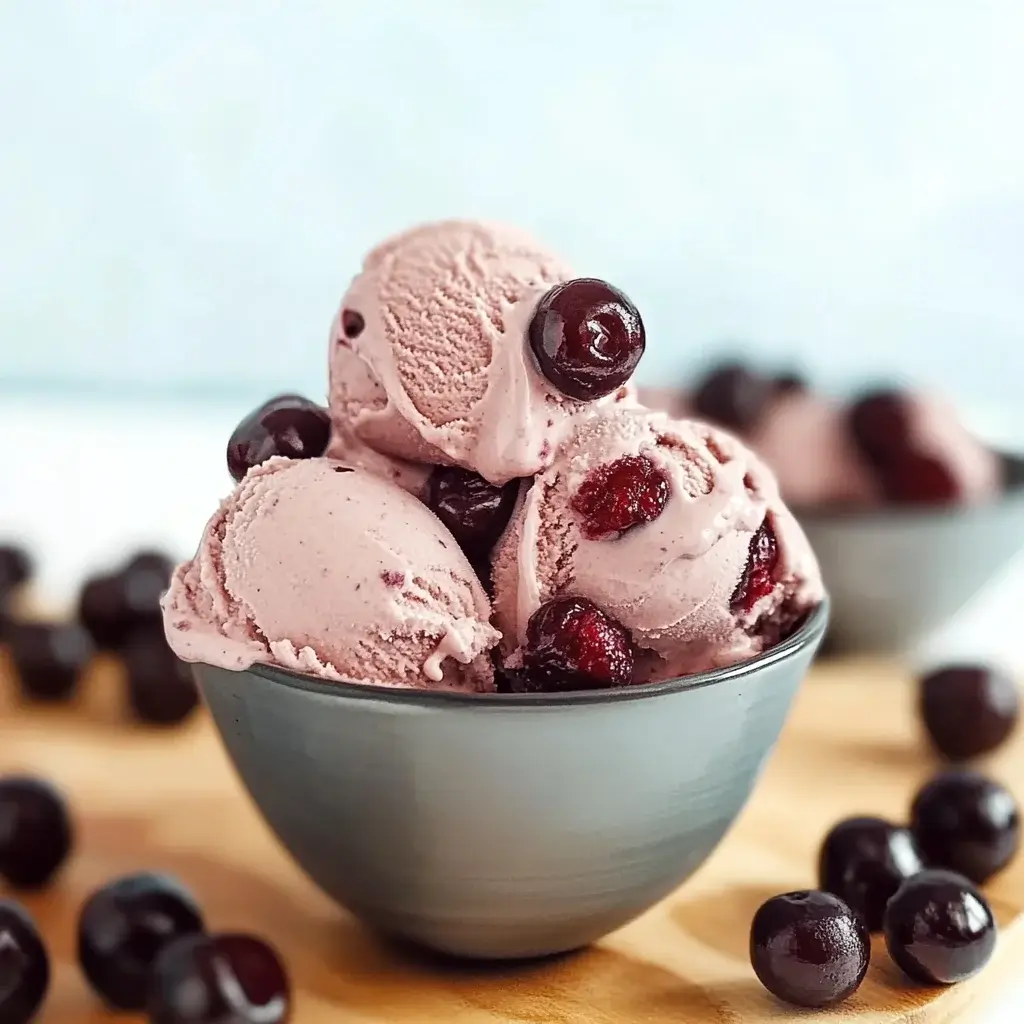
Step 4: Serve and Enjoy
When you’re ready to indulge, take the nice cream out of the freezer. Let it sit for a few minutes to soften slightly. Then, scoop it into bowls and enjoy! You can top it with extra chocolate chips or fresh cherries for a beautiful presentation. Each spoonful is a creamy, fruity delight that will have you coming back for more!
Tips for Success
- Use ripe bananas for maximum sweetness and creaminess.
- For a silkier texture, blend longer and use full-fat coconut milk.
- Don’t skip the freezing step; it’s crucial for the right consistency.
- Experiment with different mix-ins like nuts or other fruits for variety.
- Serve immediately after freezing for the best texture, or let it soften slightly before scooping.
Equipment Needed
- Blender or Food Processor: A high-speed blender works best, but a regular one will do.
- Freezer-Safe Container: Any airtight container will work; glass or plastic is fine.
- Spatula: Essential for folding in chocolate chips and scraping down the sides.
Variations of Cherry Garcia Nice Cream
- Nutty Delight: Add a tablespoon of almond butter or peanut butter for a rich, nutty flavor that complements the cherries beautifully.
- Berry Blast: Mix in some frozen blueberries or raspberries along with the cherries for a mixed berry nice cream that’s bursting with flavor.
- Minty Fresh: Incorporate a few drops of peppermint extract for a refreshing minty twist that pairs well with the chocolate.
- Protein Boost: Stir in a scoop of your favorite plant-based protein powder to make it a post-workout treat.
- Chocolate Lovers: Swap in chocolate almond milk for the coconut milk and add extra chocolate chips for a double chocolate experience.
Serving Suggestions for Cherry Garcia Nice Cream
- Fresh Fruit: Serve with sliced strawberries or a handful of blueberries for a colorful touch.
- Nut Toppings: Sprinkle chopped nuts like almonds or walnuts for added crunch.
- Chocolate Drizzle: Drizzle some melted dark chocolate on top for an extra indulgent treat.
- Mint Leaves: Garnish with fresh mint leaves for a pop of color and freshness.
- Pair with Beverages: Enjoy with a glass of almond milk or a refreshing iced tea.
FAQs about Cherry Garcia Nice Cream
Got questions about making Cherry Garcia Nice Cream? You’re not alone! Here are some common queries that might pop up as you whip up this delightful dessert.
Can I use fresh cherries instead of frozen?
Absolutely! If you have fresh cherries, just pit and freeze them ahead of time. This will help achieve that creamy texture we all love in nice cream.
How long does Cherry Garcia Nice Cream last in the freezer?
This nice cream can last up to two weeks in the freezer. Just make sure it’s stored in an airtight container to keep it fresh and delicious.
Can I make this nice cream without coconut milk?
Yes! You can substitute coconut milk with almond milk or oat milk. Just keep in mind that the texture may be slightly different, but it will still be tasty!
Is Cherry Garcia Nice Cream suitable for kids?
<pDefinitely! This vegan dessert is a hit with kids. It’s a fun way to sneak in some fruit while satisfying their sweet cravings.
Can I add other mix-ins to the nice cream?
Final Thoughts
Making Cherry Garcia Nice Cream is more than just whipping up a dessert; it’s about creating joyful moments. Each scoop is a reminder of summer days and sweet indulgence without the guilt. The vibrant colors and rich flavors bring a smile to my face, and I know it will do the same for you and your loved ones. Whether you’re enjoying it on a hot afternoon or serving it at a gathering, this nice cream is bound to impress. So grab those ingredients, blend away, and let the delightful experience of Cherry Garcia Nice Cream brighten your day!
Cherry Garcia Nice Cream: A Delightfully Creamy Recipe
Ingredients
Method
- In a blender or food processor, combine the frozen cherries, frozen banana, coconut milk, and vanilla extract. Blend until smooth and creamy, stopping to scrape down the sides as needed.
- Once the mixture is smooth, fold in the dark chocolate chips.
- Transfer the nice cream to a freezer-safe container and spread it out evenly.
- Freeze for at least 2 hours to firm up before serving.
- When ready to serve, scoop into bowls and enjoy!
Nutrition
Notes
- For a creamier texture, use full-fat coconut milk and blend longer until silky smooth.
- Add a tablespoon of almond butter or peanut butter for a nutty flavor twist.