

As I rummaged through my pantry last week, a lightbulb moment struck me—a jar of creamy peanut butter just waiting to be transformed into something delectable. Enter the world of classic peanut butter cookies, where the rich, nutty flavor meets the simplicity of home baking. This recipe is not just about satisfying a sweet tooth; it’s a celebration of quick and easy desserts that even novice bakers can master. With minimal ingredients and no need for complicated techniques, these cookies promise a warm, comforting treat that’s perfect for any occasion. Plus, they’re fantastic for meal prepping, making them the ideal companion for busy weeks or spontaneous gatherings. So, are you ready to embrace the joy of baking and whip up a batch of these delightful cookies? Let’s dive in!
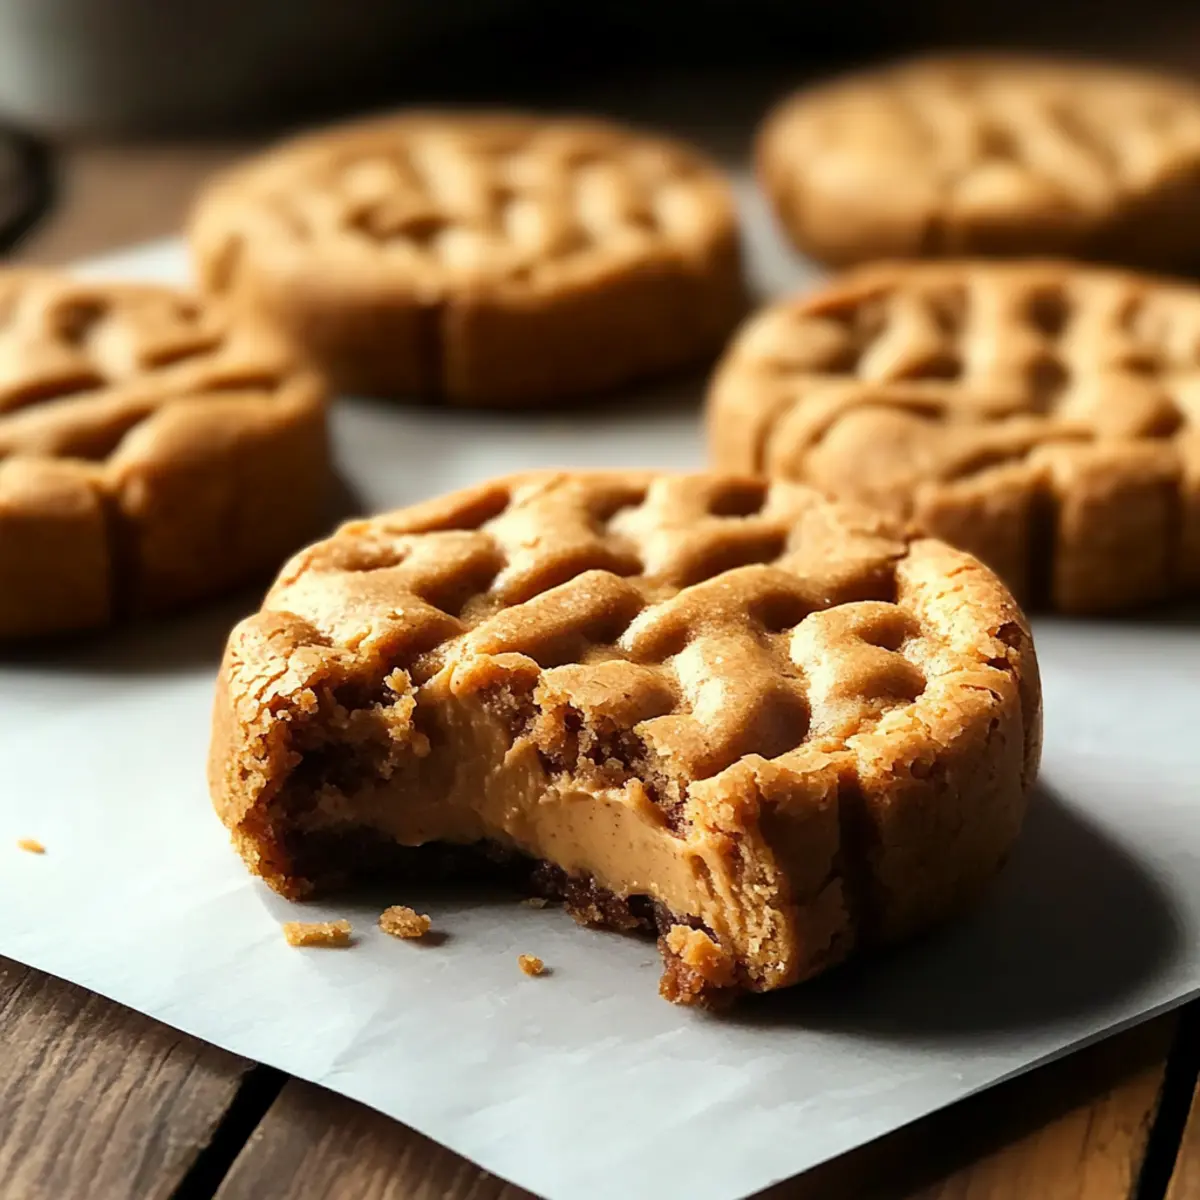
Why Are Classic Peanut Butter Cookies So Loved?
Melting Delight: These classic peanut butter cookies deliver a soft, melt-in-your-mouth experience that keeps everyone coming back for more.
Simplicity at Its Best: With just a handful of ingredients, you can whip up a batch in no time, making them perfect for those busy days or sudden cravings.
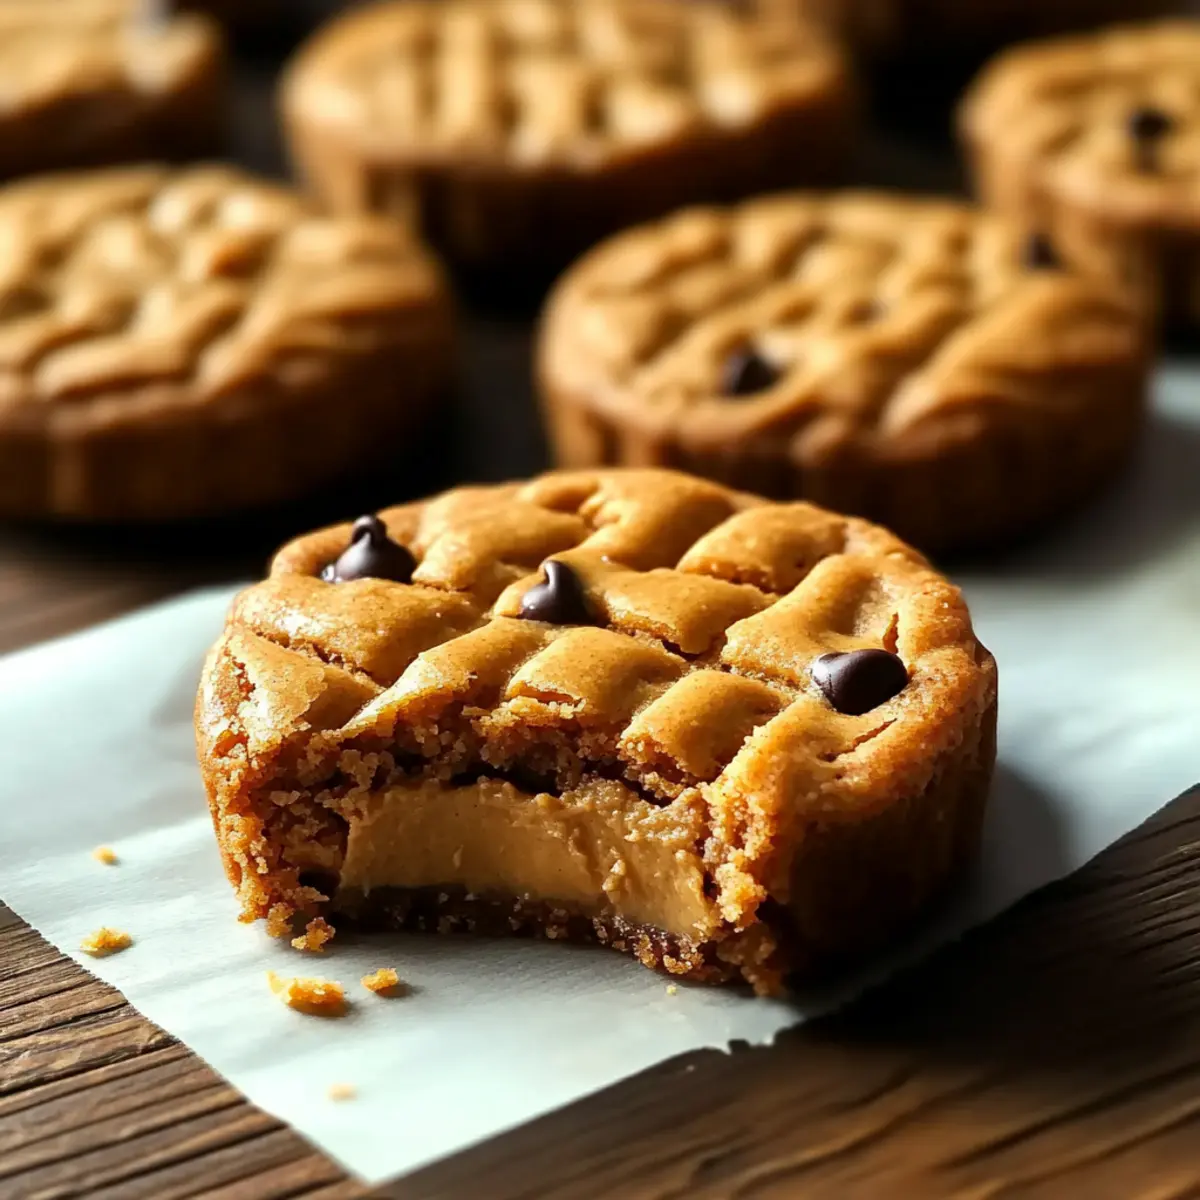
Versatile and Adaptable: You can easily add chocolate chips or mix in some chopped nuts for a delightful twist, allowing you to customize them as you wish.
Crowd Pleaser: Whether you’re hosting friends or sending treats to school, these cookies appeal to all ages and tastes, making them an instant hit.
Nostalgic Comfort: Each bite evokes warm memories of home and simpler times, reminding us of the joy of baking with loved ones.
Classic Peanut Butter Cookies Ingredients
• Prepare to bake delightful cookies that evoke a sense of nostalgia!
For the Dough
- Peanut Butter – the heart of these classic peanut butter cookies, offering rich flavor and creaminess.
- Granulated Sugar – balances the nutty taste; you can swap with brown sugar for a deeper caramel flavor.
- Egg – helps bind ingredients, ensuring the cookies are soft and chewy; a flaxseed meal can be used for a vegan alternative.
- All-Purpose Flour – gives structure; if gluten-free, substitute with almond or oat flour for a tasty variation.
- Baking Soda – aids in leavening, creating that perfect rise; ensure it’s fresh for best results.
- Salt – enhances flavor; don’t skip this crucial step, as it intensifies the sweetness.
Optional Add-ins
- Chocolate Chips – add a delicious melty surprise; dark chocolate chips offer a luxurious touch.
- Chopped Nuts – for an extra crunch, throw in some chopped peanuts or walnuts; it’s a delectable alternative.
These classic peanut butter cookies are a timeless treat you’ll want to keep on hand!
Step‑by‑Step Instructions for Classic Peanut Butter Cookies
Step 1: Preheat and Prepare
Begin by preheating your oven to 350°F (175°C). While that warms up, gather all necessary ingredients, including creamy peanut butter, sugar, egg, flour, baking soda, and salt. Make sure your baking sheets are lined with parchment paper or lightly greased for easy cookie release later on. Organizing your workspace now will make the process smoother!
Step 2: Cream the Mixture
In a large mixing bowl, combine 1 cup of peanut butter, 1 cup of granulated sugar, and 1 egg. Use a hand mixer or a sturdy spoon to blend these ingredients until the mixture is smooth and creamy, about 1-2 minutes. You should see a glossy texture forming that indicates your classic peanut butter cookie dough is starting to come together nicely.
Step 3: Add Dry Ingredients
Next, gradually add 1 cup of all-purpose flour, 1 teaspoon of baking soda, and ¼ teaspoon of salt to your creamed mixture. Stir gently, allowing the flour to fully incorporate without overmixing. This should take about 1 minute, and you’ll know it’s ready when the dough is soft and slightly sticky. This step is key to achieving that perfect cookie consistency!
Step 4: Incorporate Optional Add-ins
If you’d like to elevate your classic peanut butter cookies, now is the perfect time to fold in ½ cup of chocolate chips or ½ cup of chopped nuts. Use a spatula to evenly distribute your chosen add-ins throughout the dough, ensuring every bite bursts with delightful texture and flavor. This step is optional but adds a lovely twist!
Step 5: Shape the Cookies
Using a tablespoon or a cookie scoop, drop rounded balls of dough onto your prepared baking sheet, leaving about 2 inches of space between each cookie. Flatten them slightly with the back of a fork, creating a crisscross pattern. This creates the classic look of peanut butter cookies and helps them bake evenly. Aim for about 12 cookies per sheet.
Step 6: Bake to Perfection
Place the baking sheet in your preheated oven and bake for 10-12 minutes. Watch closely as they begin to turn golden around the edges while remaining soft in the center. A light puffing up indicates they are rising, and once baked, let them sit on the baking sheet for a few minutes. This allows them to set before transferring them to a wire rack.
Step 7: Cool and Enjoy
Once your classic peanut butter cookies are cool enough to handle, carefully transfer them to a wire rack to cool completely. The cookies will firm up as they cool, making them perfectly chewy and soft. After they’ve cooled, they’re ready to be enjoyed or stored in an airtight container for up to a week.
Tips for the Best Classic Peanut Butter Cookies
- Mixing Matters: Avoid overmixing the dough, as it can lead to tough cookies. Mix until just combined for soft, chewy classic peanut butter cookies.
- Sweetness Control: Always taste your dough before baking! You can adjust the sweetness by adding more sugar or using brown sugar for a warmer flavor.
- Baking Sheet Prep: Line your baking sheets with parchment paper; this prevents sticking and ensures even baking for your cookies.
- Cooling Time: Allow cookies to cool on the baking sheet for a few minutes before transferring them to a wire rack. Cooling helps them firm up perfectly.
- Storage Tips: Store your cookies in an airtight container at room temperature for up to a week; they won’t last long, but this keeps them fresh for any sudden cravings!
Classic Peanut Butter Cookies Variations & Substitutions
Feel free to get creative and customize these classic peanut butter cookies to suit your taste!
- Crunchy Twist: Add ½ cup of chopped nuts, like peanuts or walnuts, for a delightful texture contrast.
- Chocolate Lovers: Mix in ½ cup of chocolate chips or drizzle melted chocolate over cooled cookies for an extra treat.
- Vegan Option: Replace the egg with a flaxseed meal mixture (1 tablespoon flaxseed + 2.5 tablespoons water) for a dairy-free delight. The cookies will be just as delicious and soft!
- Gluten-Free: Swap all-purpose flour with almond or oat flour for a gluten-free alternative that doesn’t compromise on taste.
- Flavor Boost: Add 1 teaspoon of vanilla or almond extract to enhance the cookie’s nutty flavor and add depth.
- Spicy Kick: Mix in a sprinkle of cinnamon or a pinch of cayenne pepper for a unique twist that brings warmth to each bite.
- Fruitiness: Stir in dried fruits, like cranberries or raisins, for a chewy surprise that pairs beautifully with the peanut butter flavor.
- No-Bake Cookie Option: For a quick treat, mix peanut butter with rolled oats, honey, and cocoa powder, then refrigerate until set for an easy, no-bake energy bite.
These variations allow you to discover new flavor profiles while enjoying the classic goodness of peanut butter cookies. If you’re looking for another great dessert idea, check out these Pumpkin Smores Cookies or my Garlic Butter Beef Bites for a savory twist!
Make Ahead Options
These Classic Peanut Butter Cookies are perfect for meal prep enthusiasts! You can prepare the dough up to 24 hours in advance, simply cover it tightly with plastic wrap or store it in an airtight container to maintain freshness. Moreover, if you wish to save even more time, you can scoop the cookie dough into balls and freeze them for up to 3 months; just freeze them on a baking sheet first, then transfer the frozen balls to a bag. When ready to bake, place the cookies on a lined baking sheet, leaving space in between, and bake from frozen for an extra minute or two. With these make-ahead tips, you have a delicious treat ready whenever those sweet cravings strike!
Storage Tips for Classic Peanut Butter Cookies
Room Temperature: Store cookies in an airtight container at room temperature for up to one week to maintain their soft, chewy texture.
Fridge: For longer freshness, you can refrigerate the cookies, which will keep them good for up to two weeks. Just make sure they’re in a sealed container to prevent them from drying out.
Freezer: Classic peanut butter cookies freeze beautifully! Wrap them individually in plastic wrap and place them in a freezer-safe bag. They can stay fresh for up to three months.
Reheating: When ready to enjoy, thaw them at room temperature or microwave for a few seconds to warm them up, restoring that delightful melt-in-your-mouth quality.
What to Serve with Classic Peanut Butter Cookies?
Indulging in warm, freshly baked peanut butter cookies opens the door to a world of delightful pairings that enhance your sweet experience.
- Milk: A classic pairing, cold milk complements the rich, nutty flavors while also softening each bite, making them absolutely irresistible.
- Vanilla Ice Cream: The cool, creamy texture of vanilla ice cream drizzled with warm chocolate sauce creates a heavenly contrast to the warm cookies.
- Chocolate Dipping Sauce: Elevate the cookie experience by serving with a rich chocolate sauce for dipping, satisfying both peanut butter and chocolate lovers alike.
- Fresh Berries: Juicy strawberries or tart raspberries add a refreshing balance to the cookies, cutting through the sweetness with their bright, flavorful zing.
- Coffee or Tea: A warm cup of coffee or aromatic herbal tea enhances the richness of the cookies, creating an inviting atmosphere for savoring every bite.
- Peanut Butter Milkshake: For the ultimate indulgence, whip up a creamy peanut butter milkshake that echoes the flavors of your cookies. This pairing is fun, nostalgic, and sure to please!
Classic Peanut Butter Cookies Recipe FAQs
What type of peanut butter is best for these cookies?
I recommend using creamy peanut butter for a smooth texture, but if you’re a fan of crunch, go ahead and use crunchy peanut butter! Just ensure it’s a variety that’s free of added sugars or oils for the best results.
How should I store my classic peanut butter cookies?
Store your cookies in an airtight container at room temperature for up to one week. If you want them to last longer, you can refrigerate them for up to two weeks, ensuring they stay soft and chewy!
Can I freeze these cookies?
Absolutely! Wrap each cookie individually in plastic wrap and place them in a freezer-safe bag. They can stay fresh in the freezer for up to three months. When you’re ready to indulge, simply thaw them at room temperature or microwave for a few seconds to regain that warm, melty goodness.
What if my dough is too sticky?
If you find your dough is too sticky to handle, it might be due to the moisture content in your peanut butter or eggs. Try chilling the dough in the refrigerator for about 30 minutes, which will make it easier to shape. Also, a light dusting of flour on your hands can help you manage stickiness while forming the cookies.
Are there any dietary substitutions I should consider?
Certainly! For a vegan alternative, replace the egg with a flaxseed meal. Just mix 1 tablespoon of flaxseed meal with 2.5 tablespoons of water, let it sit for about 5 minutes, and then incorporate it into your dough. You can also swap out all-purpose flour for almond or oat flour to accommodate gluten-free diets.
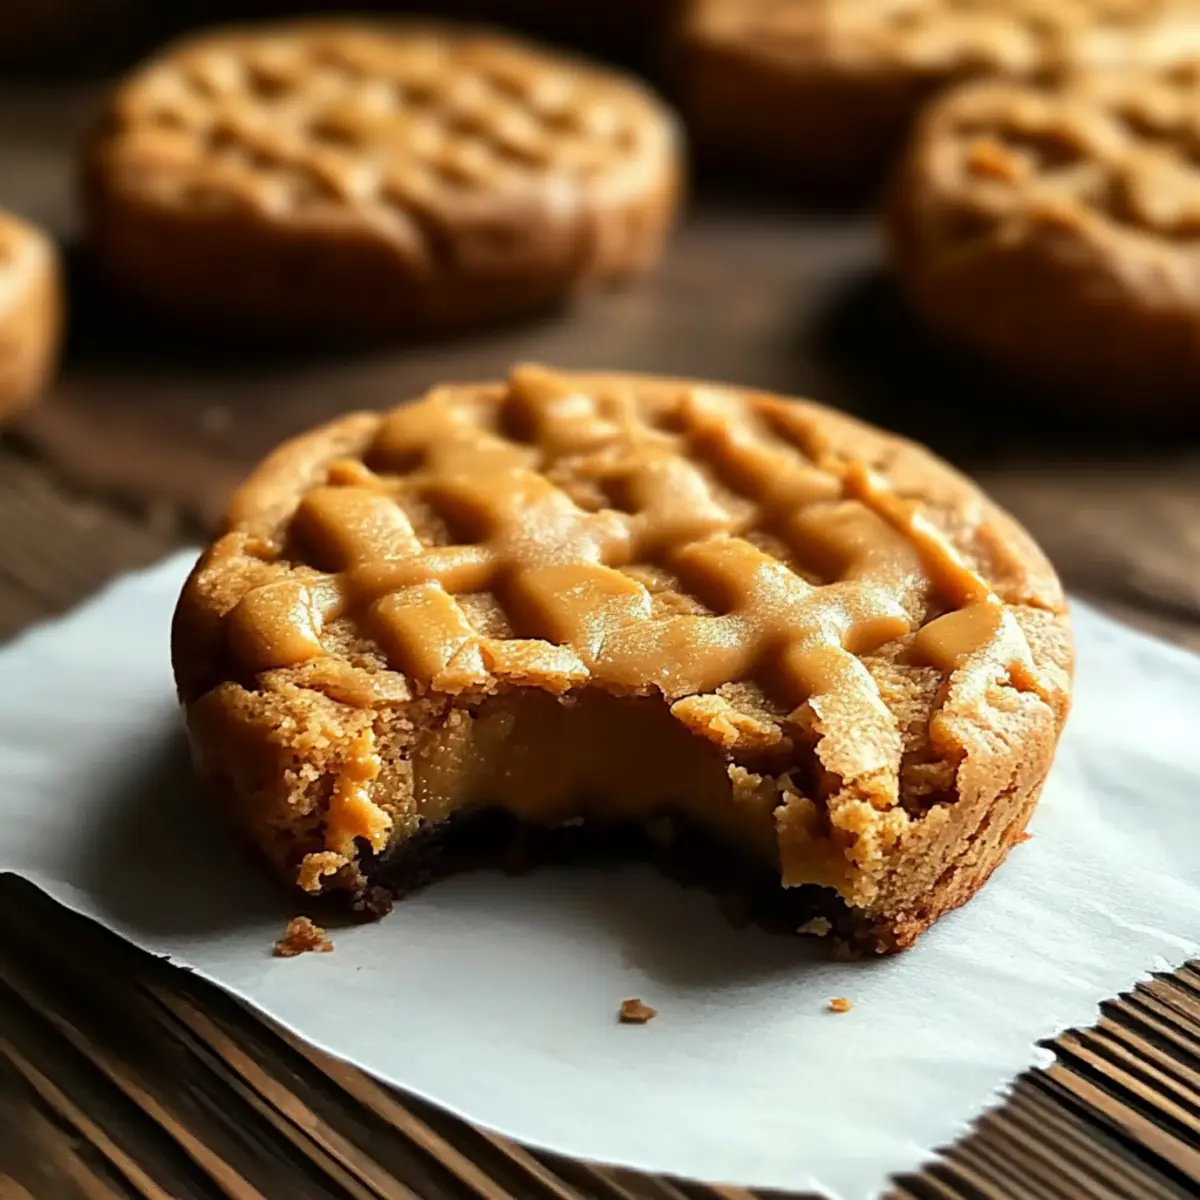
Classic Peanut Butter Cookies That Melt in Your Mouth
Ingredients
Equipment
Method
- Preheat your oven to 350°F (175°C) and prepare your baking sheets.
- In a mixing bowl, combine peanut butter, sugar, and egg until smooth.
- Gradually add flour, baking soda, and salt, stirring until just combined.
- Fold in optional add-ins like chocolate chips or chopped nuts.
- Drop rounded balls of dough onto baking sheets, flatten slightly with a fork.
- Bake for 10-12 minutes until golden at the edges, cool slightly on baking sheet.
- Transfer to a wire rack and let them cool completely before storing.