

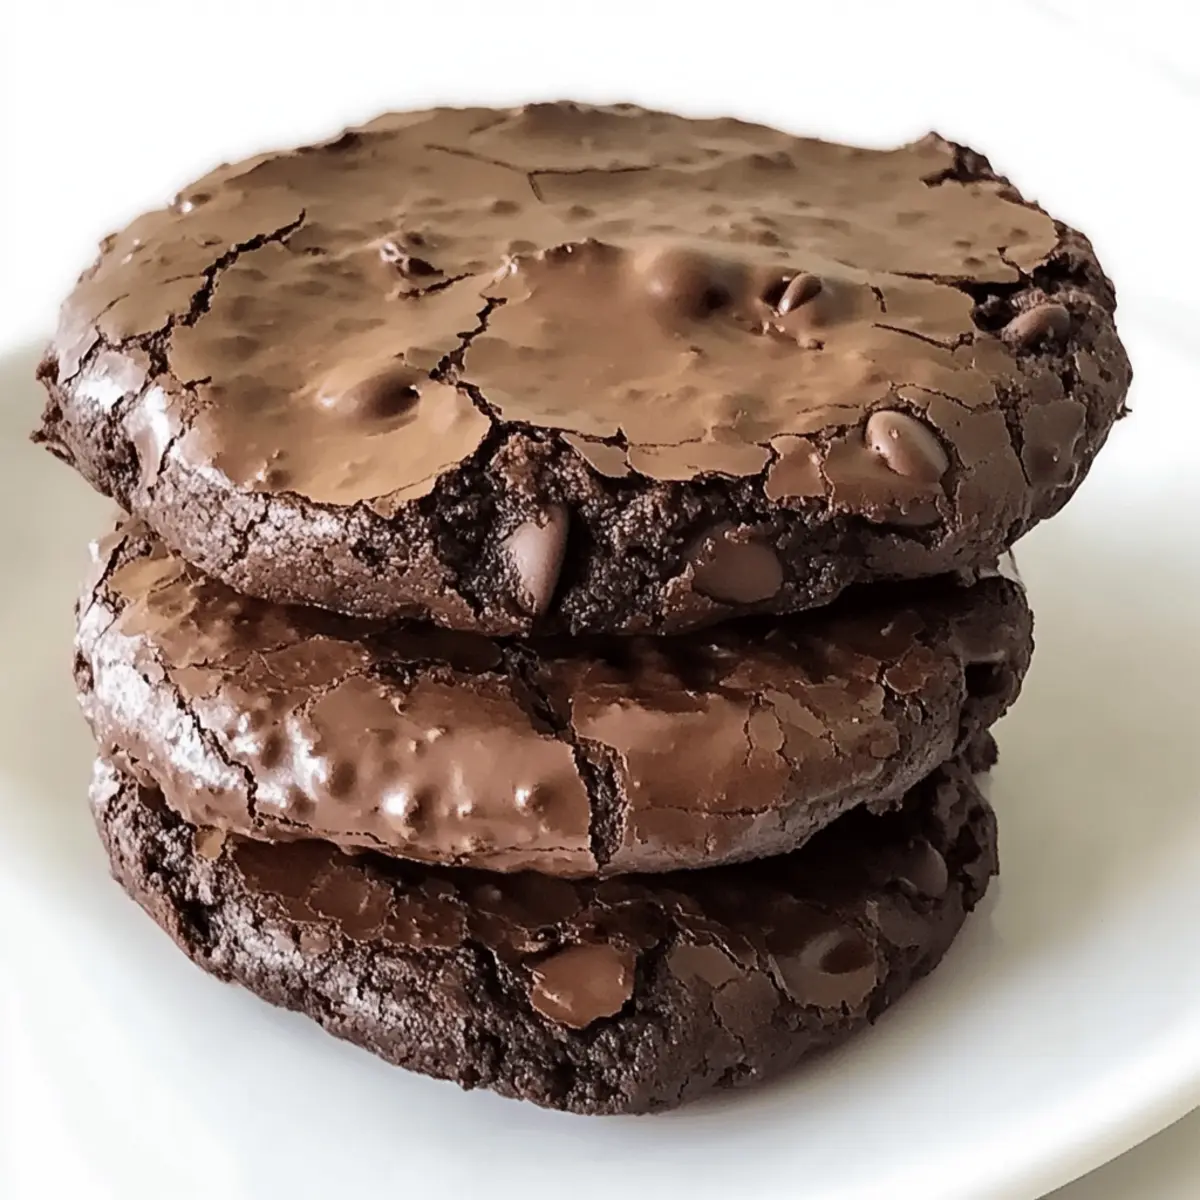
The kitchen was filled with an irresistible aroma, a combination of rich dark chocolate and bold espresso. Little did I know, this heady mix would lead to a phenomenal discovery: Dark Chocolate Espresso Brownie Cookies that are as indulgent as they are easy to prepare! With their perfectly crisp edges and gooey, chewy centers, these cookies are not just a treat but an experience, perfect for when those sweet cravings hit. What’s more? They come together in no time and offer a gluten-free option, ensuring everyone can join in on the fun. Whether you’re winding down after a long day or want to impress friends during a cozy gathering, these cookies are sure to be a crowd-pleaser. Curious about how to whip up this delightful batch? Let’s dive in and explore the magic!
Why Are These Brownie Cookies Unforgettable?
Indulgence Awaits: Each bite of these Dark Chocolate Espresso Brownie Cookies transports you to dessert heaven with a rich, fudgy texture that melts in your mouth.
Easy to Make: With straightforward steps, these cookies are perfect for bakers of all levels—no need to stress in the kitchen!
Gluten-Free Option: For those with dietary preferences, a gluten-free mix allows everyone to enjoy this treat.
Crowd-Pleasing Delight: Perfect for any occasion, pair them with a warm cup of coffee, just like a Chocolate Covered Pretzel for an elevated dessert experience.
Versatile Additions: Got a sweet tooth for extra flavors? Mix in toffee bits or substitute for your favorite chocolate for a personalized touch!
Dark Chocolate Espresso Brownie Cookies Ingredients
For the Cookie Base
• Unsalted Butter – Adds moisture and richness; ensure it’s melted and slightly cooled before mixing.
• Granulated Sugar – Provides sweetness and helps achieve that chewy texture.
• Brown Sugar – Enhances moisture and adds a deeper flavor; coconut sugar is a great alternative for a darker taste.
• Eggs – Binds the ingredients together; using room temperature eggs ensures better incorporation into the mix.
• Vanilla Extract – Adds depth of flavor; always opt for pure extract for the best results.
• Instant Espresso Powder – Intensifies the chocolate flavor with a coffee kick; can be omitted for classic chocolate cookies.
For the Dry Ingredients
• All-Purpose Flour – Creates structure; feel free to use a gluten-free mix if needed.
• Unsweetened Cocoa Powder – Provides rich chocolate flavor and color; remember to use unsweetened for balance.
• Baking Powder – Acts as a leavening agent for lightness; direct substitution with baking soda isn’t effective.
• Salt – Enhances the other flavors; a critical component in achieving a balanced taste.
For the Chocolate Goodness
• Dark Chocolate Chips or Chunks – Adds delicious pockets of rich chocolate; for something sweeter, you can swap these for milk chocolate.
These ingredients come together to create the ultimate indulgent treat: Dark Chocolate Espresso Brownie Cookies!
Step‑by‑Step Instructions for Dark Chocolate Espresso Brownie Cookies
Step 1: Preheat Oven
Begin by preheating your oven to 350°F (175°C). As the oven warms, line two baking sheets with parchment paper to ensure an easy release of your delicious cookies. The parchment will also facilitate even baking and prevent sticking, paving the way for those perfect Dark Chocolate Espresso Brownie Cookies!
Step 2: Melt Butter
In a medium saucepan over low heat, melt your unsalted butter. Stir gently until it’s completely liquid, then remove it from the heat and let it cool slightly. The butter should be warm, but not too hot, as it combines with the sugars later. This step is crucial for achieving that rich, fudgy texture in your brownie cookies.
Step 3: Mix Sugars and Eggs
In a large mixing bowl, combine the melted butter with both granulated and brown sugar. Beat them together until smooth and creamy. Next, add your room temperature eggs one at a time, mixing well after each addition. Stir in the vanilla extract and instant espresso powder to enhance the deep flavors of your Dark Chocolate Espresso Brownie Cookies.
Step 4: Combine Dry Ingredients
In a separate bowl, whisk together the all-purpose flour, unsweetened cocoa powder, baking powder, and salt. This ensures an even distribution of these dry ingredients. Gradually add the dry mixture to your wet ingredients, stirring gently until just combined. Be careful not to overmix, as you want those rich flavors to meld beautifully without toughening the cookies.
Step 5: Fold in Chocolate
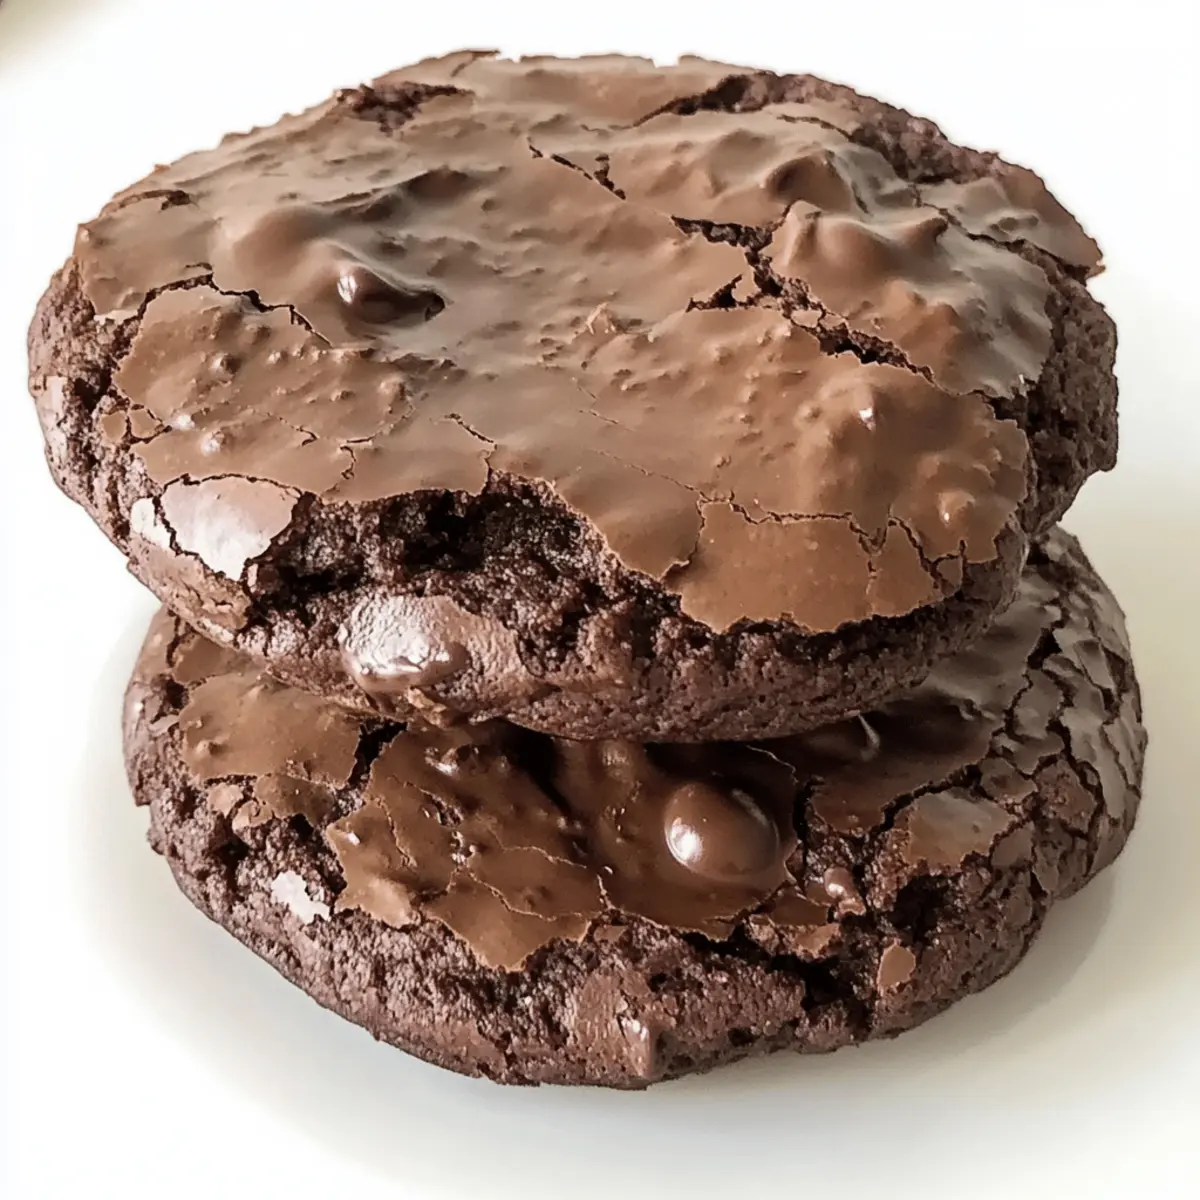
Using a spatula, gently fold in the dark chocolate chips or chunks until evenly distributed throughout the cookie dough. This extra layer of chocolate will make your Dark Chocolate Espresso Brownie Cookies even more indulgent. Take a moment to appreciate the heavenly chocolate aroma wafting from the dough—your kitchen will start to feel like a bakery!
Step 6: Chill Dough
After mixing in the chocolate, cover the bowl with plastic wrap or a clean kitchen towel and refrigerate the cookie dough for at least 30 minutes. Chilling helps the dough firm up, preventing spreading during baking and ensuring your cookies hold their shape. This step is key for achieving those perfectly chewy brownie-cookie hybrids!
Step 7: Scoop Dough
Once chilled, use a cookie scoop to drop generous portions of dough onto your prepared baking sheets, spacing them about 2 inches apart. Don’t worry if they appear a bit rustic; the unique shapes will add to their charm. This spacing will allow your Dark Chocolate Espresso Brownie Cookies to expand without merging together while baking.
Step 8: Bake
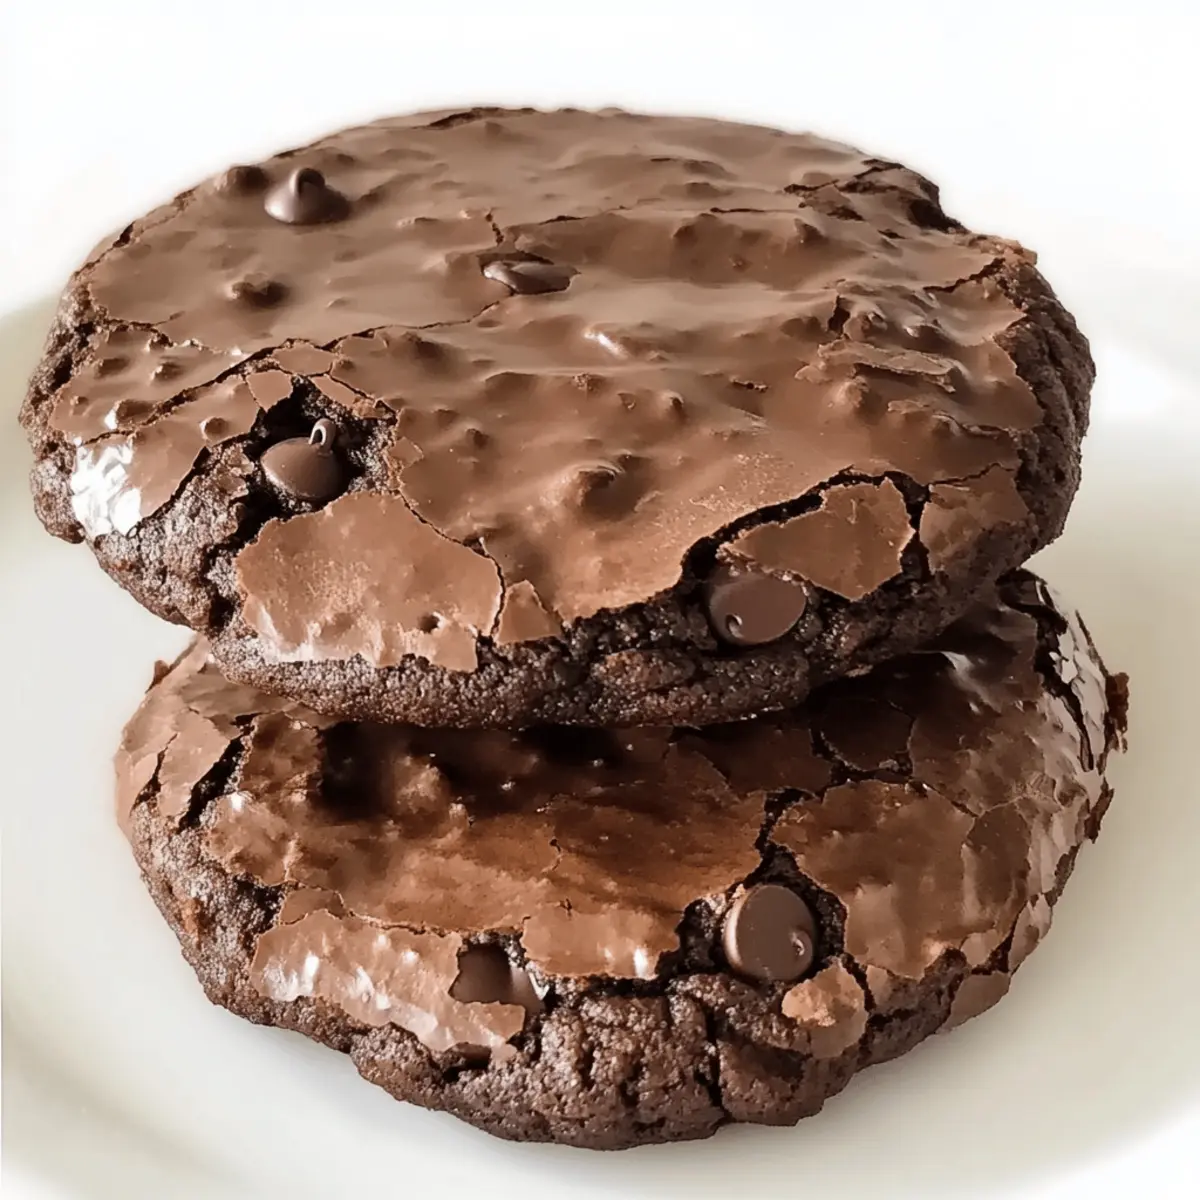
Slide the baking sheets into your preheated oven and bake for 10–12 minutes. Keep a close eye on them—the edges should be set, while the centers need to remain slightly soft. This balance will create that delightful fudgy interior. Avoid overbaking; it’s the trick to keeping your cookies moist and irresistible!
Step 9: Cool
Once baked, remove the sheets from the oven and let the cookies cool on them for about 5 minutes. This allows them to set slightly before transferring them to a wire rack to cool completely. The anticipation will be hard to resist, but allowing them to cool helps achieve that perfect chewy texture—a hallmark of the best Dark Chocolate Espresso Brownie Cookies!
What to Serve with Dark Chocolate Espresso Brownie Cookies
Indulging in these fudgy delights opens the door to creating a beautifully balanced meal that satisfies every craving.
- Rich Vanilla Ice Cream: A scoop of creamy vanilla perfectly contrasts the deep chocolate flavors, bringing a refreshing touch.
- Brewed Coffee: Enjoy your cookies with a piping hot cup of coffee to enhance the espresso notes in each bite and elevate the experience.
- Cherries or Raspberries: Fresh berries add a tart contrast, making each bite of the brownie cookie even more delightful and refreshing.
- Chocolate Ganache Dip: For the ultimate chocolate lovers, a rich ganache brings extra decadence and richness, turning your cookies into a luxurious treat.
- Salted Caramel Sauce: Drizzle this sweet and salty sauce over your cookies for an indulgent twist that perfectly complements the chocolatey goodness.
- Nutty Mixed Salad: A light salad with nuts offers a fresh and crunchy contrast, balancing the heavy richness of the cookies.
- Rosé or Dessert Wine: A glass of chilled rosé or a sweet dessert wine pairs wonderfully, enhancing the overall flavors in every delectable bite.
- Whipped Cream Topping: A dollop of freshly whipped cream can lighten the indulgence and add a delightful creaminess, perfect for dipping or spreading!
Dark Chocolate Espresso Brownie Cookies Variations
Feel free to get creative and make these Dark Chocolate Espresso Brownie Cookies your own with delightful tweaks and substitutions!
-
Milk Chocolate Swap: Substitute milk chocolate chips for a sweeter, creamier version. This twist will appeal to those with a sweet tooth!
-
Nutty Addition: Add chopped walnuts or pecans for an extra layer of crunch and flavor. Nuts bring a delightful texture that balances the softness of the cookie.
-
Toffee Crunch: Incorporate toffee bits for a rich, caramelized flavor. This little addition will elevate your cookies to gourmet delights!
-
Spicy Kick: Sprinkle in a pinch of cayenne pepper for a surprising burst of heat. It’s a bold move that coffee lovers will appreciate!
-
Dairy-Free Version: Swap out the butter for coconut oil or a dairy-free butter alternative. This option ensures everyone can savor these cookies without concern.
-
Gluten-Free Baking: Use a dedicated gluten-free flour blend to whip up these cookies for those with dietary restrictions. You won’t sacrifice taste for health!
-
Espresso Level Up: For true coffee aficionados, double the espresso powder. The intensified flavor will make each bite even more extraordinary.
-
Chocolate-Peanut Butter Delight: Mix in some peanut butter chips along with dark chocolate for a delicious chocolate-peanut butter fusion. It’s a comforting classic that’s hard to resist!
With so many variations, the possibilities are endless! Whether you are nibbling on your cookies with a warm cup of coffee or enjoying them alongside a rich Chocolate Covered Pretzel, you’ll create a joyful baking experience in your kitchen.
How to Store and Freeze Dark Chocolate Espresso Brownie Cookies
Room Temperature: Store your Dark Chocolate Espresso Brownie Cookies in an airtight container at room temperature for up to 3 days to maintain their freshness.
Fridge: For extended storage, keep the cookies in the fridge in a sealed container; they’ll stay good for up to 1 week, although they may lose some of their original fudgy texture.
Freezer: Freeze the cookies by wrapping them individually in plastic wrap and placing them in a freezer-safe bag for up to 3 months; this preserves their delectable taste and texture.
Reheating: To enjoy your cookies warm, reheat them in the oven at 350°F (175°C) for 5-7 minutes, restoring their gooey centers that make the Dark Chocolate Espresso Brownie Cookies irresistible.
Expert Tips for Dark Chocolate Espresso Brownie Cookies
Perfect Egg Beating: Ensure you beat the eggs until they’re pale yellow; this helps achieve the best texture for your brownie cookies.
Watch the Clock: Keep a close eye on the baking time—cookies should have set edges but soft centers to maintain their fudgy richness.
Chill for Perfection: Chilling the dough is crucial for cookie shape; it prevents spreading and enhances that chewy brownie texture we crave.
Gourmet Finishing Touch: For an extra flavor kick, sprinkle a touch of sea salt on top before baking or consider adding toffee bits for a delightful twist.
Dough Consistency: The dough texture should be thick but scoopable. If it’s too thin, chilling for a bit longer can remedy this before scooping.
Make Ahead Options
These Dark Chocolate Espresso Brownie Cookies are perfect for those busy weeks when you need a sweet treat ready in advance! You can prepare the cookie dough and refrigerate it for up to 3 days. Just cover the bowl tightly with plastic wrap to keep it fresh and prevent any drying out. When you’re ready to bake, simply scoop out the chilled dough and bake as instructed. If you’d like, you can also freeze the dough portions for up to 3 months; just make sure to place them in an airtight container. When it’s time to enjoy, bake straight from the freezer, adding a minute or two to the baking time. This way, you’ll have homemade Dark Chocolate Espresso Brownie Cookies hot and fresh with minimal effort!

Dark Chocolate Espresso Brownie Cookies Recipe FAQs
What type of chocolate should I use for these cookies?
I recommend using high-quality dark chocolate chips or chunks to achieve that rich, indulgent flavor. If you prefer something sweeter, milk chocolate is a delightful alternative. Just remember, the darker the chocolate, the more intense the flavor!
How do I know when my cookies are perfectly baked?
Absolutely! The key is to keep an eye on them as they bake. Look for edges that are set and firm while the centers remain soft and slightly gooey. This usually takes about 10–12 minutes at 350°F (175°C). If the cookies seem too firm, they’ll lose that delicious fudgy texture.
Can I make these brownie cookies gluten-free?
Very much so! Simply substitute the all-purpose flour with a gluten-free flour blend designed for baking. I often recommend a mix that contains a variety of gluten-free flours for the best results. This way, everyone can revel in the delightful taste of Dark Chocolate Espresso Brownie Cookies!
How should I store these cookies?
Store your cookies in an airtight container at room temperature for up to 3 days to keep them fresh. For longer storage, transfer them to the fridge, where they can last up to a week. Just remember, while the fridge keeps them edible longer, the cookies may become less fudgy.
Can I freeze the cookie dough? How?
Absolutely! To freeze your cookie dough, scoop it into balls and place them on a baking sheet lined with parchment paper. Freeze until firm, then wrap each ball in plastic wrap and transfer them to a freezer-safe bag. They can be stored this way for up to 3 months. When you’re ready to bake, there’s no need to thaw; just bake them directly from the freezer, adding an extra minute or two to the bake time.
Is there a way to alter this recipe for dietary restrictions?
Of course! For those with allergies, consider using egg substitutes like flaxseed meal mixed with water for a vegan option. You can also use coconut or brown sugar for a refined sugar-free version. Just remember to always check labels for any potential allergens, ensuring everyone can partake in the enjoyment of your Dark Chocolate Espresso Brownie Cookies!
Decadent Dark Chocolate Espresso Brownie Cookies to Savor
Ingredients
Equipment
Method
- Preheat your oven to 350°F (175°C) and line two baking sheets with parchment paper.
- Melt the unsalted butter in a saucepan over low heat, then let it cool slightly.
- In a bowl, mix the melted butter with granulated and brown sugar until smooth, then add eggs one at a time, mixing well. Stir in vanilla and espresso powder.
- In another bowl, whisk together flour, cocoa powder, baking powder, and salt. Gradually add this dry mix to wet ingredients until just combined.
- Fold in the dark chocolate chips or chunks until evenly distributed.
- Cover the bowl and refrigerate the dough for at least 30 minutes.
- Scoop portions of dough onto the baking sheets, spaced about 2 inches apart.
- Bake for 10–12 minutes, until edges are set but centers are slightly soft.
- Let cookies cool on the sheets for about 5 minutes before transferring to a wire rack to cool completely.