

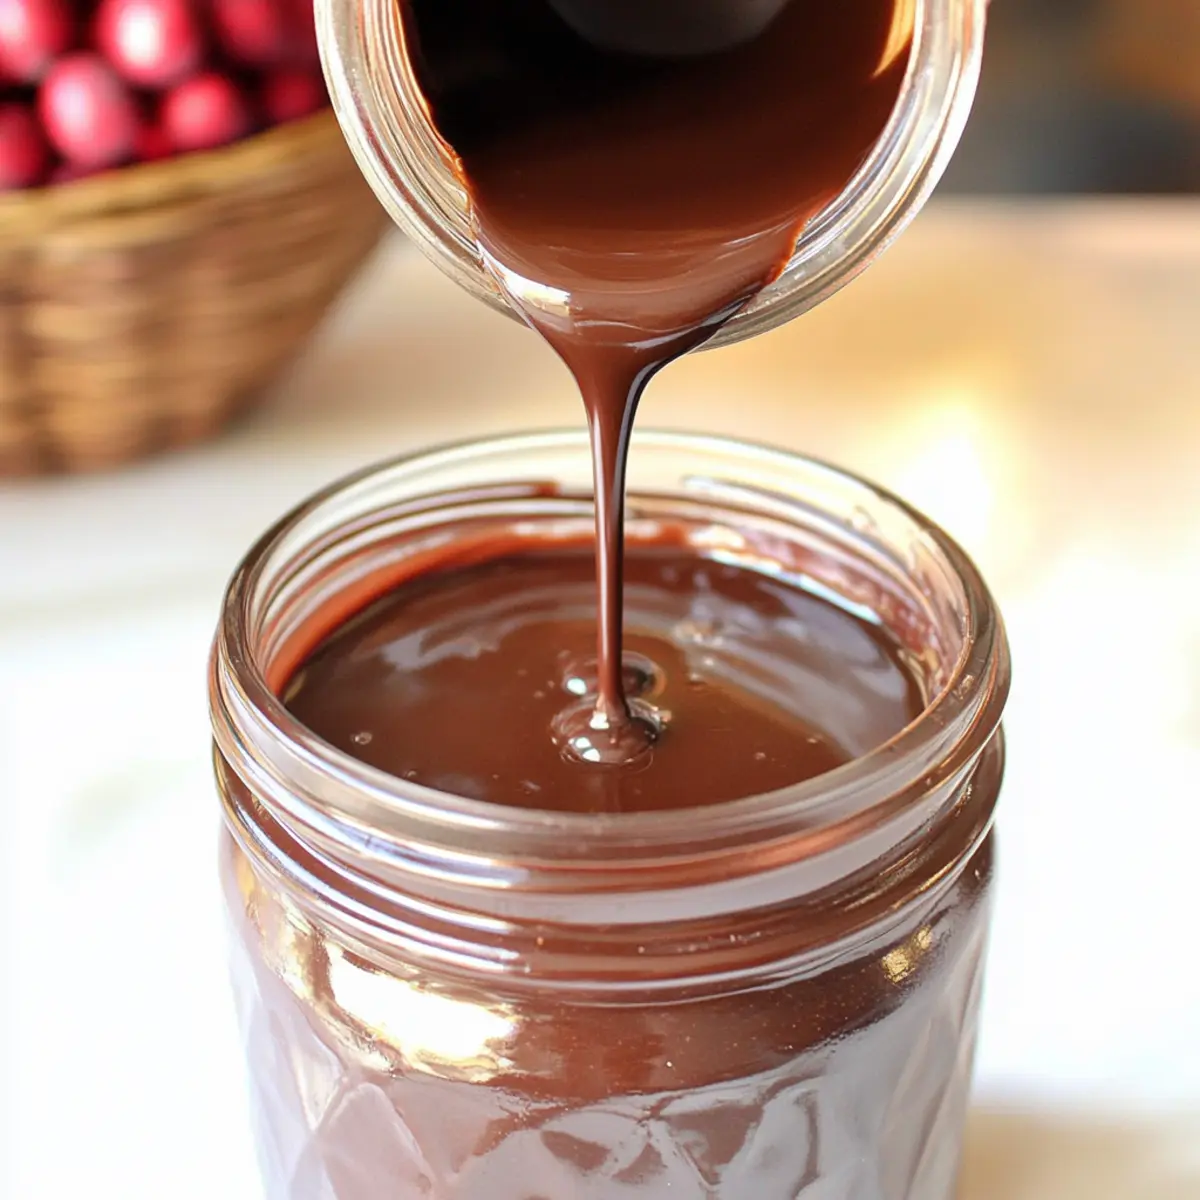
As I stirred the pot and watched the sugar dissolve into a silky mixture, a wave of sweet nostalgia washed over me. There’s something magical about making your own Homemade Chocolate Syrup, and this recipe simplifies it to just three ingredients. Not only is it a clean, homemade alternative to those store-bought options filled with unpronounceable additives, but it’s also incredibly versatile—perfect for drizzling over pancakes, mixing into coffee, or enhancing a delightful glass of chocolate milk. With minimal prep time, you’ll enjoy a rich, satisfying syrup that not only elevates your favorite treats but fills your kitchen with an irresistible aroma. Curious about how to whip up this sweet indulgence that’s as delightful as it is simple? Let’s dive in!
Why Make Homemade Chocolate Syrup?
Simplicity at your fingertips: With just three ingredients, this recipe is super easy to follow, even for beginner cooks.
Versatile delight: Whether you’re drizzling it over ice cream or mixing into coffee, this syrup elevates every dish.
Healthier choice: You control the ingredients—no preservatives or artificial flavors found here!
Customization: Switch up the sweetness with options like honey or maple syrup for a unique twist.
Nostalgic aroma: The rich, chocolatey scent that fills your kitchen is a bonus you won’t want to miss!
If you love the comfort of homemade treats, check out my Chocolate Chip Cookies or my delectable Chocolate Covered Pretzel recipes for more culinary joy!
Homemade Chocolate Syrup Ingredients
For the Syrup
- Sugar – The primary sweetener; try substituting with honey, maple syrup, or coconut sugar for a different flavor profile.
- Water – Essential for dissolving sugar and cocoa; no substitutes needed as it helps create that perfect syrup consistency.
- Cacao Powder or Cocoa Powder – Adds rich chocolate flavor; using raw cacao elevates health benefits and richness.
- Vanilla Extract – Infuses depth of flavor; feel free to omit if you prefer a more straightforward taste.
This easy homemade chocolate syrup recipe ensures you control what goes into your delicious creations!
Step‑by‑Step Instructions for Homemade Chocolate Syrup
Step 1: Combine Ingredients
In a medium saucepan, combine one cup of sugar and half a cup of water. Set the heat to medium and stir the mixture gently as you bring it to a simmer. Continue stirring until the sugar completely dissolves, which should take about 2 to 3 minutes. You’ll know it’s ready when the mixture is clear and syrupy.
Step 2: Add Cocoa Powder
Once the sugar has fully dissolved, add one-third cup of cacao or cocoa powder to the saucepan. Whisk vigorously until the powder is fully incorporated, ensuring there are no lumps. This step is crucial for achieving that smooth texture in your Homemade Chocolate Syrup. Stir continuously for about 1 to 2 minutes to blend everything well.
Step 3: Boil the Mixture
Increase the heat slightly and bring the mixture to a steady boil, stirring constantly to prevent sticking. Allow it to boil for 3 minutes. You’ll notice the syrup thickening as it bubbles; it should achieve a glossy and rich appearance at this point. Keep a close eye on it, as boiling too vigorously can cause it to burn.
Step 4: Add Vanilla Extract
After boiling, remove the saucepan from heat and stir in one teaspoon of vanilla extract. This will enhance the overall flavor profile of your syrup, adding a hint of warmth. Mix well to ensure the vanilla is evenly distributed throughout the syrup, maintaining that delicious chocolatey essence.
Step 5: Cool the Syrup
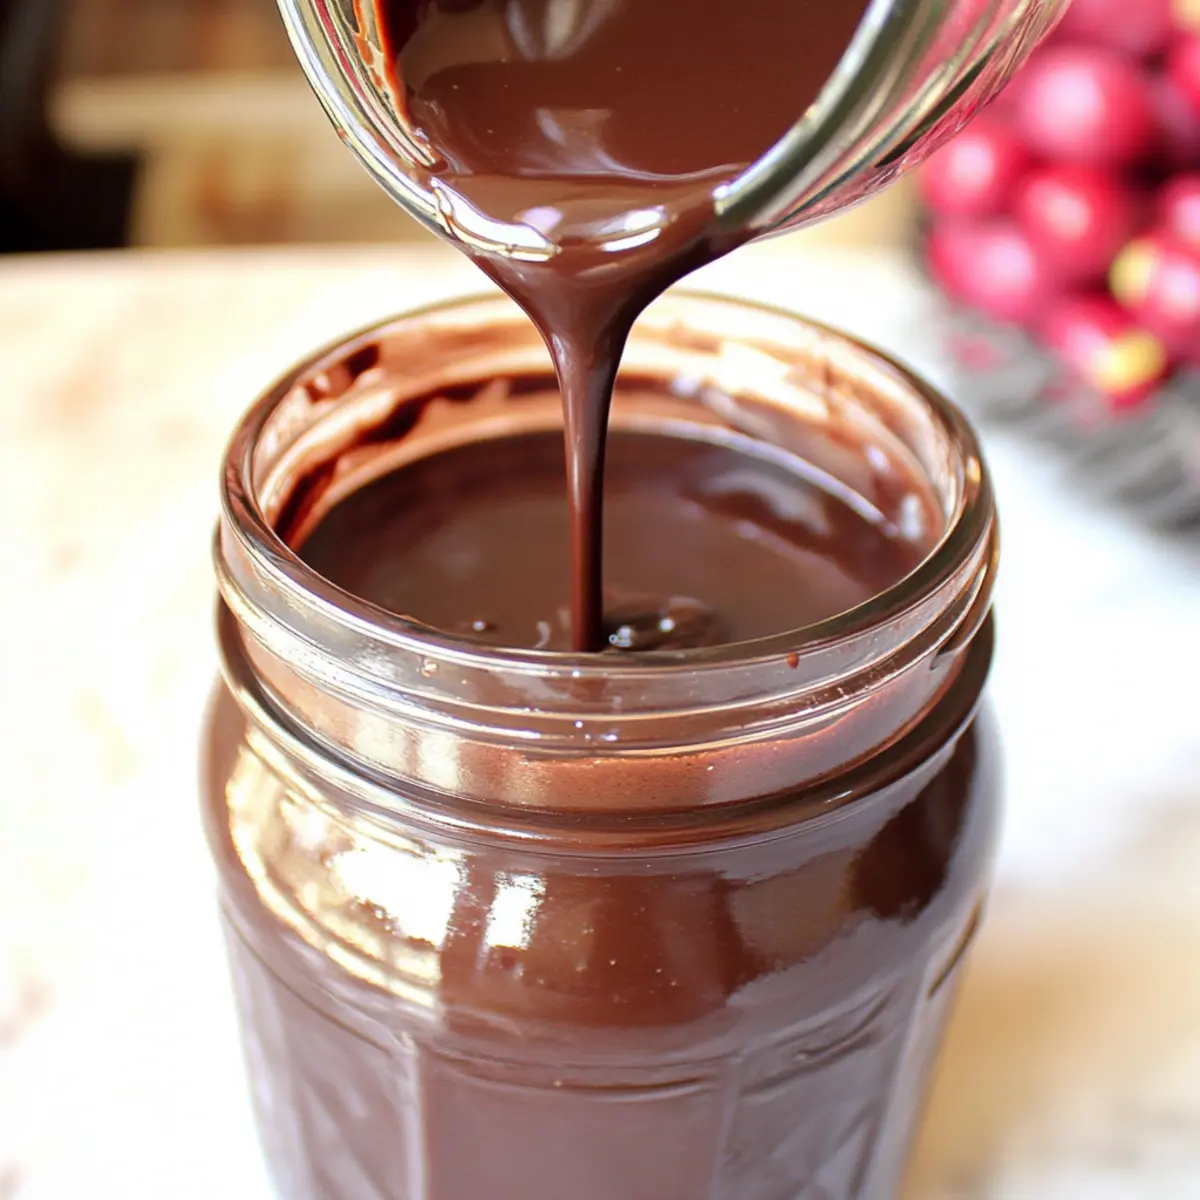
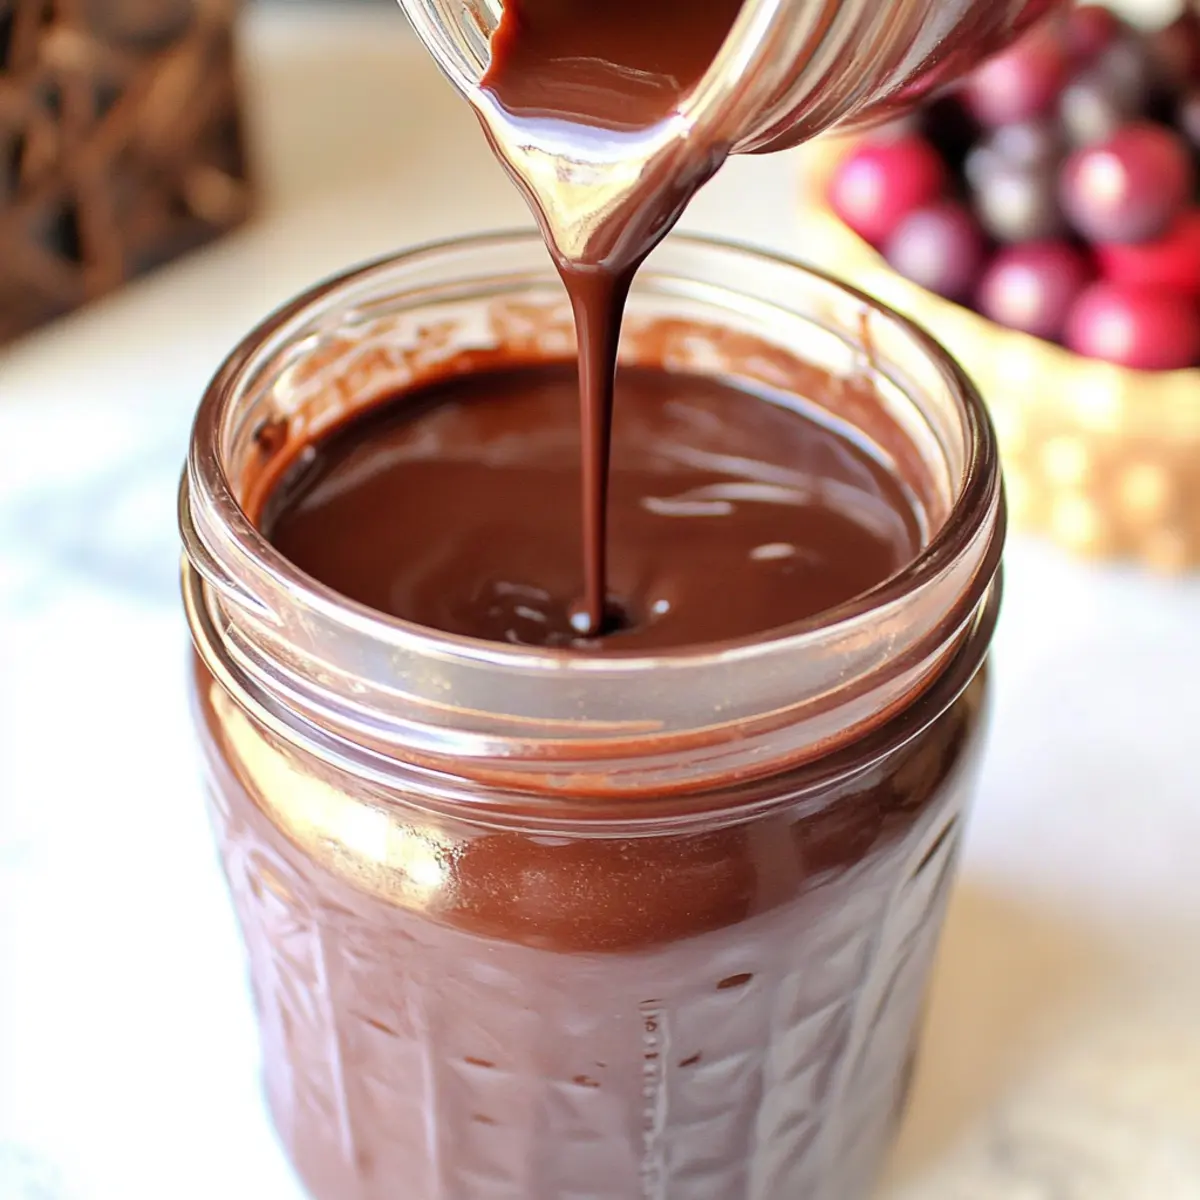
Transfer your Homemade Chocolate Syrup to a glass jar or container for cooling. Allow it to reach room temperature before sealing. As it cools, it will thicken further, becoming the perfect consistency for drizzling over ice cream, pancakes, or mixing into your favorite beverages. Store in the refrigerator after it cools completely.
What to Serve with Homemade Chocolate Syrup
Satisfy your sweet cravings by creating a delightful spread of pairings that perfectly complement this luscious syrup!
-
Pancakes: Fluffy and warm, pancakes provide a perfect canvas for drizzling homemade chocolate syrup, transforming breakfast into a true treat.
-
Vanilla Ice Cream: The smooth, creamy texture of vanilla ice cream pairs wonderfully with the rich chocolate flavor, creating an indulgent dessert experience.
-
Fresh Strawberries: The sweet juiciness of strawberries contrasts beautifully with the syrup, providing a vibrant, fresh element to your chocolate delight.
-
Coffee: Mixing a spoonful of this homemade chocolate syrup into your morning brew creates a decadent mocha experience that will brighten your day.
-
Waffles: Crispy on the outside and soft on the inside, waffles are ideal for soaking up lots of syrup, making for a breakfast star.
-
Milkshakes: Elevate your classic milkshake by adding a swirl of homemade chocolate syrup, giving it a rich, chocolaty twist.
-
Brownies: Drizzling this syrup over fudgy brownies intensifies the chocolate flavor, making dessert even more decadent and delightful.
-
Toast: A simple slice of buttered toast topped with chocolate syrup adds a sweet and comforting touch to your snack or breakfast routine.
-
Chia Pudding: Swirl a bit of chocolate syrup into chia pudding for a gourmet twist that enhances both flavor and appeal.
-
Sparkling Water: Create a refreshing chocolate soda by mixing a spoonful of syrup into sparkling water for a fun and fizzy drink option.
Make Ahead Options
These indulgent Homemade Chocolate Syrup options are perfect for busy home cooks looking to save time during the week! You can prepare the syrup up to 24 hours in advance by following the recipe through the cooling step, then storing it in an airtight container in the refrigerator. To maintain its delicious consistency, just give it a gentle stir before using. Additionally, if you plan on making a larger batch, it keeps well for up to 3 weeks as long as it’s sealed properly. When you’re ready to serve or use it, simply warm a portion over low heat, and it will be just as rich and flavorful as the day you made it!
How to Store and Freeze Homemade Chocolate Syrup
Fridge: Store your homemade chocolate syrup in an airtight container. It will stay fresh for up to a month, but can often last longer while maintaining its delicious flavor.
Freezer: You can freeze the syrup for up to 3 months. Pour it into ice cube trays, freeze, then transfer the cubes to a freezer bag for easy portioning.
Reheating: To use frozen syrup, simply thaw in the fridge overnight. For quick use, microwave small portions in 10-15 second bursts until warmed, stirring to combine.
Stir Well: Before serving, always give your homemade chocolate syrup a good stir to ensure smooth consistency after storing.
Homemade Chocolate Syrup Variations
Feel free to get creative with your Homemade Chocolate Syrup to suit your taste and dietary preferences!
-
Sweetener Swap: Use honey or maple syrup instead of sugar for a unique flavor twist. Each sweetener brings its own character to the syrup, adding natural richness.
-
Dairy-Free Delight: Substitute water with almond milk or oat milk for a creamier texture. The result is a luscious, chocolatey syrup perfect for vegan treats!
-
Extra Cocoa: Add an extra tablespoon of cocoa powder or cacao powder for an intensified chocolate taste. This not only enhances the flavor but also elevates that decadent chocolate experience.
-
Spiced Up: Incorporate a dash of cinnamon or a sprinkle of cayenne pepper to infuse warmth and spice. A little kick can transform your syrup into an exciting topping for your desserts!
-
Nutty Flavor: Consider adding a splash of hazelnut or almond extract for a delightful nutty twist. This flavor addition adds depth, perfect for coffee or drizzling over pancakes.
-
Salted Caramel Twist: For a decadent change, add a bit of caramel syrup and a pinch of salt to create a salted chocolate syrup. This combination balances sweet and savory beautifully.
-
Minty Fresh: Toss in a few drops of peppermint extract for a fresh, minty version. This is delightful for festive desserts or a refreshing take on your regular chocolate milk!
-
Boozy Twist: Mix in a tablespoon of your favorite liqueur, like Irish cream or chocolate liqueur, for an adult version of chocolate syrup. Perfect for drizzling over dessert or in cocktails!
As you explore these variations, remember to enjoy every step of the process. And don’t forget to check out my delicious Chocolate Chip Cookies or indulge in some Chocolate Covered Pretzel for more homemade goodness!
Expert Tips for Homemade Chocolate Syrup
-
Choose Sweetener Wisely: Experiment with different sweeteners like honey or maple syrup to add unique flavors to your homemade chocolate syrup.
-
Prevent Crystallization: Stir constantly while boiling to avoid sugar crystallization. A gentle boil keeps everything smooth and luscious.
-
Thicker Texture: If your syrup is too thin after cooling, simply return it to low heat and simmer while stirring until thickened for perfect drizzling.
-
Storage Matters: Keep your syrup in an airtight container in the fridge. For optimal freshness, consume it within a month.
-
Flavor Boost: Enhance your syrup by adding a pinch of salt or a bit of extra cocoa powder, giving it an even richer chocolatey taste.
Homemade Chocolate Syrup Recipe FAQs
How do I choose the right cocoa powder?
Absolutely! When selecting cocoa powder for your homemade chocolate syrup, opt for high-quality brands. Cacao powder offers a richer and slightly more intense flavor, while regular cocoa powder is more common and tends to be milder. Both will create delicious chocolate syrup, but raw cacao adds extra health benefits, so consider what you prefer!
How should I store my homemade chocolate syrup?
It’s simple! Store your homemade chocolate syrup in an airtight container in the refrigerator. It will stay fresh for up to a month; however, I’ve found that it can last even longer while still tasting delightful. Always check for any dark spots or off smells—this is a sign it’s time to toss it out!
Can I freeze homemade chocolate syrup?
Definitely! Freezing your homemade chocolate syrup is a great way to preserve it for later use. Pour the syrup into ice cube trays and freeze until solid. Then, transfer the cubes to a freezer bag and label them. They can be stored for up to 3 months. When you’re ready to use them, simply thaw in the fridge overnight or microwave for quick warming in short intervals.
What if my syrup is too runny after cooling?
No problem at all! If your syrup turns out too runny once it’s cooled, just return it to a low simmer on the stove. Stir continuously to prevent it from burning until it thickens to your desired consistency, usually around 5-10 minutes. This is a great way to ensure your chocolate syrup is perfect for drizzling!
Is homemade chocolate syrup safe for my pets?
Great question! While homemade chocolate syrup is delicious for humans, it’s important to keep it away from dogs and cats, as chocolate can be toxic to them. If you have furry friends, avoid letting them lick any syrup! Always consult your vet for pet-safe treats and alternatives.
Delicious Homemade Chocolate Syrup in Just 5 Easy Steps
Ingredients
Equipment
Method
- In a medium saucepan, combine one cup of sugar and half a cup of water. Set the heat to medium and stir gently until the sugar completely dissolves, about 2 to 3 minutes.
- Once the sugar has fully dissolved, add one-third cup of cacao or cocoa powder to the saucepan. Whisk vigorously until the powder is fully incorporated.
- Increase the heat and bring the mixture to a steady boil, stirring constantly for 3 minutes.
- After boiling, remove from heat and stir in one teaspoon of vanilla extract.
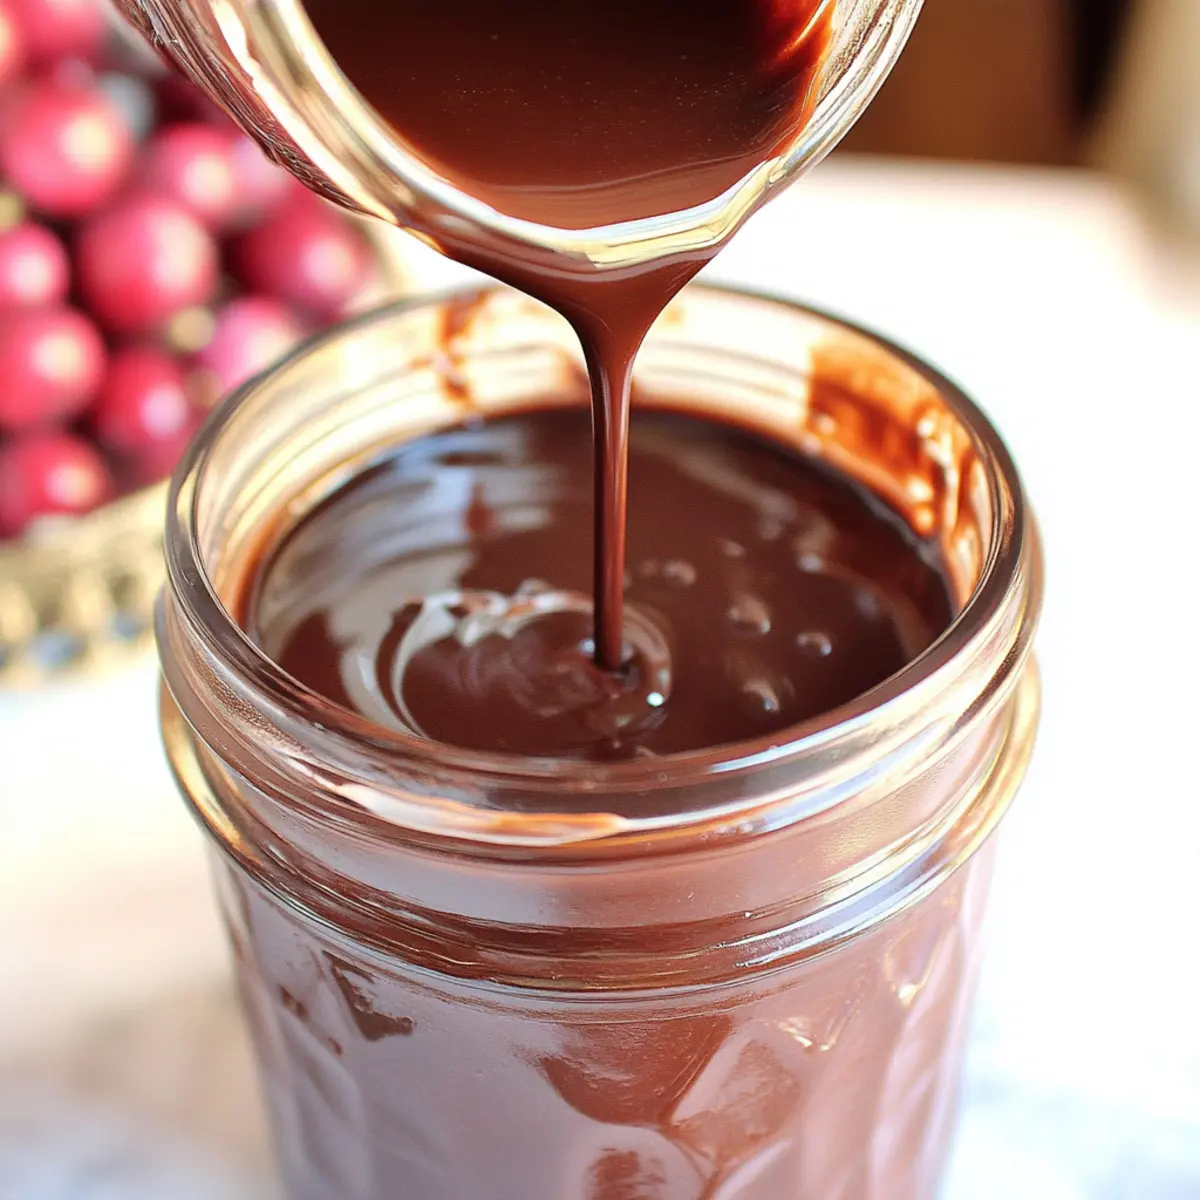
- Transfer your Homemade Chocolate Syrup to a glass jar and allow it to cool to room temperature before sealing.