

A faint aroma of roasted peanuts wafts through my kitchen as I whip up a batch of my go-to No-Bake Peanut Butter Protein Bars. With just five simple ingredients, these bars capture the essence of a satisfying, nutritious snack without any fuss. The best part? They provide a wholesome alternative to those sugary store-bought snacks that often leave us feeling sluggish. Whether you’re searching for a quick energy boost before a workout or need a delicious treat to keep cravings at bay, these bars deliver both convenience and taste. Plus, the customizable nature means you can easily mix in your favorite add-ins. Ready to learn how to make these easy, guilt-free goodies? Let’s dive in!
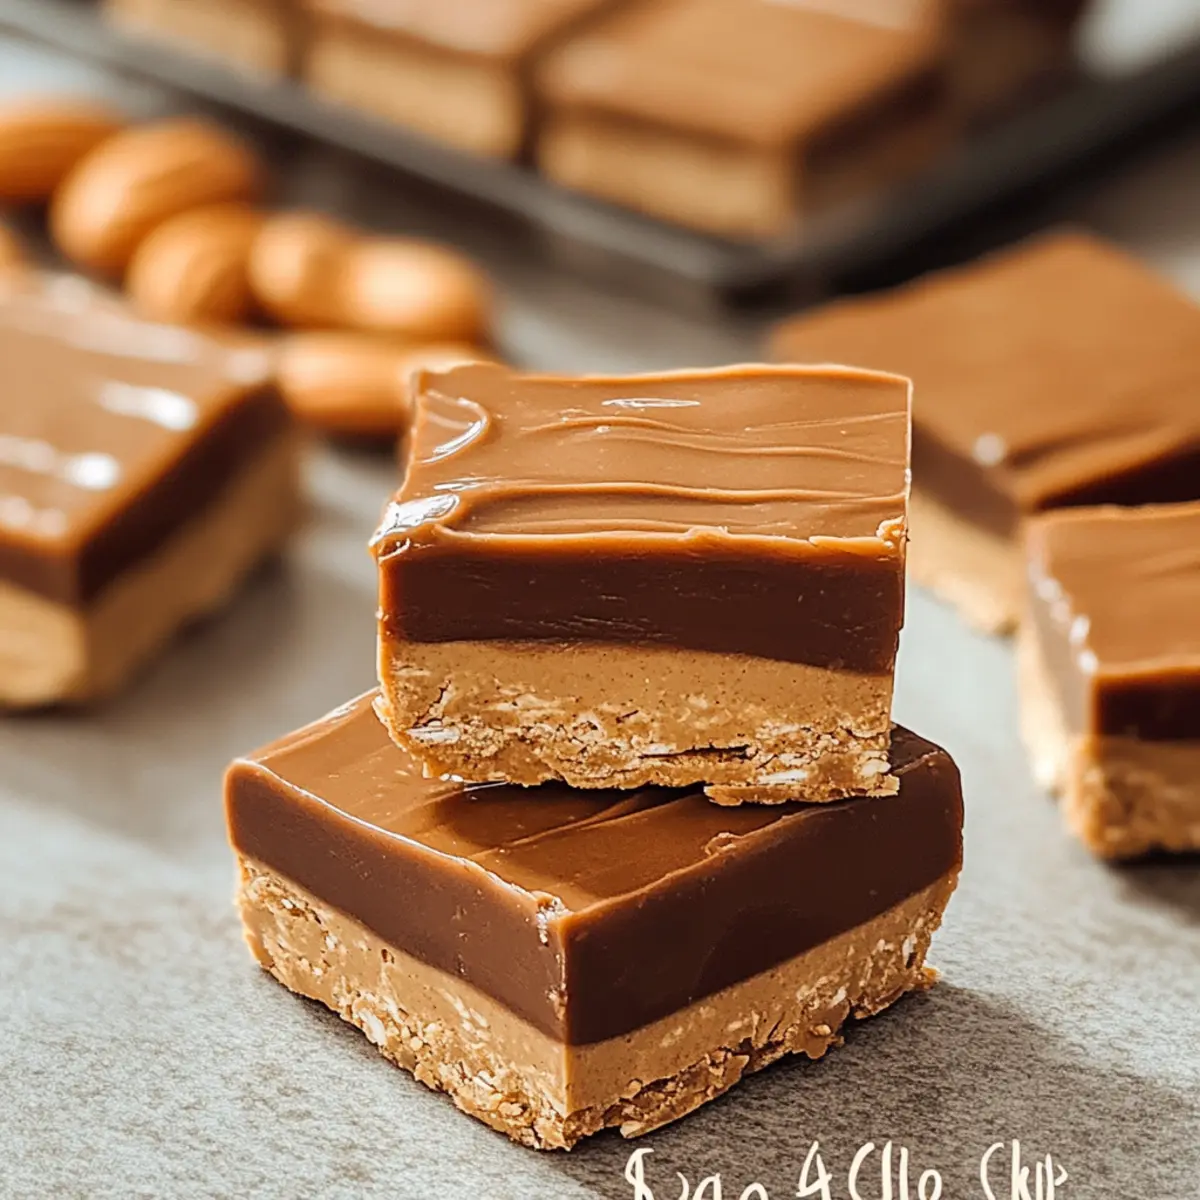
Why are No-Bake Peanut Butter Protein Bars amazing?
Simplicity: With just five simple ingredients, these bars come together effortlessly, making them a go-to option for busy days.
Customizable: Mix in your favorite add-ins like nuts or seeds to create your own flavor combinations!
Nutritious Alternative: Unlike sugary snacks, these bars are packed with protein and healthy fats, perfect for sustaining your energy.
Quick Chill Time: After mixing, just refrigerate for an hour and enjoy — no baking required!
Family Approved: Kids and adults alike love the rich, satisfying taste, making these bars a hit for everyone in the household. If you love high-protein snacks, check out my Garlic Butter Chicken for another quick, flavorful option!
No-Bake Peanut Butter Protein Bars Ingredients
For the Base
• Peanut Butter – Adds a creamy, nutty flavor that binds everything together; can be swapped with almond butter for a nut-free option.
• Oats – Acts as the primary structure while adding fiber; instant oats yield the best texture, but rolled oats work in a pinch.
• Protein Powder – Boosts protein content for post-workout recovery; feel free to choose a flavored option, or omit for a low-protein version.
For Sweetness
• Maple Syrup – A natural sweetener that enhances flavor and binds ingredients; honey is a suitable substitute if you’re not keeping it vegan.
This delightful mix of tasty ingredients makes these No-Bake Peanut Butter Protein Bars a fantastic homemade snack that can be tailored to your preferences!
Step‑by‑Step Instructions for No-Bake Peanut Butter Protein Bars (5 Simple Ingredients!)
Step 1: Mix Ingredients
In a medium mixing bowl, combine 1 cup of creamy peanut butter, 1 cup of instant oats, 1/2 cup of protein powder, and 1/4 cup of maple syrup. Use a spatula or wooden spoon to thoroughly blend all ingredients together until the mixture is smooth and well-combined, making sure there are no dry spots visible.
Step 2: Prepare Pan
Line an 8×8-inch baking dish with parchment paper, ensuring that the paper overhangs slightly on the sides for easy removal later. This step helps prevent the protein bars from sticking. Use your fingers to press the parchment into the corners and edges of the dish, creating a snug fit for the No-Bake Peanut Butter Protein Bars.
Step 3: Form Bars
Transfer the blended mixture into the prepared baking dish. With the back of a spatula or your hands, firmly press the mixture into an even layer across the bottom of the dish, making sure it is compact. The more you press down, the firmer the bars will be once set, creating a deliciously chewy texture.
Step 4: Chill
Place the baking dish in the refrigerator and let the mixture chill for about 1 hour. This cooling time is crucial for allowing the bars to set and develop the right consistency. You’ll know it’s ready once the mixture feels firm to the touch and holds its shape when slightly pressed.
Step 5: Cut and Serve
After chilling, remove the dish from the refrigerator. Use the parchment paper to lift the set mixture out of the dish. Place it on a cutting board and cut it into rectangular bars or squares, ensuring even sizes for all protein bars. Enjoy your No-Bake Peanut Butter Protein Bars as a nutritious snack any time of day!
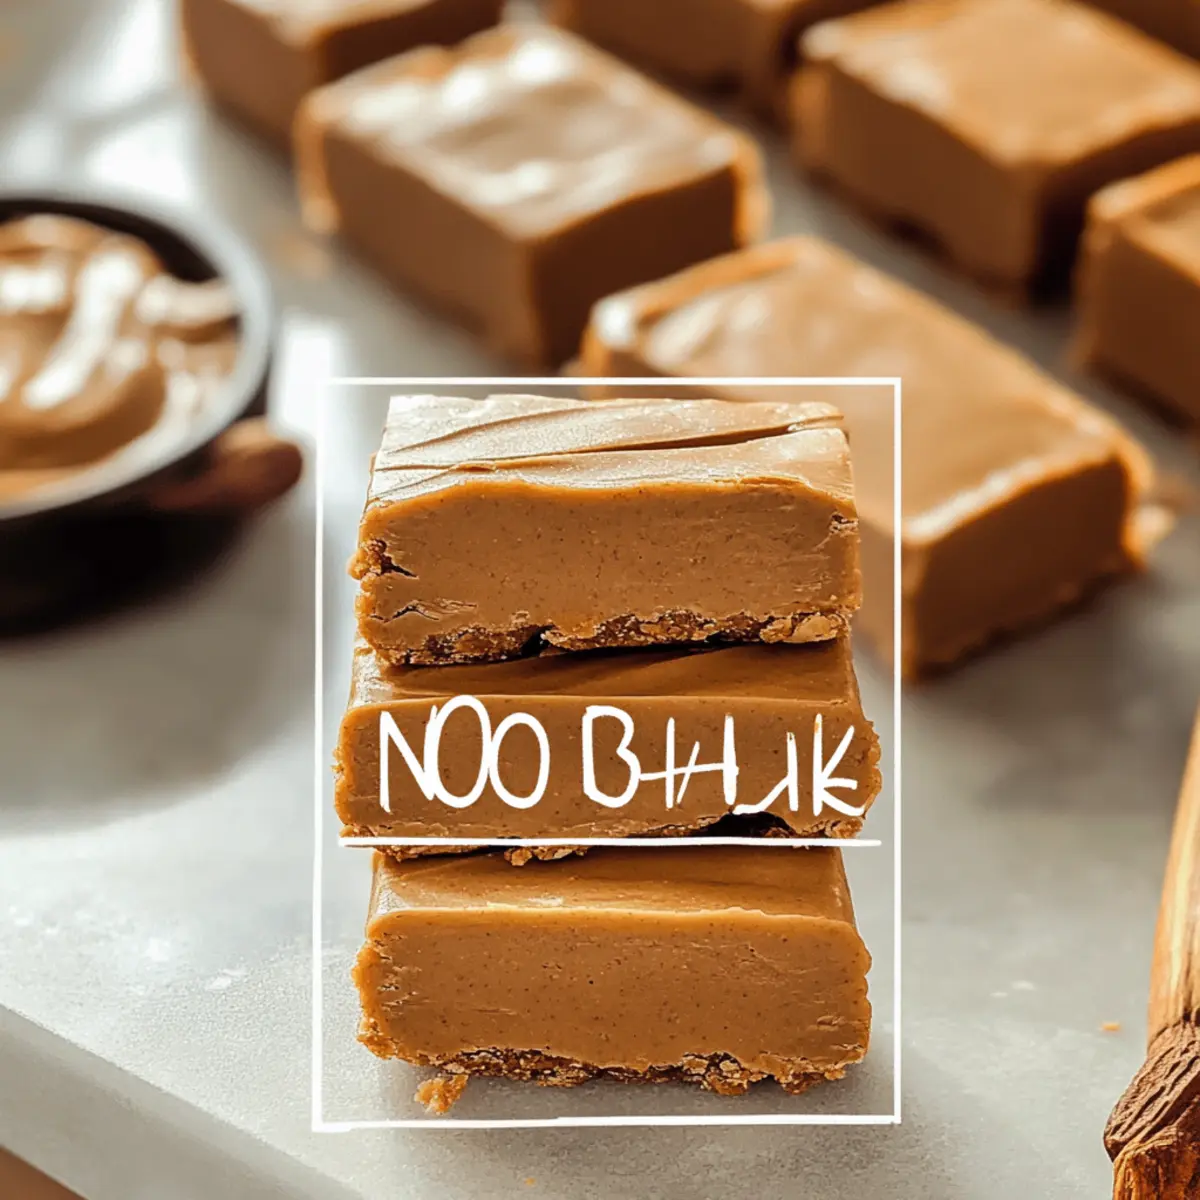
No-Bake Peanut Butter Protein Bars Variations
Feel free to unleash your inner chef and customize these bars to your heart’s content!
-
Flavor Additions: Stir in dried fruits, nuts, or seeds for a burst of texture and flavor. Adding chopped apricots or walnuts can give your bars a delightful surprise!
-
Vegan Option: Use dairy-free chocolate chips on top along with a plant-based protein powder. This twist will satisfy chocolate lovers while keeping it completely vegan.
-
Nut-Free Version: Replace peanut butter with sun butter or tahini for a nut-free alternative that retains that creamy goodness. It’s a great way to make these bars safe for school lunches.
-
Chocolate Drizzle: Melt some dark or dairy-free chocolate and drizzle it over the top for an indulgent treat. This pair of flavors creates a deliciously rich and satisfying experience.
-
Protein Boost: Incorporate additional protein like hemp seeds or chia seeds into the mixture for an extra punch. Not only do they enhance nutrition, but they blend well without altering the texture.
-
Spice It Up: Add a dash of cinnamon or vanilla extract for a warm, aromatic touch that elevates the taste. Just a hint of spice can make each bite feel cozy and comforting.
-
Minty Fresh: Mix in a few drops of peppermint extract for a refreshing twist, especially delightful during the holidays! This change will give your bars a fun, seasonal flair.
If you’re looking for more ideas or flavors, try making them alongside my Garlic Butter Chicken for a complete meal prep experience! Enjoy experimenting!
What to Serve with No-Bake Peanut Butter Protein Bars?
The perfect pairing will elevate your snacking experience, adding luscious textures and delightful flavors to your day.
-
Creamy Yogurt: A dollop of Greek yogurt provides a refreshing, tangy contrast, enhancing the creamy richness of the bars.
-
Fresh Berries: Bright strawberries or blueberries add a pop of freshness and natural sweetness, making each bite even more satisfying.
-
Banana Slices: Slices of banana lend a delightful creaminess and complement the peanut butter flavor beautifully, offering a nutritious boost.
-
Nut Trail Mix: A crunchy mix of walnuts, almonds, or seeds will add texture and richness, giving a satisfying bite alongside the chewy bars.
-
Dark Chocolate Drizzle: Drizzling melted dark chocolate on top heightens the indulgence, merging the rich tastes of chocolate and peanut butter.
-
Milk Alternative: A glass of almond or oat milk offers a smooth and nutty finish that perfectly accompanies the protein bars for that extra nourishment.
-
Coconut Chips: Toasted coconut flakes add a tropical crunch, enhancing the flavor profile with a hint of sweetness.
-
Chia Seed Pudding: A serving of chia seed pudding can add a creamy and healthful twist for a fiber-rich snack pairing.
-
Iced Herbal Tea: A refreshing iced tea balances the sweetness of the bars and provides a light, thirst-quenching element to your snack time.
-
Apple Slices: Crisp apple slices provide a refreshing crunch while their natural sweetness pairs wonderfully with the peanut butter flavor.
Tips for the Best No-Bake Peanut Butter Protein Bars
Press Firmly: Ensure you press the mixture down firmly into the pan to maintain structure when cutting the bars later.
Chill Time: Don’t skip the refrigeration step! Chilling for a full hour is crucial for achieving that perfect texture.
Ingredient Quality: Use natural peanut butter without added sugars or oils for the best flavor and health benefits in your No-Bake Peanut Butter Protein Bars.
Flavor Boost: Consider adding dark chocolate chips or a sprinkle of cinnamon for an extra flavor layer that everyone will love!
Storage Matters: Store your bars in an airtight container in the refrigerator for freshness, and they’ll last up to one week.
Make Ahead Options
These No-Bake Peanut Butter Protein Bars are perfect for meal prep, allowing you to save time on busy days! You can prepare the mixture and press it into the baking dish up to 24 hours in advance, simply refrigerating it until you’re ready to finish. To maintain quality, tightly cover the dish with plastic wrap or foil to prevent drying out. When ready to enjoy, just cut the chilled mixture into bars and serve. You can also store the cut bars in an airtight container in the refrigerator for up to one week or freeze them for longer storage. This way, you’ll always have a nutritious snack on hand, just as delicious as when they were freshly made!
How to Store and Freeze No-Bake Peanut Butter Protein Bars
Fridge: Store the bars in an airtight container for up to one week. Keeping them cold helps maintain their texture and prevents them from becoming too soft.
Freezer: For longer storage, freeze the bars by wrapping them individually in plastic wrap and placing them in a freezer-safe bag. They can be frozen for up to three months.
Thawing: To enjoy frozen bars, simply remove them from the freezer and let them thaw in the fridge for a few hours or at room temperature for about 30 minutes before eating.
Reheating (optional): If desired, give them a quick 10-second zap in the microwave for a warm treat, but be careful not to melt them completely!
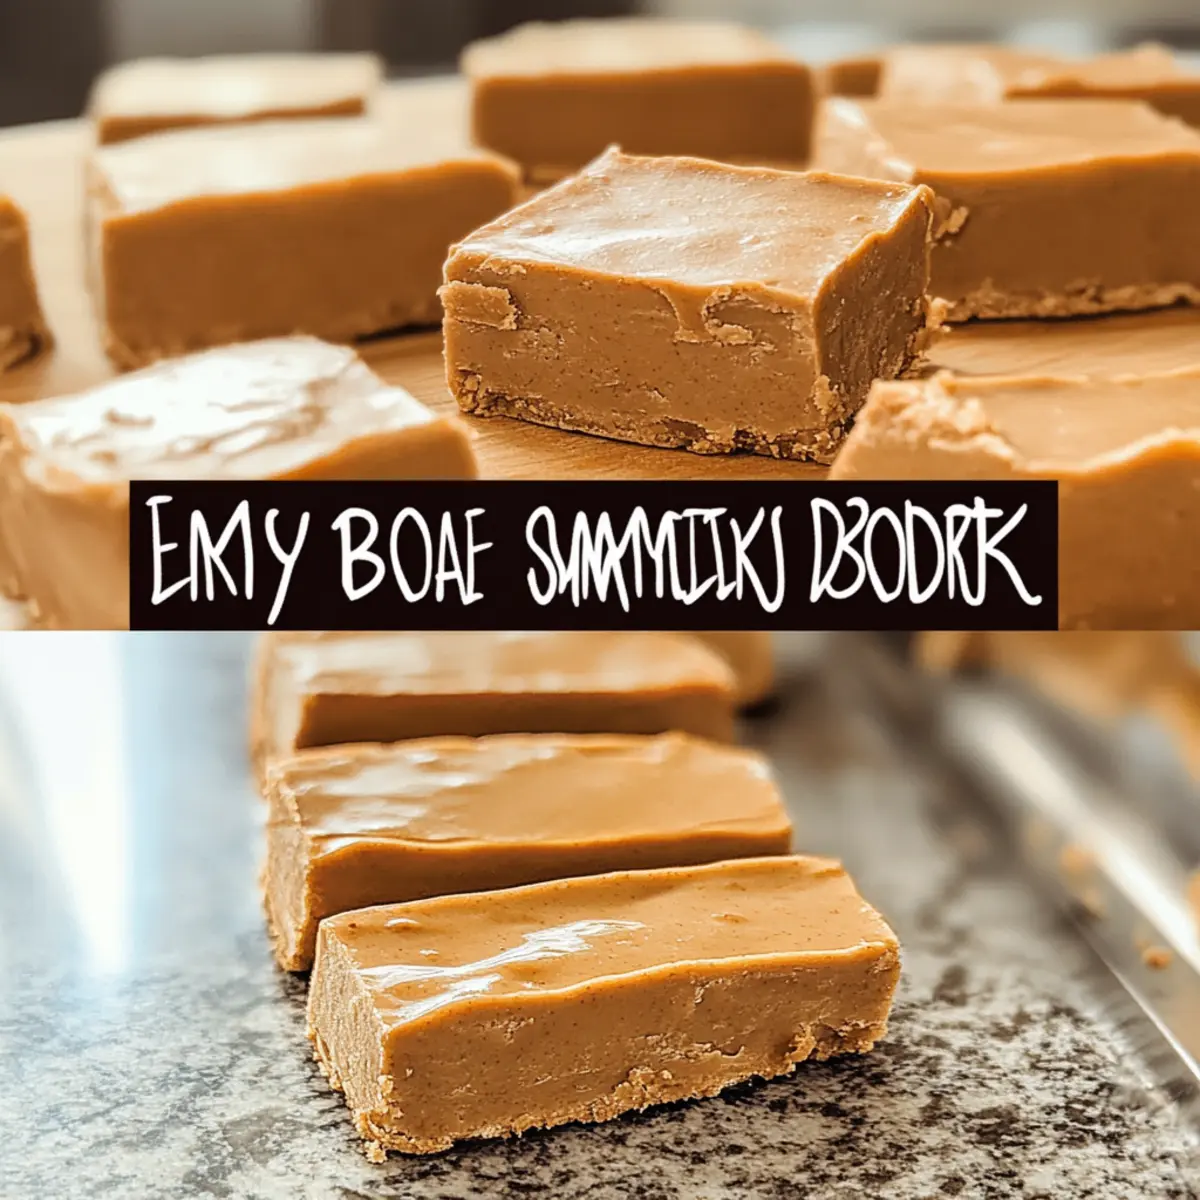
No-Bake Peanut Butter Protein Bars Recipe FAQs
How do I choose the right peanut butter for the bars?
Absolutely! It’s best to use natural peanut butter without added sugars or oils. This ensures a richer flavor and creamier consistency in your No-Bake Peanut Butter Protein Bars. Look for brands that list just peanuts (and maybe salt) as the ingredients — this will give your bars a healthier edge!
How do I store No-Bake Peanut Butter Protein Bars?
Store your bars in an airtight container in the refrigerator for up to one week. This will help maintain their chewy texture and freshness. If you notice any dark spots or changes in texture, it’s best to check for freshness, as homemade snacks can sometimes be less stable than store-bought ones.
Can I freeze No-Bake Peanut Butter Protein Bars?
Yes! For longer shelf life, wrap each bar individually in plastic wrap and place them in a freezer-safe bag. They can be frozen for up to three months. To enjoy, simply thaw them in the fridge for a few hours or at room temperature for about 30 minutes. If you want a warm treat, you can give them a quick 10-second zap in the microwave, but keep an eye on them!
What should I do if my bars are too soft after chilling?
If your bars end up too soft, don’t worry — this can happen if they weren’t pressed firmly enough or if the mixture was too wet. To fix this, try adding a little more oats or protein powder to help them set better. Return them to the refrigerator for an extra hour or so to let them firm up again.
Can these bars be made nut-free?
Very! For a nut-free version, simply swap out the peanut butter for sun butter or tahini. This will still give you a delicious, creamy texture while ensuring that everyone can enjoy them, even those with nut allergies. Adding some chocolate chips can also enhance the flavor while adhering to a nut-free diet!
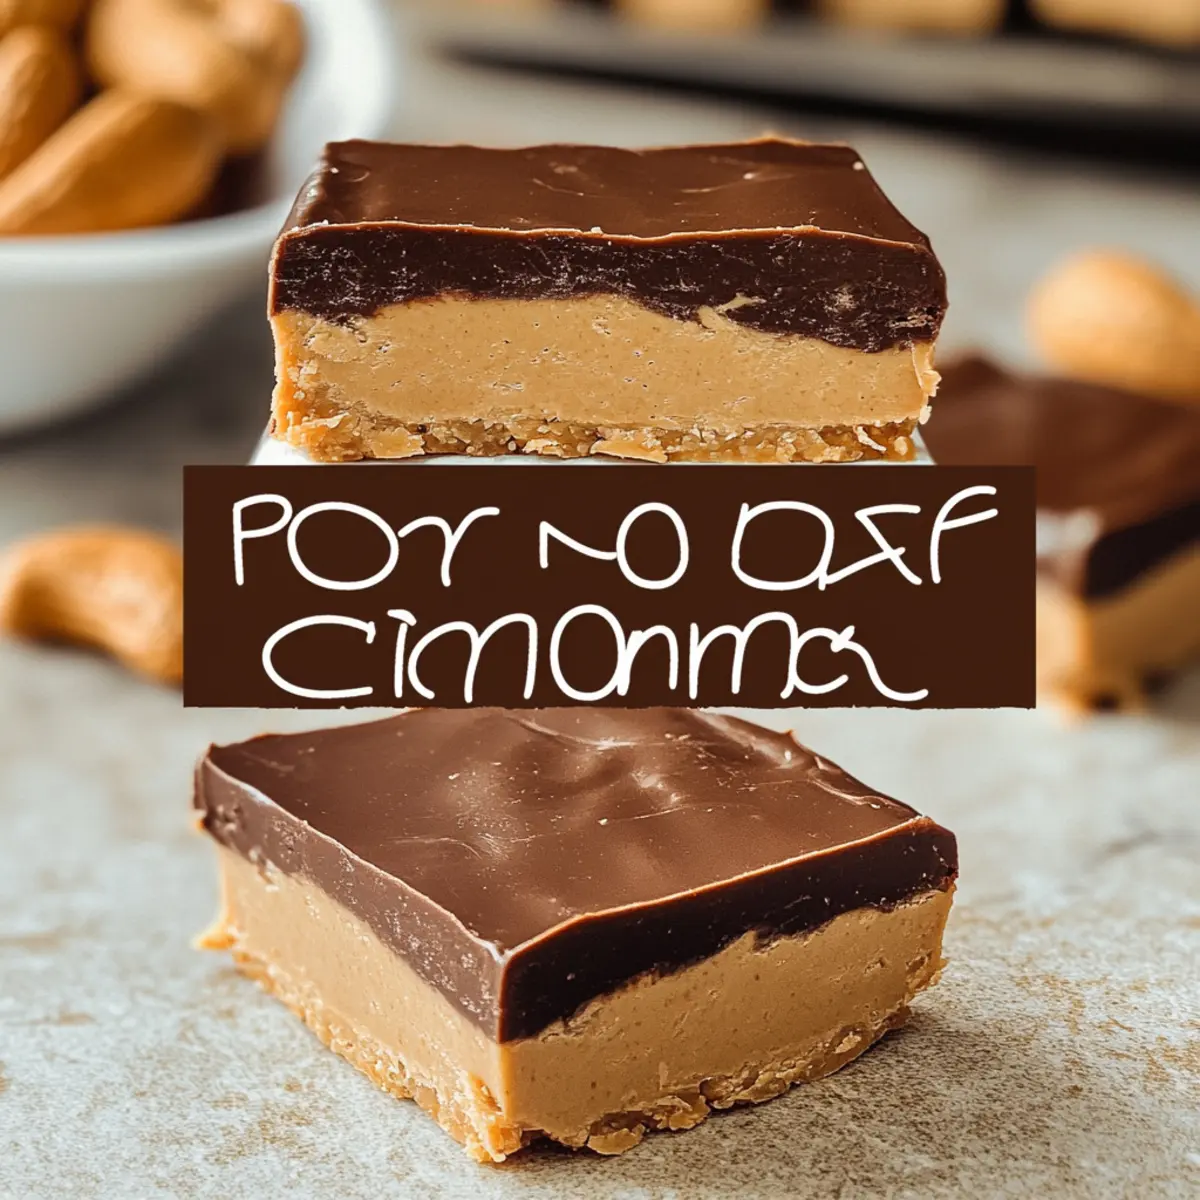
No-Bake Peanut Butter Protein Bars with 5 Simple Ingredients
Ingredients
Equipment
Method
- In a medium mixing bowl, combine peanut butter, instant oats, protein powder, and maple syrup. Blend until smooth.
- Line an 8x8-inch baking dish with parchment paper, pressing it into the corners for a snug fit.
- Transfer the mixture into the prepared baking dish and press down firmly to create an even layer.
- Refrigerate for about 1 hour until firm to the touch.
- Remove from the refrigerator, lift out using parchment paper, cut into bars, and serve.