

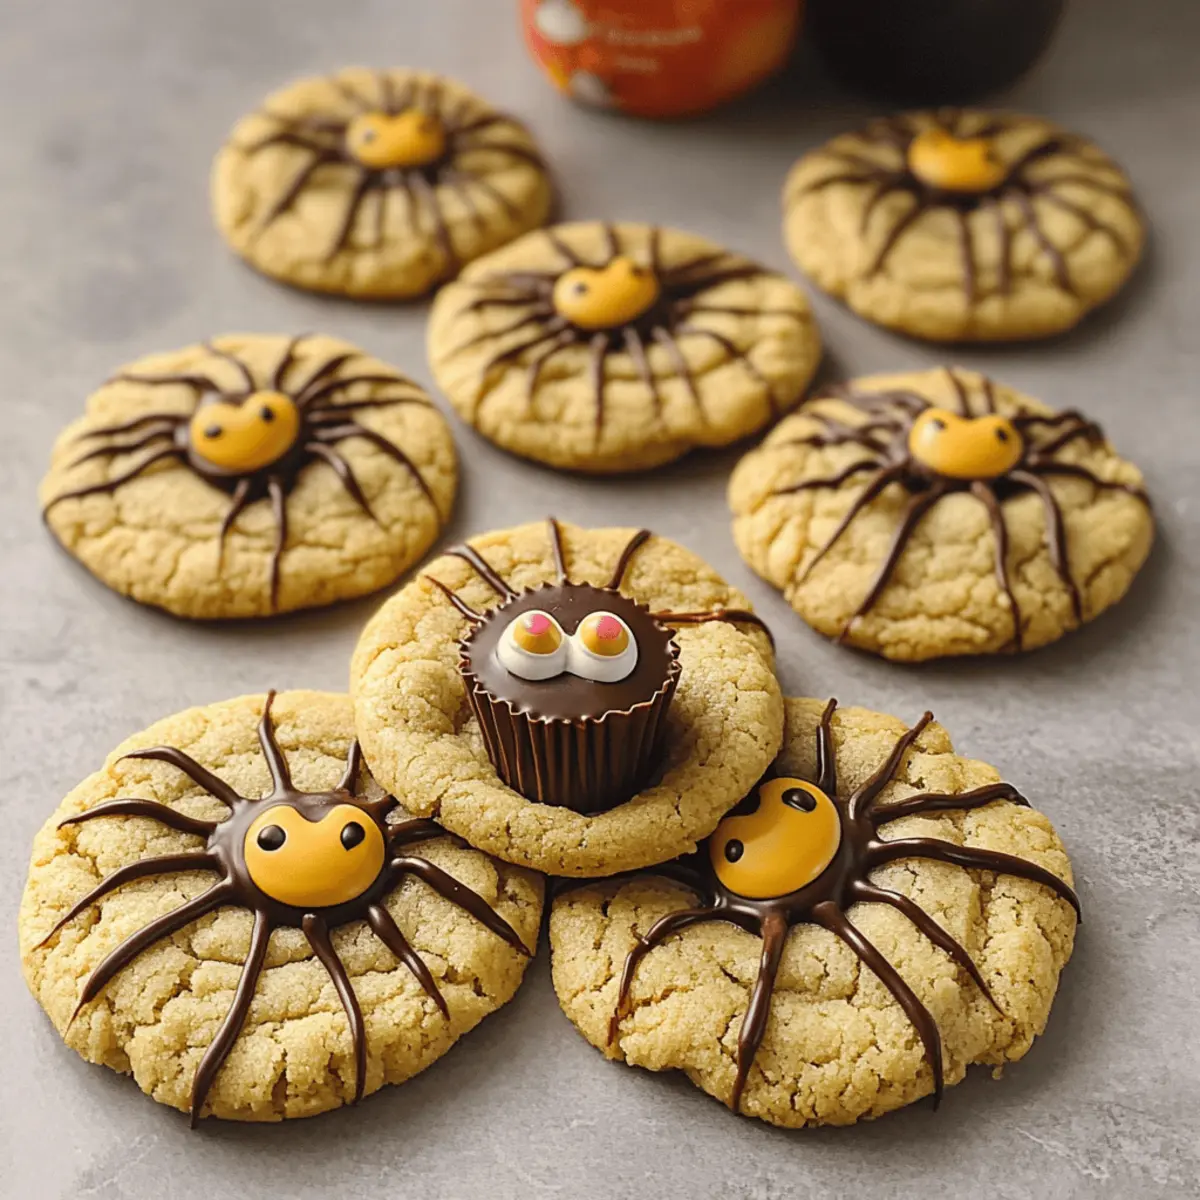
As I watched the Halloween decorations come to life around my neighborhood, I felt that familiar flutter of excitement that only this spooky season can bring. What better way to embrace the festive spirit than with some delightful Peanut Butter Spider Halloween Cookies? These charming treats not only provide a fun baking experience for the entire family, but they also come together quickly, ensuring you can whip up a batch in no time. With their chewy centers and crispy edges, these cookies find the perfect balance between sweet and nutty flavors, making them a crowd-pleaser at any Halloween gathering. Curious about how to make them come alive with a little chocolate magic? Let’s dive into this fun, festive recipe!
Why Are These Cookies So Irresistible?
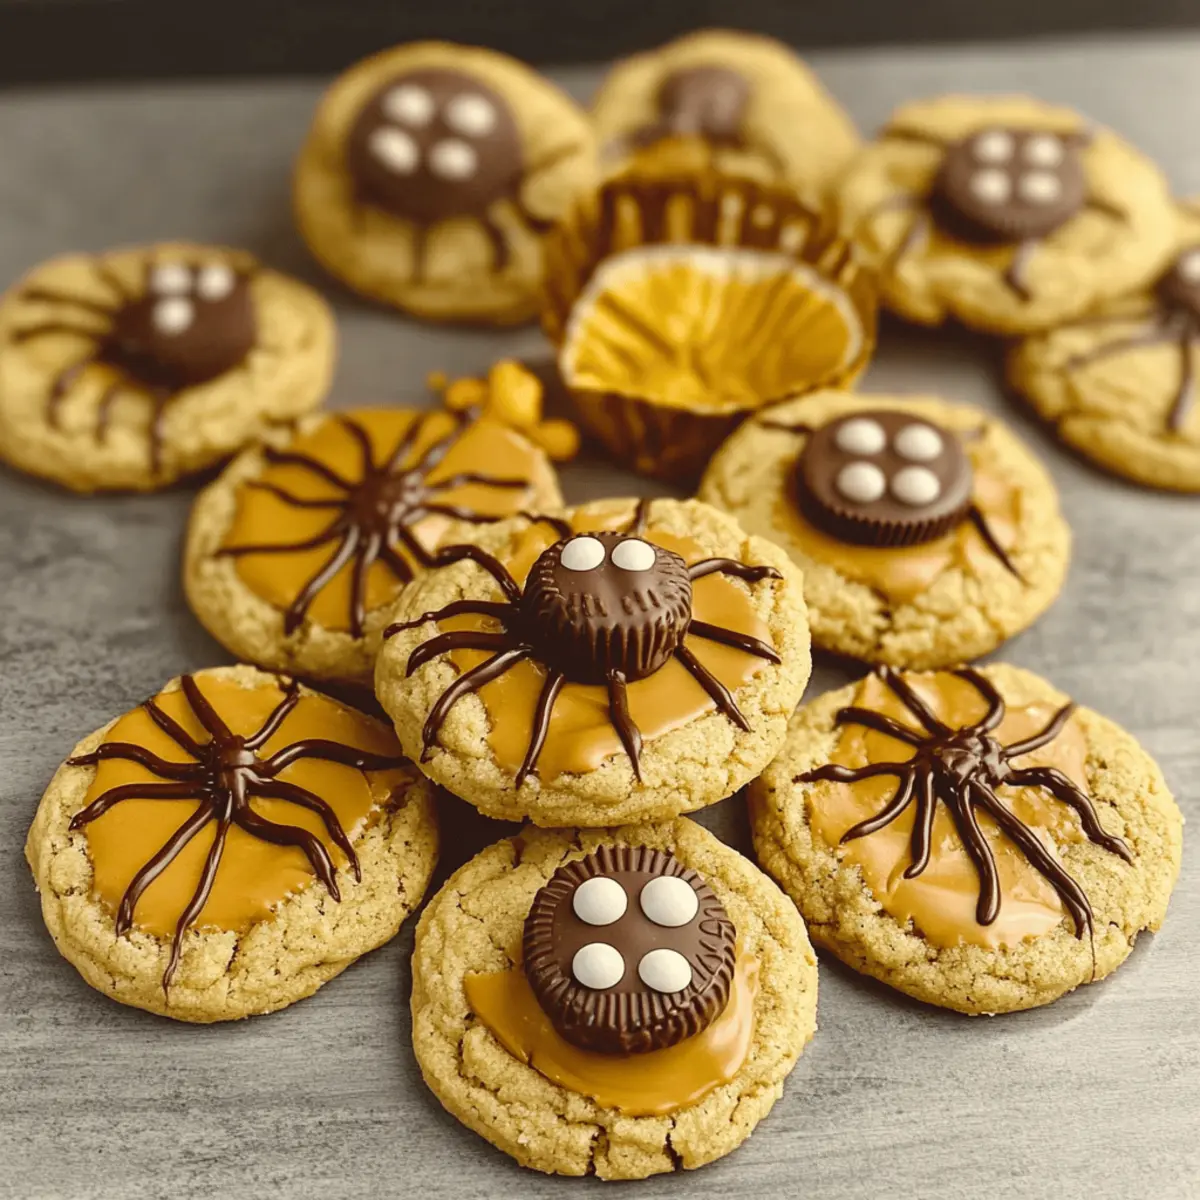
Delightful Design: These Peanut Butter Spider Halloween Cookies are not just tasty but visually captivating, making them a festive showstopper for any gathering.
Fast and Easy: Whip these up in no time! The simple steps ensure that you spend less time in the kitchen and more time enjoying with loved ones.
Customizable Fun: With various candy topping options, you can easily mix and match to create your perfect spider, perfect for the creative chef.
Chewy Goodness: Enjoy the delightful contrast of a soft, chewy center and crispy edges, with the rich peanut butter flavor shining through every bite.
Perfect for Sharing: Whether at a Halloween party or a cozy get-together, these cookies are sure to charm both kids and adults alike. For more festive treats, check out my Pumpkin Smores Cookies!
Peanut Butter Spider Halloween Cookies Ingredients
For the Cookie Base
- All-Purpose Flour – Provides the necessary structure for the cookies.
- Baking Soda – Helps the cookies rise to a delightful chewiness.
- Salt – Balances sweetness and enhances the overall flavor profile.
- Unsalted Butter – Ensures richness and moisture; make sure it’s at room temperature for easy mixing.
- Light Brown Sugar – Adds a lovely chewy texture and caramel notes.
- Granulated Sugar – Contributes sweetness and crispiness to the cookies.
- Smooth Peanut Butter – The star flavor that gives these cookies their signature taste; creamy varieties are best for consistency.
- Egg – Acts as a binder to hold the cookie dough together.
- Vanilla Extract – Adds a touch of warmth and enhances the overall sweetness.
- Whole Milk – Provides moisture; adjust the amount for the right dough consistency.
For the Spider Decoration
- Miniature Reese’s Peanut Butter Cups – These serve as the spider body and can be swapped with any candy of your choice.
- Semi-Sweet Chocolate – Used for crafting those creepy spider legs and eyes; melt for easy application.
- Candy Eyes – These cute accents add a fun, spooky touch, completing your Peanut Butter Spider Halloween Cookies!
Gather your ingredients, and let’s get baking! These charming cookies will bring joy (and a little spookiness) to your Halloween festivities!
Step‑by‑Step Instructions for Peanut Butter Spider Halloween Cookies
Step 1: Preheat the Oven
Begin by preheating your oven to 350°F (175°C). This critical first step ensures your Peanut Butter Spider Halloween Cookies will bake evenly and achieve that delightful golden edge. While the oven warms up, gather your baking sheets and line them with parchment paper to prevent the cookies from sticking.
Step 2: Mix the Dry Ingredients
In a medium mixing bowl, combine 2 cups of all-purpose flour, 1 teaspoon of baking soda, and ½ teaspoon of salt. Whisk these dry ingredients thoroughly until they’re well blended. This step is essential for even distribution of the leavening agent and salt, which will ensure your cookies rise perfectly.
Step 3: Cream the Butter and Sugars
In a large mixing bowl, beat together ½ cup of unsalted butter, ½ cup of light brown sugar, and ½ cup of granulated sugar until the mixture is smooth and creamy. Use an electric mixer on medium speed for about 2-3 minutes. The mixture should feel light and fluffy, indicating that it’s ready for the next step.
Step 4: Incorporate the Wet Ingredients
Add 1 cup of smooth peanut butter, 1 large egg, 1 teaspoon of vanilla extract, and 2 tablespoons of whole milk to the sugar mixture. Mix these ingredients on low speed until they are fully combined, scraping down the sides of the bowl as needed. You’ll want a rich, creamy dough that smells heavenly.
Step 5: Combine the Mixtures
Gradually add the dry ingredient mixture to your wet mixture, stirring until fully incorporated. Use a sturdy spatula or wooden spoon, mixing gently to prevent overworking the dough. This step helps create a soft and chewy texture for the Peanut Butter Spider Halloween Cookies.
Step 6: Chill the Dough
Cover the bowl with plastic wrap and refrigerate the dough for at least 30 minutes. Chilling is key, as it helps maintain the cookie shape while baking, preventing excessive spreading. Use this time to prepare your spider accents—unwrap the Reese’s Peanut Butter Cups and melt the chocolate for decoration.
Step 7: Shape the Cookies
After chilling, remove the dough and scoop out rounded tablespoons, placing them on your prepared baking sheets, about 2 inches apart. Gently flatten each dough ball slightly to encourage even baking. You should see a uniform shape that will take on a delightful texture once baked.
Step 8: Bake the Cookies
Slide the baking sheets into your preheated oven and bake the cookies for 10-12 minutes. They should be golden along the edges and slightly soft in the center. Keep an eye on them, as ovens can vary; remove them once the edges are firm, allowing for a chewy finish.
Step 9: Cool & Decorate
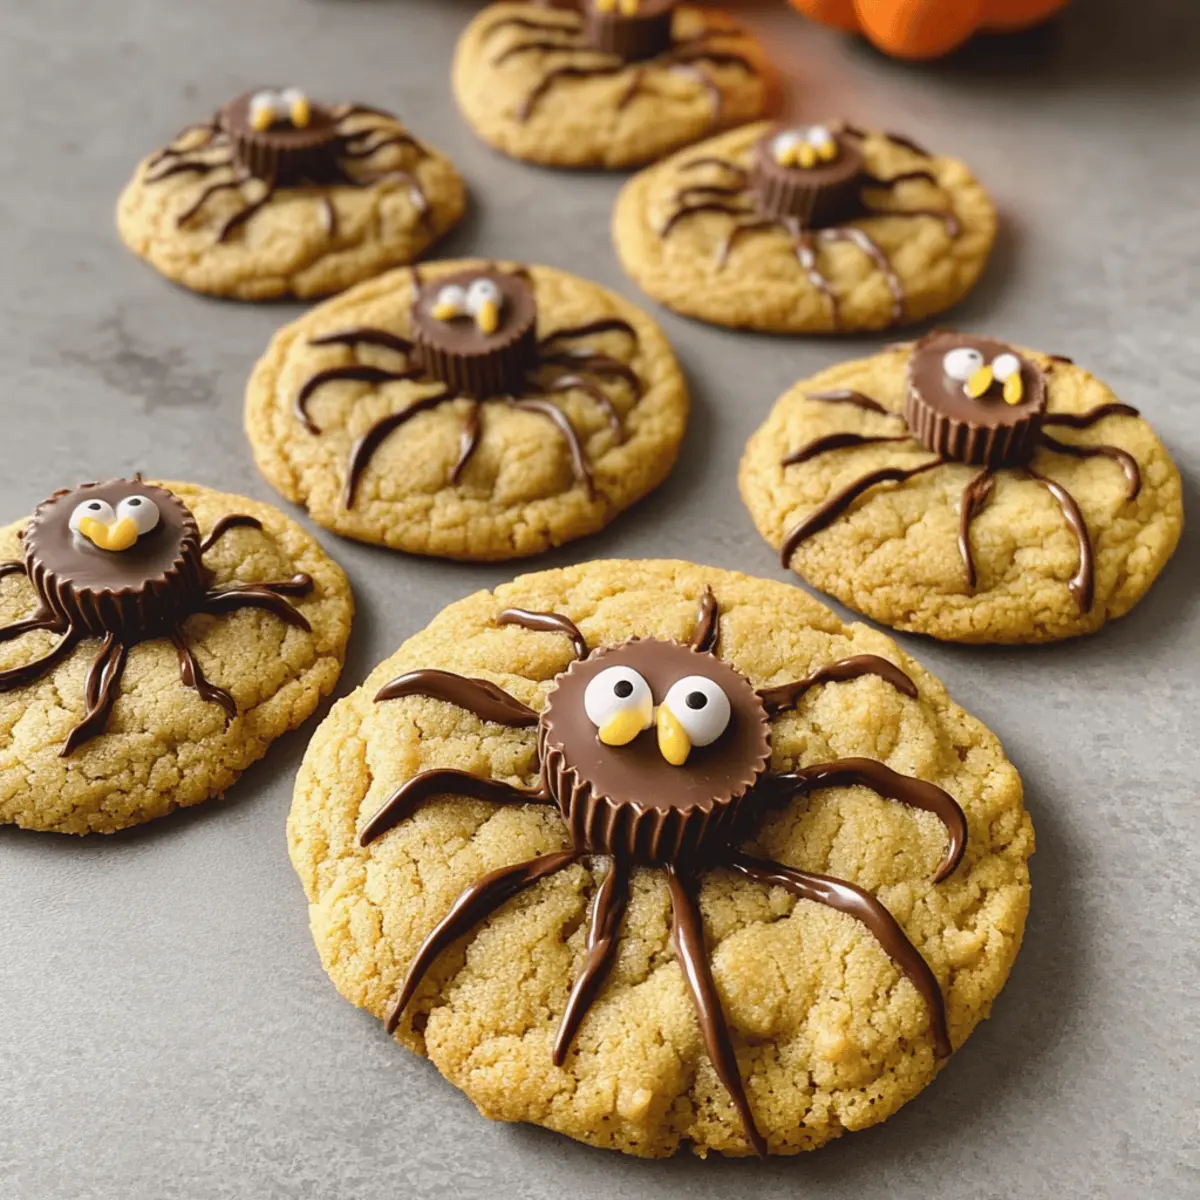
Let the cookies cool on the baking sheets for 3-5 minutes to firm up slightly. Before transferring them to a wire rack, gently press a Reese’s Peanut Butter Cup into the center of each cookie. Once cool, melt your semi-sweet chocolate and use it to pipe spider legs and attach candy eyes, completing your adorable Peanut Butter Spider Halloween Cookies!

Peanut Butter Spider Halloween Cookies: Fun Customization Ideas
Feel free to explore these delightful variations and put your spin on these festive treats!
-
Candy Substitutions: Swap Reese’s with Whoppers or Hershey Kisses for a different twist. Each candy brings its own unique flavor, adding intriguing layers to your cookie design.
-
Nut-Free Option: Use sun butter instead of peanut butter for a delicious nut-free alternative that still tastes amazing! Your cookies will remain rich and satisfying without any nuts.
-
Chocolate Bliss: Add a drizzle of melted chocolate over the cookies for extra sweetness. This enhances the presentation, giving your cookies a decadent look while providing a delightful chocolate contrast.
-
Fun Sprinkle Toppings: After placing the Reese’s, sprinkle edible black glitter or Halloween-themed sprinkles on top for some extra festive flair. These tiny touches can make your cookies pop with color and fun!
-
Spicy Kick: Mix in a pinch of cayenne pepper or cinnamon to the cookie dough for a hint of warmth and spice. This unexpected flavor twist makes for interesting surprises with each bite.
-
Peanut Butter Blossom Variation: Instead of two distinct spider shapes, create classic Peanut Butter Blossoms by pressing a chocolate kiss into the center of each cookie. These will delight purists and introduce a new crowd-pleasing option for your holiday baking.
-
Coconut Flakes: Incorporate unsweetened shredded coconut into the dough for a chewy twist and added texture. The coconut’s subtle flavor complements the creaminess of peanut butter beautifully.
Explore even more festive fun with recipes like Chocolate Chip Cookies and Garlic Butter Shrimp to keep your kitchen bustling during the Halloween season!
What to Serve with Peanut Butter Spider Halloween Cookies
As you prepare for a delightful Halloween gathering, be sure to complement these spooky cookies with delightful accompaniments that enhance your festive spirit.
-
Cold Milk: Nothing pairs better with cookies! A classic glass of cold milk balances the sweetness and emphasizes the rich peanut butter flavor.
-
Hot Cocoa: Embrace the cozy vibe of fall with rich and creamy hot cocoa, perfect for sipping alongside these themed treats and keeping your spirits high.
-
Candy Corn Medley: Create a fun candy station with bright and cheerful candy corn for snacking. Their sweetness harmonizes with the flavors of your cookies while adding a festive touch.
-
Pumpkin Spice Latte: Celebrate the season with a seasonal favorite! The warm spices of pumpkin spice will elevate the flavors of the peanut butter for a delightful taste experience.
-
Fresh Fruit Platter: Add a refreshing contrast with sliced apples or pears. The crispness of the fruit provides a nice balance to the chewy, rich cookies while adding a burst of color.
-
Halloween-themed Cupcakes: Bake up some spooky cupcakes for an extra festive treat! Their soft, fluffy texture will delight guests and create a wonderfully sweet spread alongside the cookies.
-
Vanilla Ice Cream: For a special treat, serve with a scoop of creamy vanilla ice cream. The cold, sweet treat melts perfectly against the warm, chewy cookies for an indulgent experience.
Storage Tips for Peanut Butter Spider Halloween Cookies
-
Room Temperature: Store your cookies in an airtight container at room temperature for up to 1 week to maintain freshness and chewy goodness.
-
Fridge: If you prefer, you can refrigerate the cookies for up to 2 weeks. Just be sure to keep them sealed tightly to prevent them from drying out.
-
Freezer: For longer storage, freeze the cookies in an airtight container or freezer bag for up to 1 month. Thaw at room temperature when you’re ready to enjoy your Peanut Butter Spider Halloween Cookies again.
-
Reheating: If desired, warm your cookies in the microwave for about 10-15 seconds to restore their chewy texture before serving.
Expert Tips for Peanut Butter Spider Halloween Cookies
-
Chill the Dough: Always chill your dough for at least 30 minutes. This is essential to ensure your Peanut Butter Spider Halloween Cookies maintain their shape and thickness while baking.
-
Choose the Right Peanut Butter: Opt for creamy peanut butter like Skippy. Natural peanut butters can lead to dry cookies and affect the chewy texture you’re aiming for.
-
Be Careful with Decorations: Add Reese’s Peanut Butter Cups after the cookies have cooled slightly. This helps them maintain their shape and melt just enough without ruining the cookie base.
-
Melt the Chocolate Properly: When melting semi-sweet chocolate for the spider legs, ensure it’s not too hot. If it’s too hot, it can melt the cookies rather than adhere to them.
-
Experiment with Toppings: Don’t hesitate to get creative with your candy toppings! Try different candies like Whoppers or Hershey Kisses to give your spiders a unique twist.
Make Ahead Options
These Peanut Butter Spider Halloween Cookies are perfect for making ahead of time, saving you precious minutes on the day of your Halloween festivities! You can prepare the cookie dough up to 24 hours in advance. Simply mix the ingredients as instructed, then wrap the dough in plastic wrap and store it in the refrigerator. When you’re ready to bake, scoop the chilled dough onto baking sheets and bake as directed. Additionally, you can also freeze the baked cookies for up to 3 months; just ensure they cool completely first and store them in an airtight container. To maintain their wonderful texture, allow them to thaw at room temperature or reheat briefly in the oven before decorating for that special festive touch.
Peanut Butter Spider Halloween Cookies Recipe FAQs
How do I choose the best peanut butter for these cookies?
Absolutely! For the best results, opt for a creamy peanut butter brand like Skippy or Jif. This will give your Peanut Butter Spider Halloween Cookies the perfect smooth texture and chewiness. Avoid crunchy peanut butter, as the larger chunks can alter the consistency and disrupt the cookie’s soft, chewy center.
How should I store these cookies for maximum freshness?
To keep your cookies fresh and delicious, store them in an airtight container at room temperature for up to 1 week. If you prefer, you can refrigerate them for up to 2 weeks, but ensure they’re tightly sealed to prevent them from drying out. For even longer storage, freeze the cookies in an airtight container or freezer bag for up to 1 month. Just thaw at room temperature when you’re ready to indulge!
Can I freeze the cookie dough before baking?
Yes! Freezing the dough is a great idea. After forming the cookie dough balls, place them in a single layer on a baking sheet and freeze until firm. Then transfer the frozen dough balls to a freezer-safe bag and store for up to 3 months. When you’re ready to bake, just add an extra minute or two to the baking time, and you’ll have fresh cookies in no time!
What if my cookies spread too much while baking?
If you find your Peanut Butter Spider Halloween Cookies spreading too much in the oven, it’s possible the dough wasn’t chilled long enough or the butter was too soft. To troubleshoot, make sure to refrigerate the dough for at least 30 minutes before shaping the cookies. Additionally, ensure your butter is just at room temperature, not melted, to keep the dough firm during baking.
Are there any dietary considerations for these cookies?
Certainly! If you or your loved ones have nut allergies, you can create a nut-free version by substituting peanut butter with sun butter or another seed butter. Just be sure to read labels for any hidden allergens in your decorations, like chocolate candies. These Peanut Butter Spider Halloween Cookies can easily accommodate different dietary needs while still being festive and fun!
Peanut Butter Spider Halloween Cookies: A Fun Festive Treat
Ingredients
Equipment
Method
- Preheat your oven to 350°F (175°C) and line baking sheets with parchment paper.
- In a medium mixing bowl, whisk together the flour, baking soda, and salt.
- In a large mixing bowl, beat the butter, brown sugar, and granulated sugar until creamy.
- Add the peanut butter, egg, vanilla extract, and milk to the sugar mixture; mix until combined.
- Gradually add the dry ingredients to the wet mixture, stirring until incorporated.
- Cover the dough with plastic wrap and refrigerate for at least 30 minutes.
- Scoop out rounded tablespoons of dough onto prepared baking sheets, about 2 inches apart.
- Bake for 10-12 minutes until golden along the edges; let cool for 3-5 minutes.
- Press a Reese’s Peanut Butter Cup into the center of each cookie, then pipe chocolate legs and attach candy eyes.